Don’t forget to enter your card in our Operation Write Home Make ‘Em Laugh contest!
_____________________________________________________
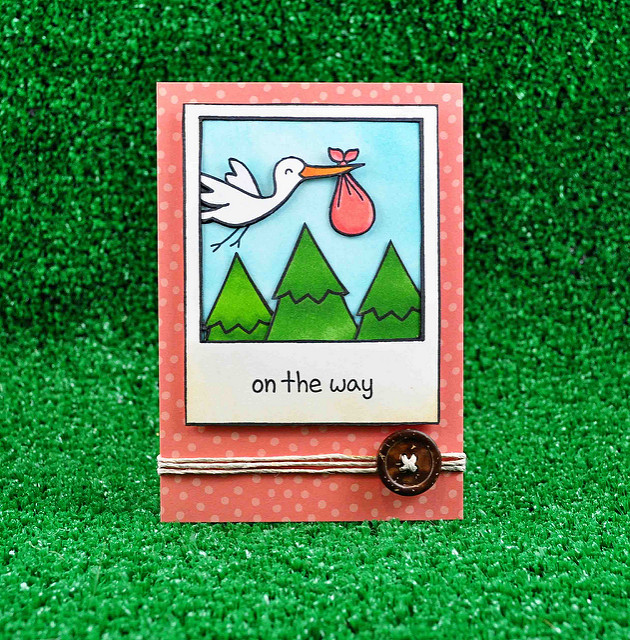
Hello! Today we have a fun video requested by some of our lovely readers! I decided to do a girl version of this baby card using Plus One, Say Cheese, Critters in the Forest, Lawn Trimmings cord and Bright Side papers!
Hello! Today we have a fun video requested by some of our lovely readers! I decided to do a girl version of this baby card using Plus One, Say Cheese, Critters in the Forest, Lawn Trimmings cord and Bright Side papers!
You can watch the video here or at our YouTube channel.
Thanks so much for watching!
If you ever have any other video requests make sure to let us know! 🙂
Card stock: NeenahPatterned Paper: Lawn Fawn (bright side)Ink: Memento, DistressEtc: Copics, Lawn Trimmings cord, sponge dauber, foam ink blending tool, wooden button
Thank you so much for visiting!
Have an amazing day,


such a cute card!
Kelly you are just too fun…great video…love your card..
Thought this card was adorable when I first saw it, still do. Thanks for the tutorial.
This brings back memories of a really fun time with you and Ivy! Love this, great video! Thanks for sharing your tips for stamping and assembling the Polaroid frame. Hugs!
Another great video.
Adorable & cute card! Love it!!
Thanks for the great tips!!
I learned something new! 😉
I love this card! And, thank you so much for showing your actual Copic marker coloring of the tree and stork – that really helps me see how better to use my Copic markers. I love them, but am still new enough with them that I need help and inspiration! And of course, your card and scene is so adorable. You always inspire us! THANK YOU
Adorable card! I love seeing your card making process, start to finish!
Love that card! I think it would be fun to know behind the scenes stuff about LF, like how you name the sets, etc. Or like intro to peeps that help make LF so fun! Or more LO's or card sketches. Ohh, ohh or like "recipe" cards. EX: it's easy to make cards using more than one stamp set so something like a little printable card, with a sketch and maybe some stamp set ideas. Oh, you know what else would be fun? Labels for the stamp sets that could be printed however we want but in a LF font!
I so LOVE this card Kelly! Thank you for making a video of it!
lovely card! you're such a pro with those Copic markers and distress inks. wow! TFS
This card is wonderful—the stork is precious!
Such a cute card and I love the video!
In this posted video i found nice design of baby cards. I was glad to see this. I really enjoyed it really nice post. such a your tips for stamping and assembling the Polaroid frame.