

Hi Everyone!
Karin here to inspire you to use your watercolors to create some fast, and easy cards!
A lot of people think watercolor is a difficult media and, even though I paint quite a lot, I totally agree (-: – but it doesn’t have to be difficult. I’ll show how easy it is to create a landscape scene that I think will be appreciated by the receiver no matter what age or gender.
I start out by wetting my watercolor paper – if you use a 140 lb paper there is no need to stretch it, but if your paper is thinner than that you might want to tape it to a cardboard before you start to prevent it from bulging while you’re painting.

When the paper is still wet I add the sky/cloud colors so they spread on the wet paper and create realistic looking clouds; I like Ultramarine mixed with a little bit of Paynes grey or burnt sienna for this. I let that dry completely before I go on with the next step.
Then I simply paint stripes of different colors to create mountains, hills, fields and grass, making sure I use cool colors for the mountains and hills and warmer colors for the grass and fields that are closer. This is an easy way to create distance in a painting and especially important in a simple scene like this where there isn’t much else to guide the eye.
I used mixes of ultamarine and viridian for the distant hills and then raw sienna, burnt sienna and burnt umber for the fields and grass. For the very darks I mix ultramarine with burnt umber. You can of course choose any colors you like but try to stick to a limited number of colors – that way it is easier to create harmony in your painting.
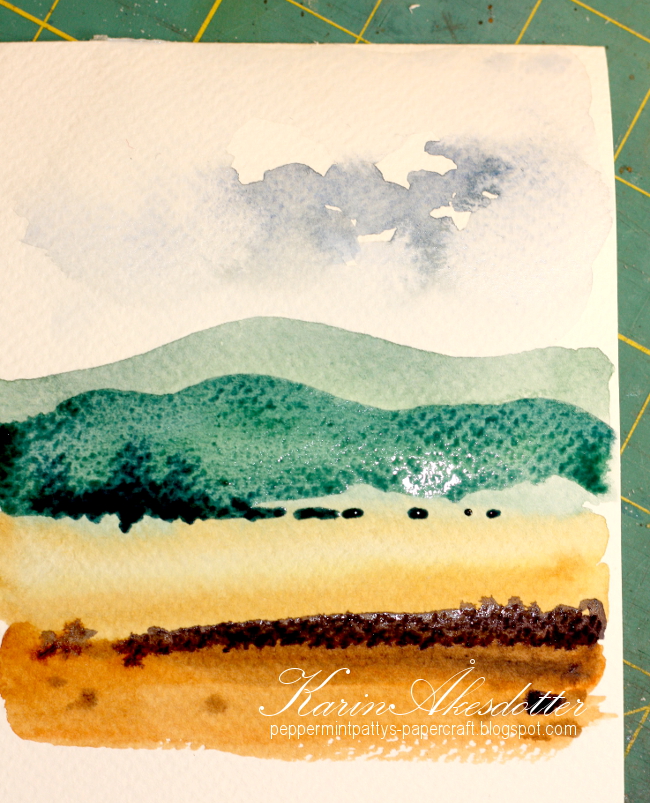
I then spatter some darker colors (ultramarine mixed with burnt umber) to the bottom to create a bit of texture. Make sure you protect the rest of the painting with a piece of scrap paper before doing this!

You can of course also use stamps to create leaves or plants, just make sure your painting is completely dry before you do this.
When I’m happy with my painting it is time to “frame” it. I used Lawn Fawn’s wonderful Stitched Rectangles for this. I put a smaller die inside a larger one and use washi tape to keep them in place like that when I die cut them.
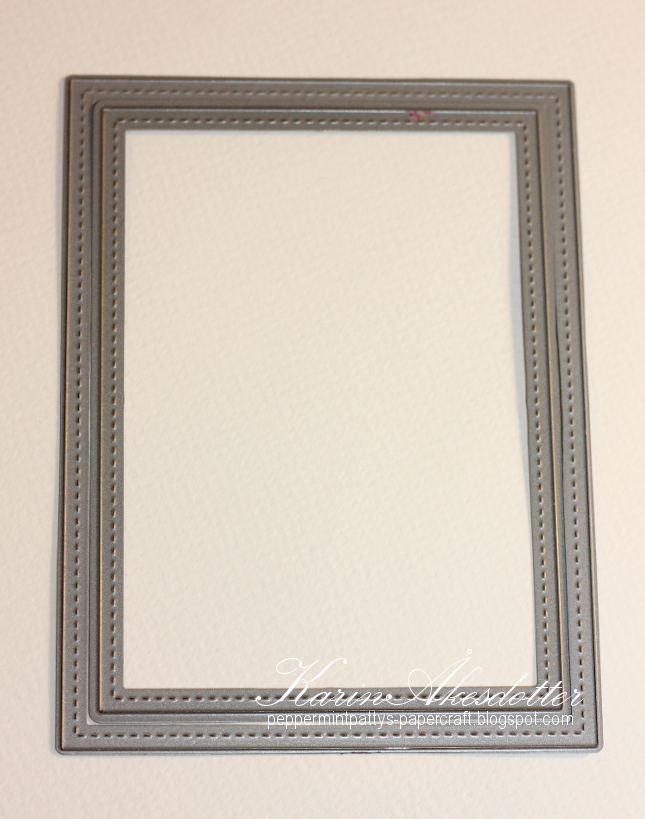
I then adhere my little painting to a card base, stamp a sentiment underneath and then adhere the frame using foam adhesive.

Thank you so much for sharing this awesome tutorial, Karin! I can’t wait to try some fun watercolor backgrounds! You rock!


oh this is amazing!!! 🙂
Am totally speechless!!
STUNNING card Karin!!!
LOVE IT ALL!!!
THANK YOU SO MUCH for sharing your tutorial and AWESOME INSPIRATION 🙂
Wow! That's so awesome!
This card is absolutely gorgeous! Your watercoloring is amazing!
Wow! I'm on love with this card!!! The water coloring is gorgeous!!
Karin is such a water-coloring artist! So happy to see her feature here!
Beautiful!!!!
Oh look at you making this seem so easy!! Thanks, Karin, for encouraging us all to TRY! Love your talent!
=] Michele
WOW. Stunning! Love!
This is gorgeous! Thanks so much for the tutorial.
Lovely ! Thank you.
So awesome!
Your water colouring is beautiful.
that is amazing! Thank you for sharing this, I've got the paper and paint but need the nerve to just DO it. You've inspired me!
So pretty and inspiring~!!!!!!! Thanks for sharing
Such water colors make splendid picture or I can say that picture perfect for lawn care service
A gift in a card, perfectly framed!! Beautiful!