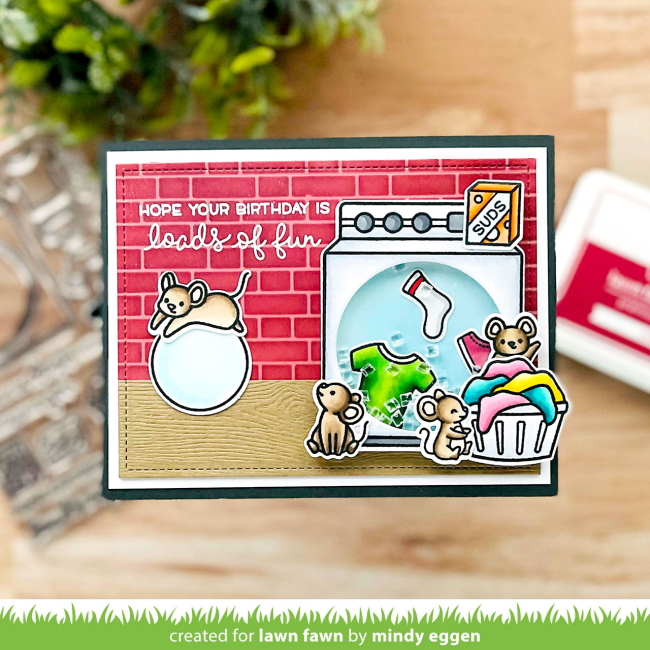
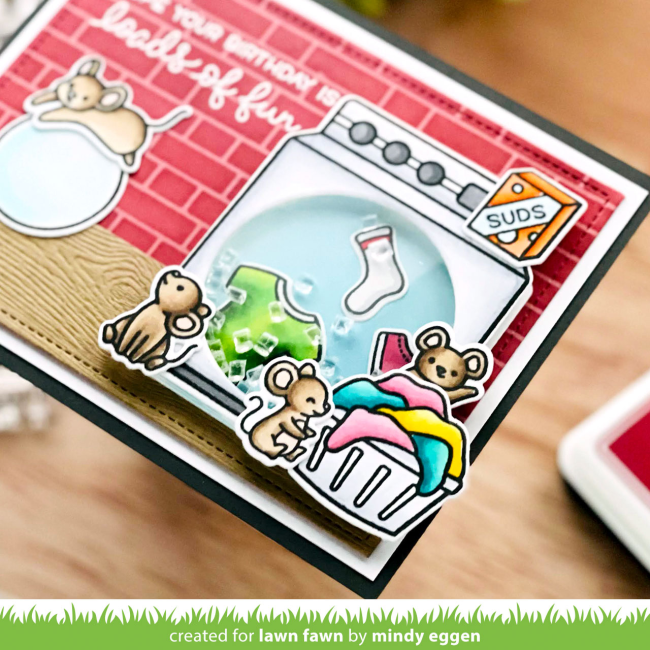
Mindy‘s adorable shaker card uses the cute washing machine from Loads of Fun! She updates this older set with lots of happy mice! You can watch the video below or click HERE to watch at our YouTube channel.
Thanks so much for watching!
Mindy started this adorable design with a brick stenciled background! Then she layered on a panel of Woodgrain cardstock to create the look of a wood floor!
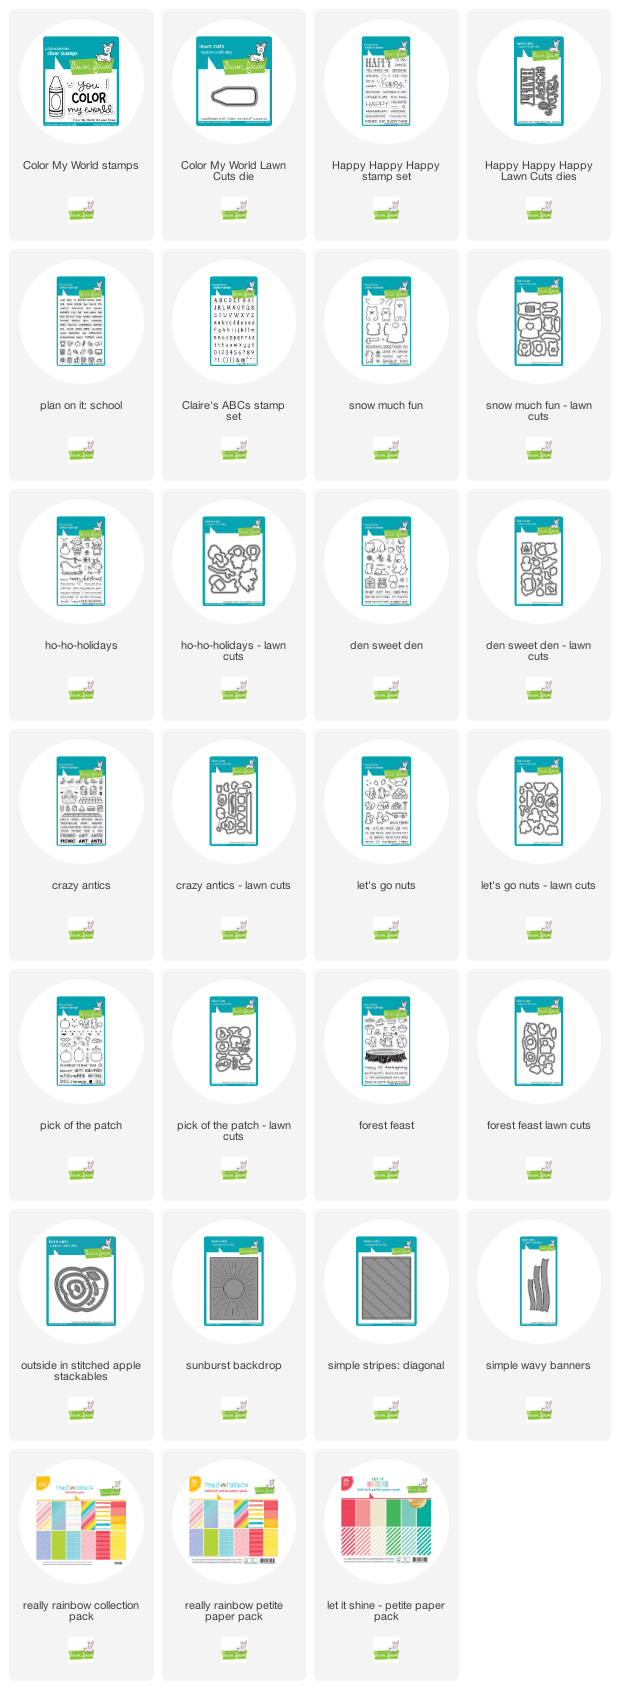
Welcome to this special week! We are excited to share the favorite stamps, dies and papers of our Lawn Fawn Design Team this week! They have created amazing inspiration using their favorites! We will have daily giveaways all week, so be sure to comment on each post August 9 – 13 to enter for a chance to win a stamp set with coordinating die of your choice along with a 6×6 paper pack!
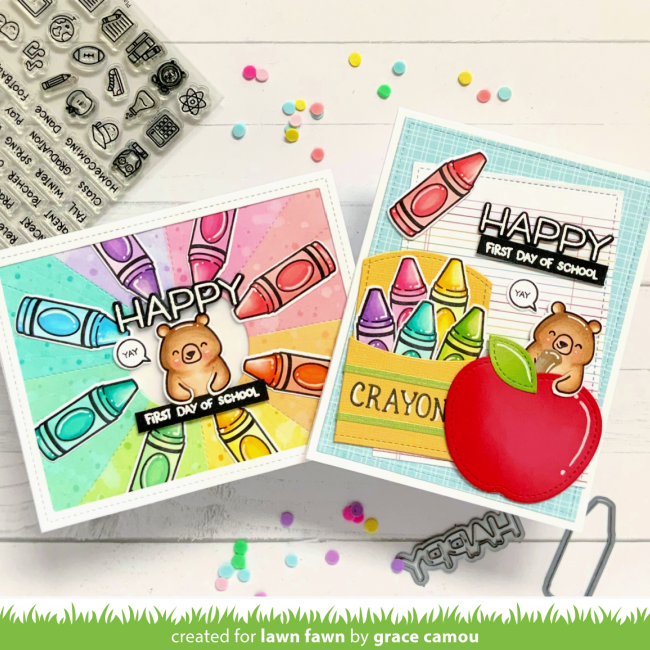
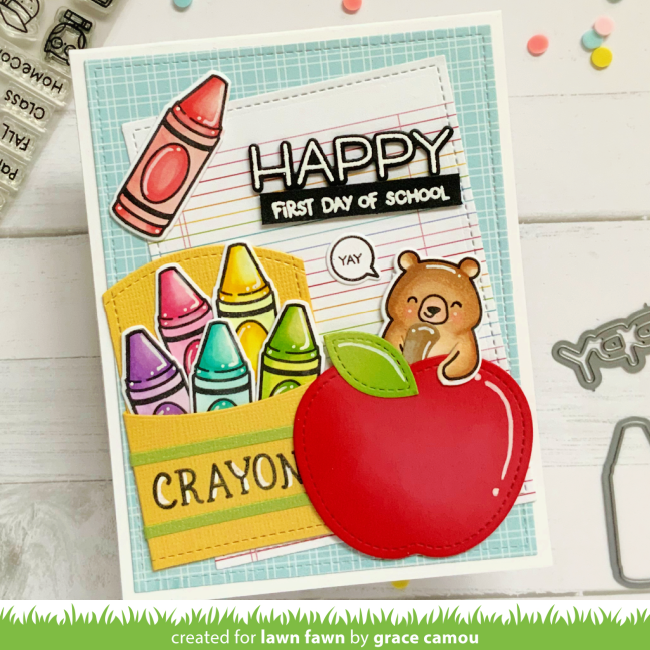
Grace starts us off this week with back to school inspiration! She used her favorite set Color My World with fun little crayons to make two charming cards!
For her first card, Grace crafted a sweet box of colorful crayons! I love how she used the Really Rainbow lined paper as the backdrop! And of course you need a shiny red apple for back to school, so Grace included an Outside In Stitched Apple Stackables with a bear from Snow Much Fun!
This adorable rainbow card uses some of the same elements as Grace’s first card! With the addition of Sunburst Backdrop, she coordinated the crayon colors with each of the inky rays! She combined sentiments from Plan on It: School and Happy Happy Happy!
Latisha‘s adorable Christmas card features her favorite set, Ho-Ho-Holidays! Her merry design is holiday ready with layers of traditional red and green colors courtesy of Let it Shine! I’m sure there must be a story behind Santa’s black mustache!
Be sure to join us tomorrow for more Design Team inspiration! But for now, it’s giveaway time!
Giveaway Time
Leave us a comment sharing your favorite Lawn Fawn stamp set by August 13th at 5:00PM ET. We will randomly pick one winner each day. Winners will receive their choice of stamp set with coordinating dies and a 6×6 Petite Paper pad!
If you post about our Design Team Favorites Week on social media, leave another comment for another chance to win!
Make sure to come back tomorrow, Tuesday August 10th for our next Design Team Favorites post! We hope you guys love this week!
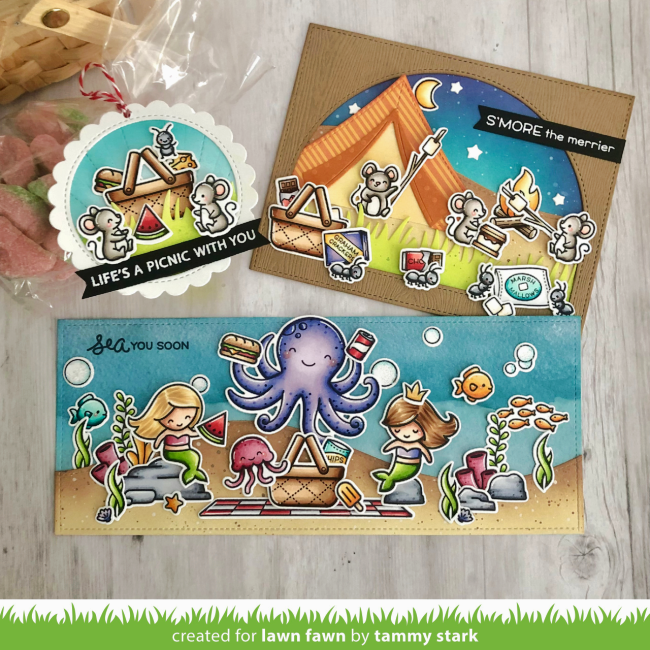
It’s time for another brilliant 1 Stamp, 3 Ways with Tammy! This month she highlights Crazy Antics with some amazing inspiration! Take it away, Tammy!
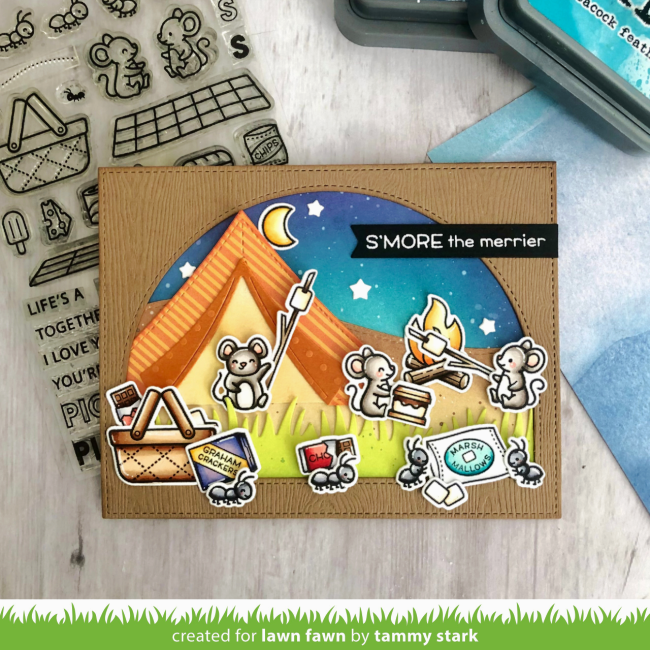
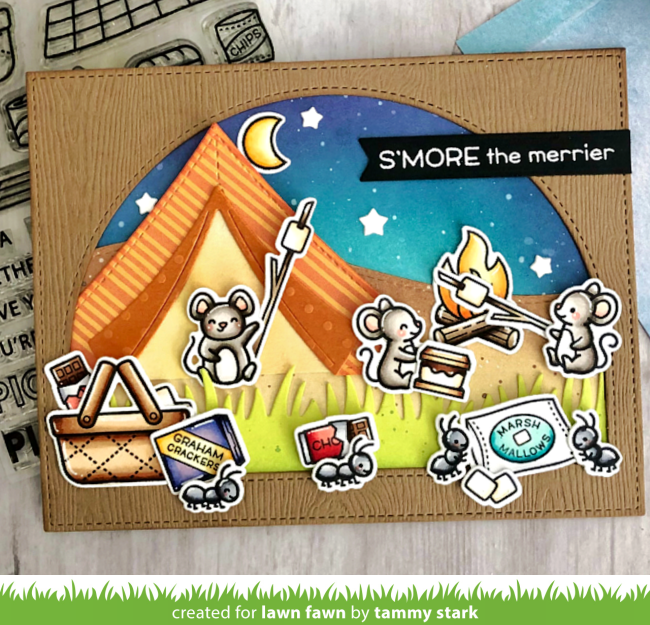
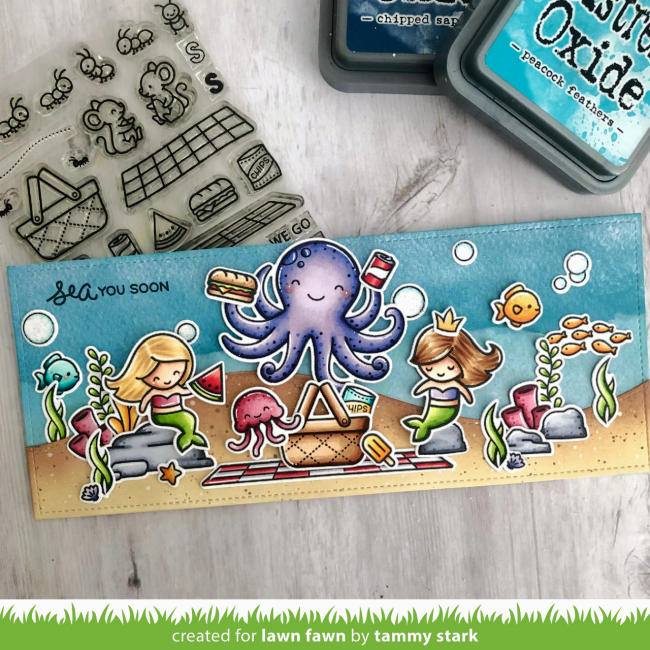
Hello friends! I’m excited to be back with another 1 Stamp, 3 Ways feature! With summer in full swing, meaning lots of outdoor activities, this month we are featuring the adorable set, Crazy Antics.
I then die cut the tent using the Build-A-Campsite and attached to the scene, tucking under the Forest Backdrop, cutting off the excess peeking out the side. I arranged the images onto my card, attaching with foam tape for dimension. Lastly, I white heat embossed the sentiment onto Black Licorice Cardstock and die cut it with the Everyday Sentiment Banners to complete my card.
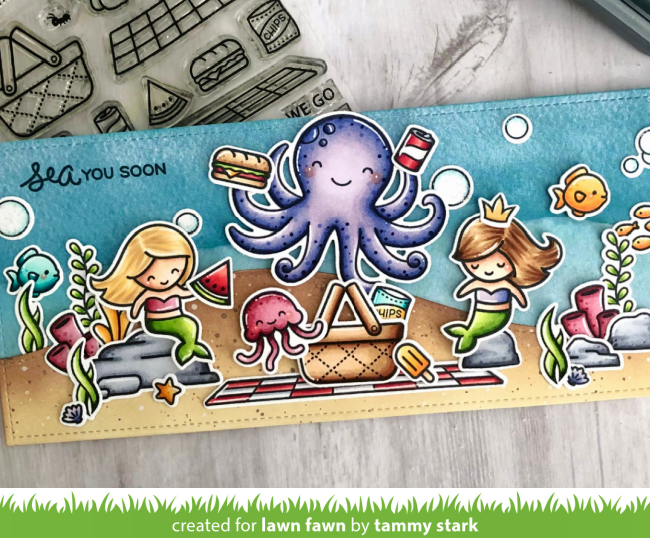
And then I arranged the images onto my card, attaching some with foam tape for dimension, and stamped the sentiment from Mermaid For You in Jet Black Ink to complete!
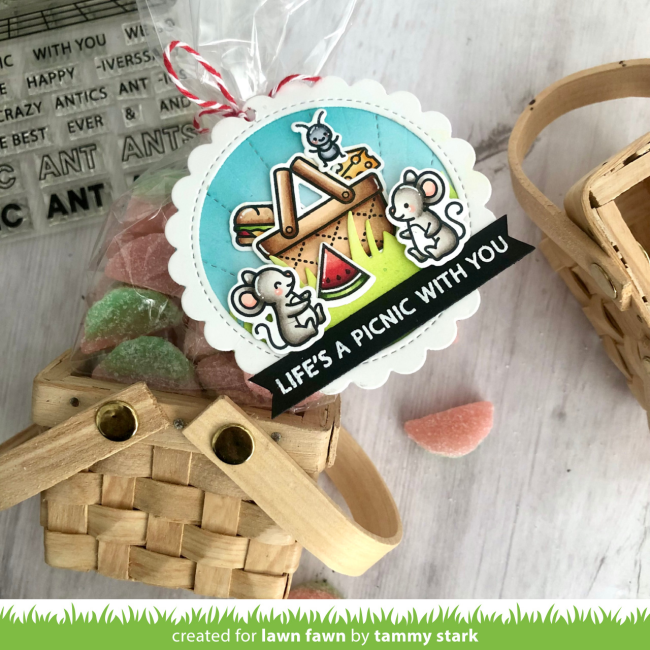
Picnic Basket Favor
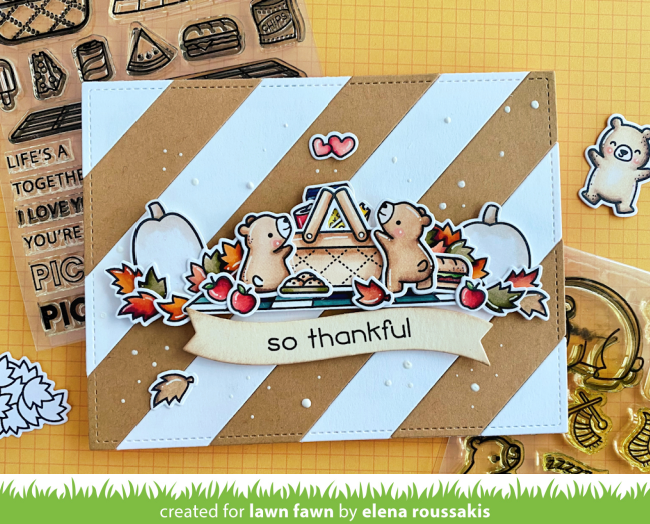
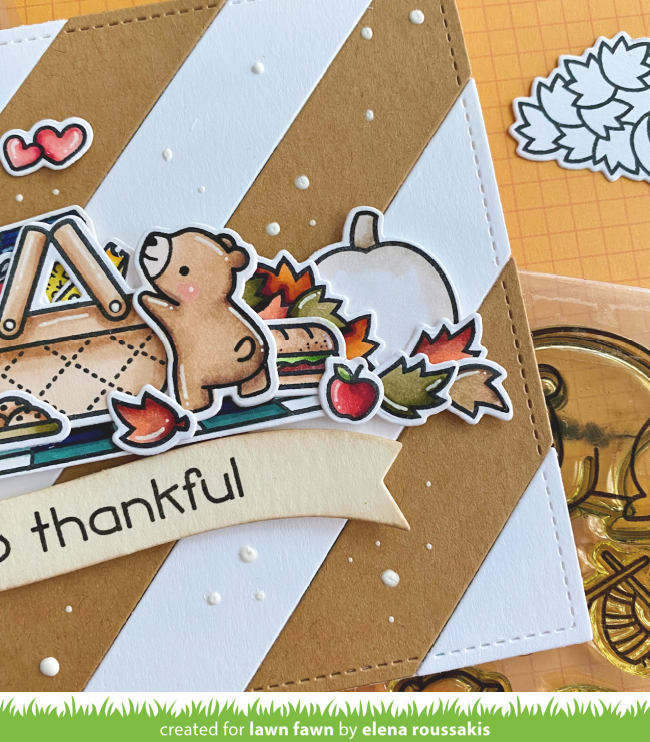
I created this fun picnic basket favor, perfect for a picnic themed party! To begin, I cut Bristol cardstock using the Sunburst Backdrop, then cut a circle from it using the Outside in Stitched Circle Stackables and ink blended it with Peacock Feathers ink. I then cut a Grassy Border, die cut it using the Circle Stackables, and attached it to the bottom of my background. Next, I cut a Stitched Scalloped Circle Frame from white cardstock and layered it over the circle.
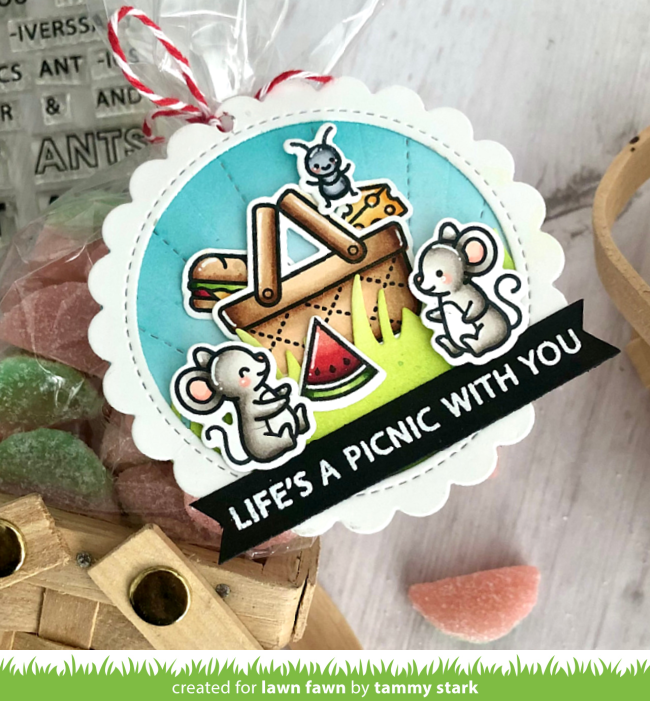
I stamped images from Crazy Antics, colored with Copic markers, and die cut with the Coordinating Dies. Next, I white heat embossed the sentiment onto Black Licorice Cardstock and die cut it with the Everyday Sentiment Banners and attached to my tag. Lastly, I punched a hole and attached the tag to a cello bag filled with watermelon candy with Peppermint cord and tucked into a mini picnic basket to complete!
Thanks so much for joining us today for 1 Stamp, 3 Ways! I hope you enjoyed this month’s picnic themed projects! As always, we love hearing your suggestions for sets you would like to see featured in the upcoming months! Please leave your comments here or over on Instagram! Big Hugs, Tammy
Thank you so much for another super creative 1 Stamp, 3 Ways, Tammy! I love how you paired Crazy Antics with unexpected sets!