Today is the day for our Create with Us Live event! Join us on YouTube Live at 2:00PM PT / 5:00PM ET for cardmaking tips and lots of fun, crafty conversation! Kelly and Jenn can’t wait to create two adorable cards with you featuring the Porcu-pine for You stamp set. Get all the details, HERE. If you can’t make the live event, it will be available to watch later.
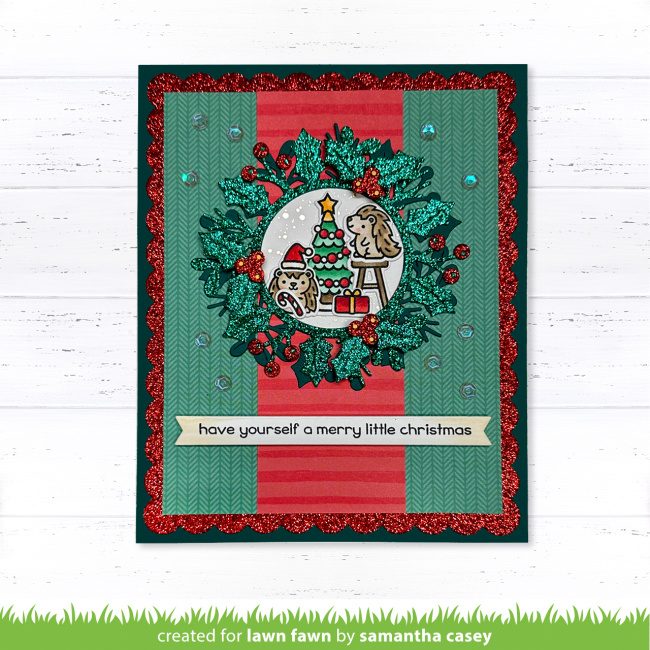
It’s the first Saturday of 2024 and Megan starts her Saturday inspiration with a super fun and clever Reveal Wheel card! These cute Sew Very Mice critters are stitching up a great start to the new year!
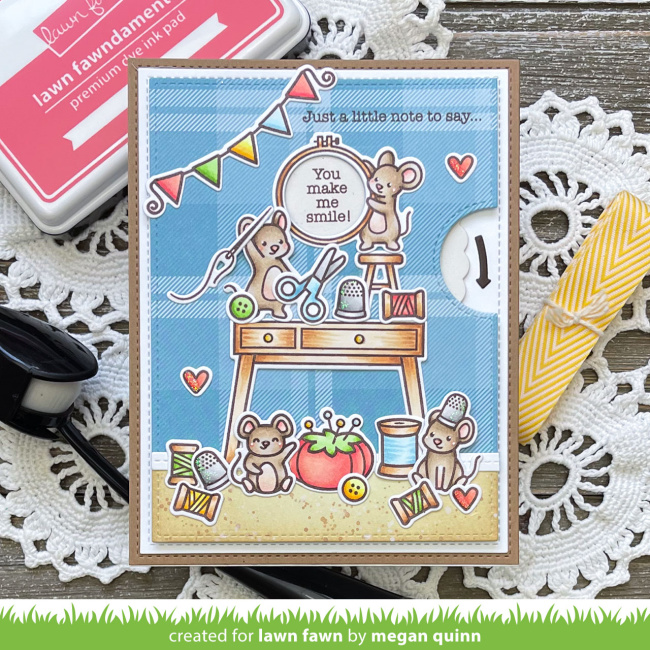
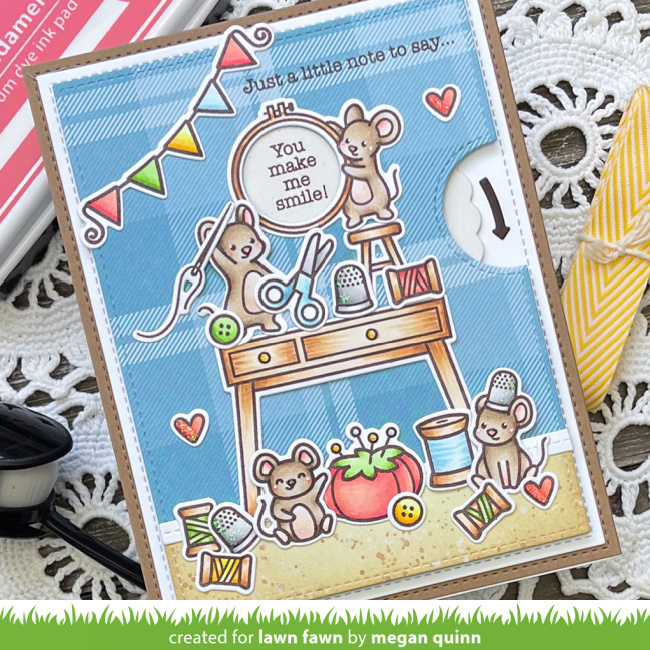
Megan cleverly combined the Sew Very Mice embroidery hoop image with Reveal Wheel. She used Reveal Wheel Little Snow Globe: Bear Add-On to create a unique window for the Love Poems sentiments!
In addition to Sew Very Mice, she filled her scene with images from Virtual Friends, Virtual Friends Add-On and Sewn with Love. She also included an extra mouse from Virtual Friends Add-On.
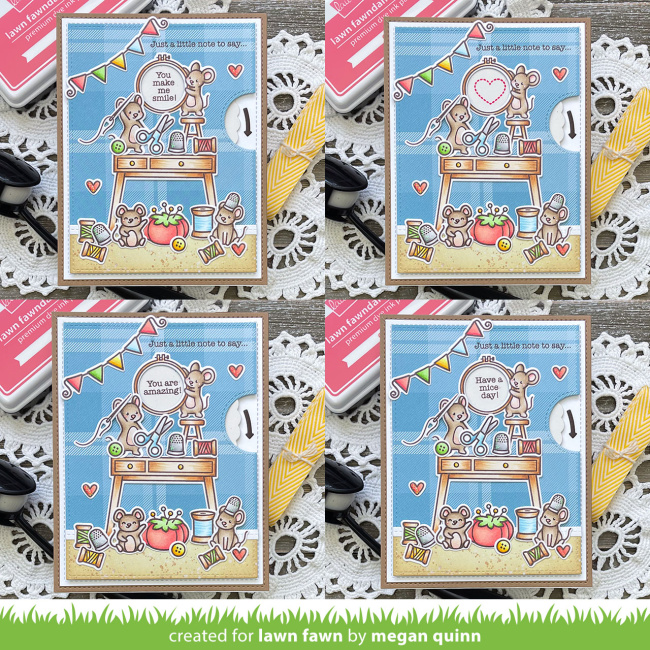
I love how Megan included the cute “stitched” heart along with the Love Poems greetings! So clever!
Thank you so much for this brilliant inspiration, Megan! I love it so much!
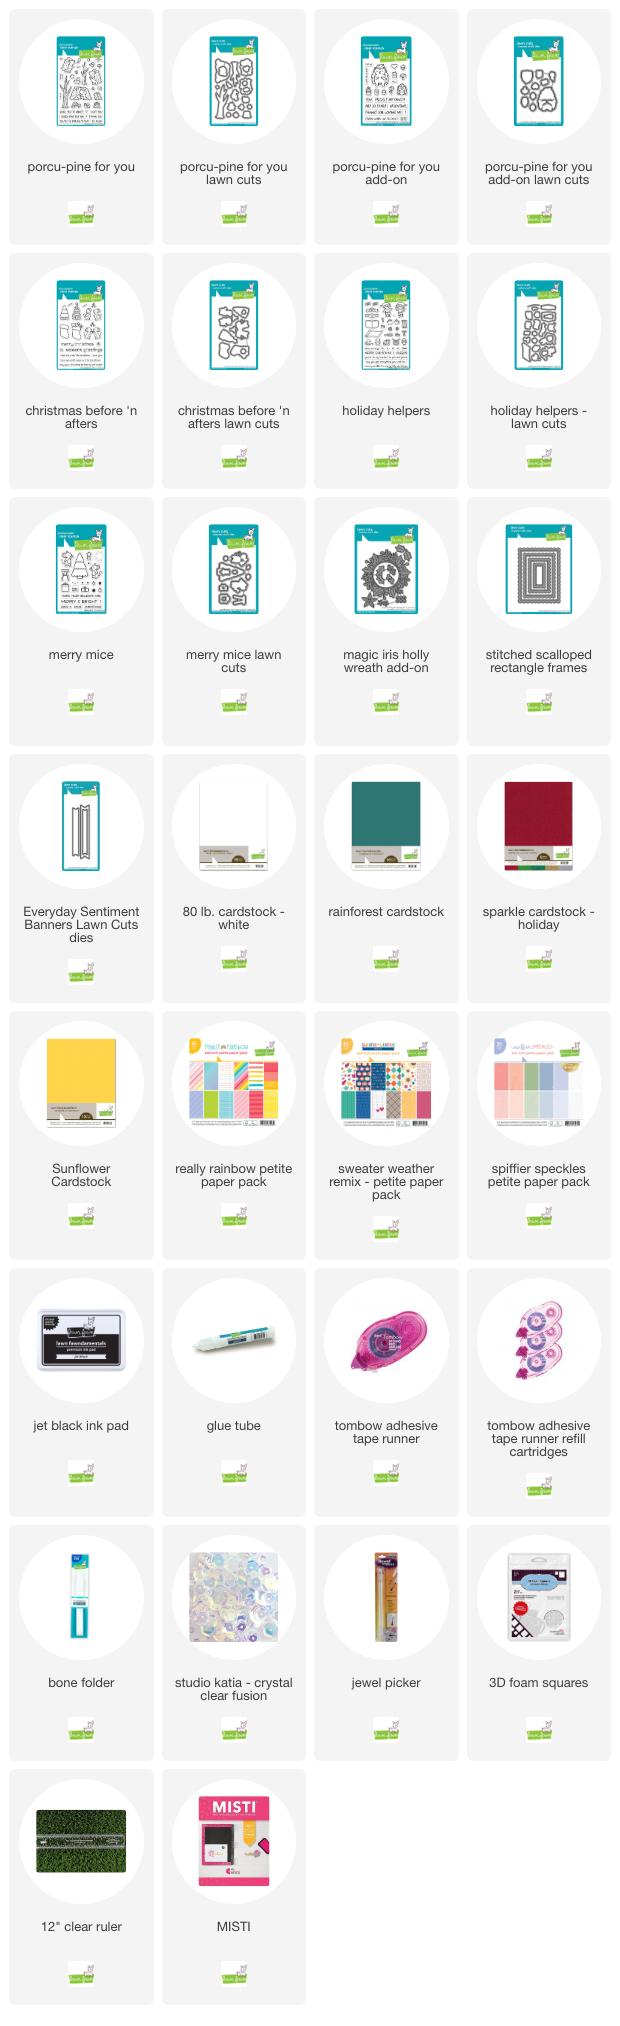
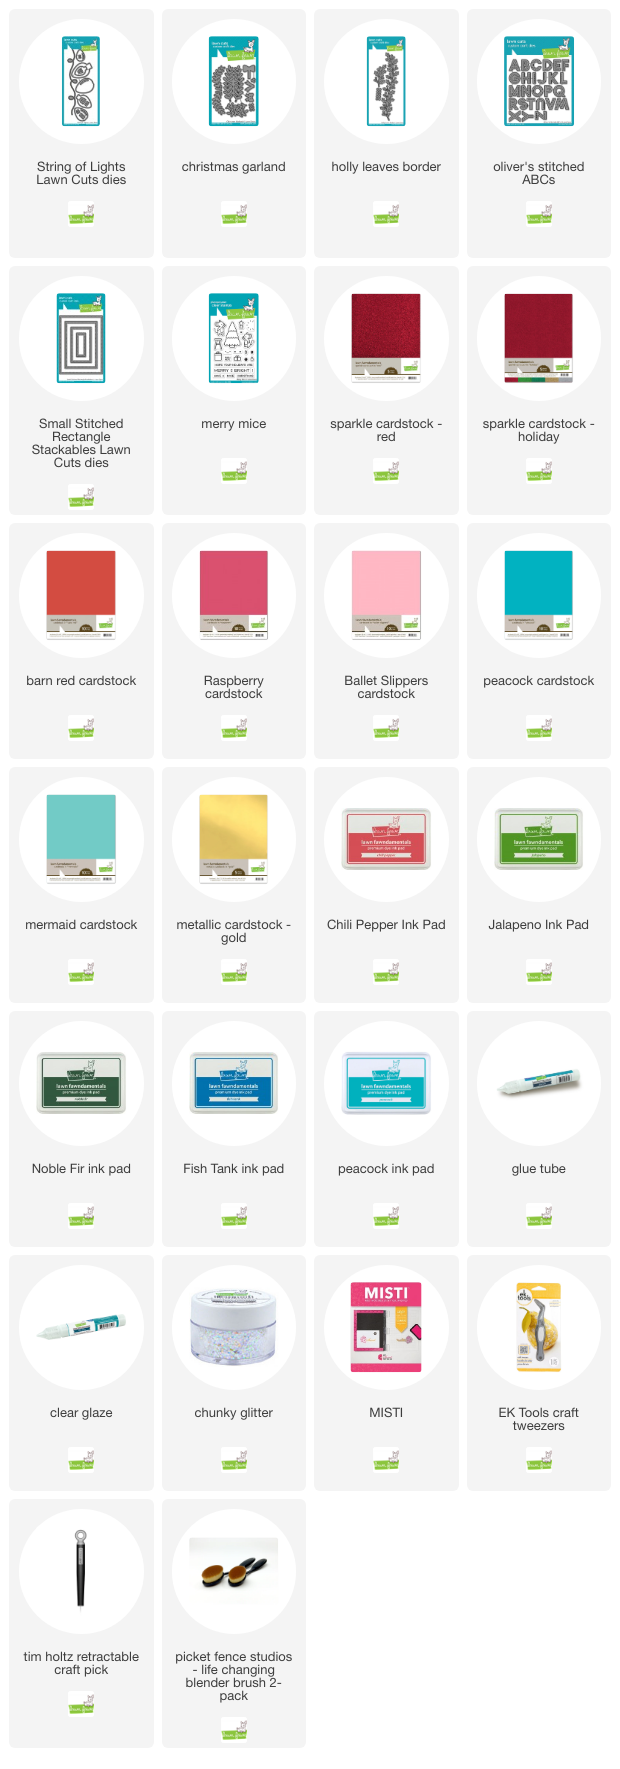
Supplies:
We are so happy you visited the Lawn Fawn blog, have an amazing day!