Hello everyone! Welcome to our special Fawny Holiday Week! This week is all about getting ideas for the upcoming Holidays! We have fun ideas and inspiration along with videos and daily giveaways! (Make sure to comment for a chance to win a stamp set and coordinating dies of your choice and a Let It Shine 6×6 pad!)
We will be featuring Lawn Fawn Holiday products this week, both old and new! Woohoo! We will be sharing holiday projects by our Design Teams and some special guest designers! Our team members (Fawnies) from Lawn Fawn Headquarters will also be joining us for extra inspiration! I can’t wait to show you all of their gorgeous projects!
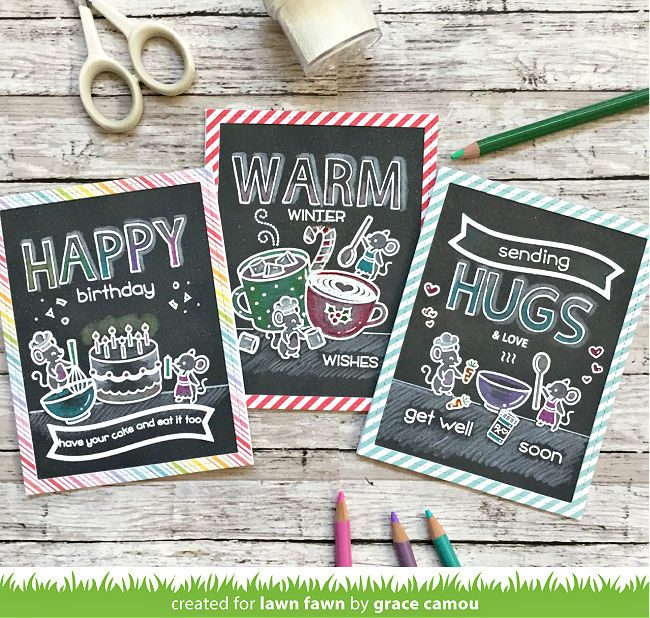
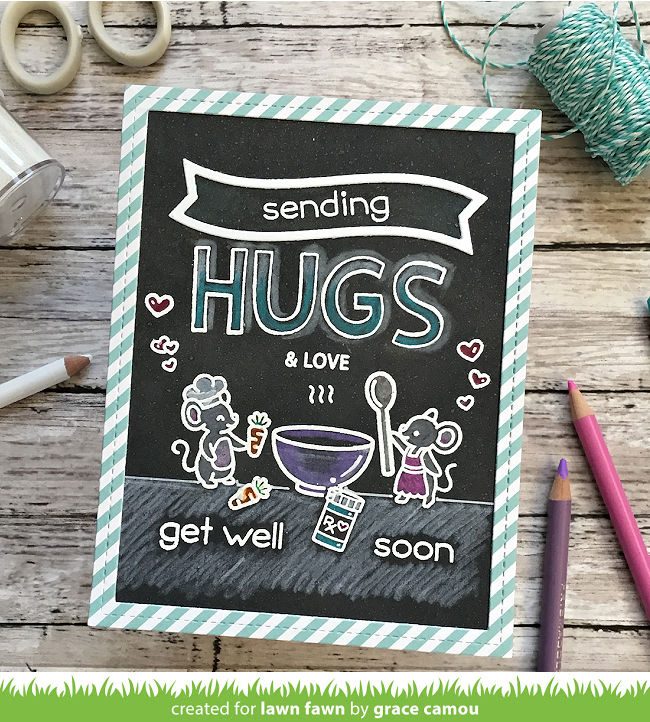
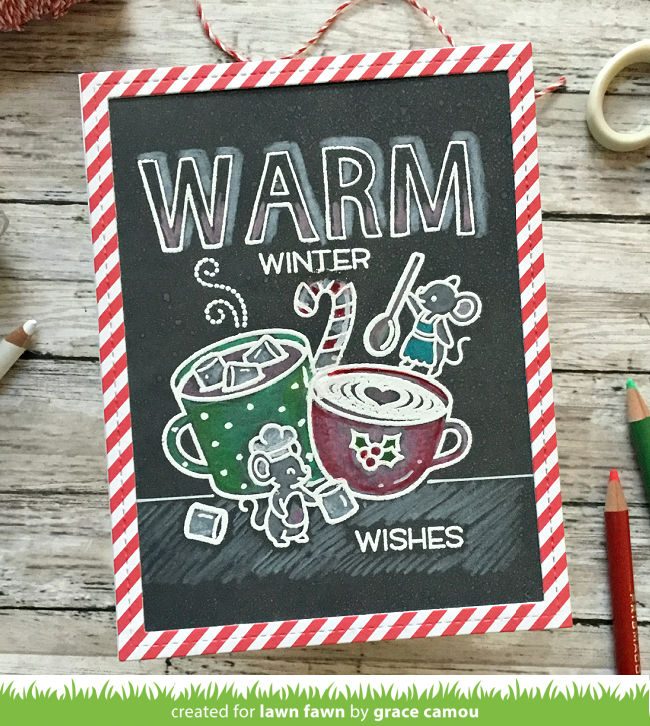
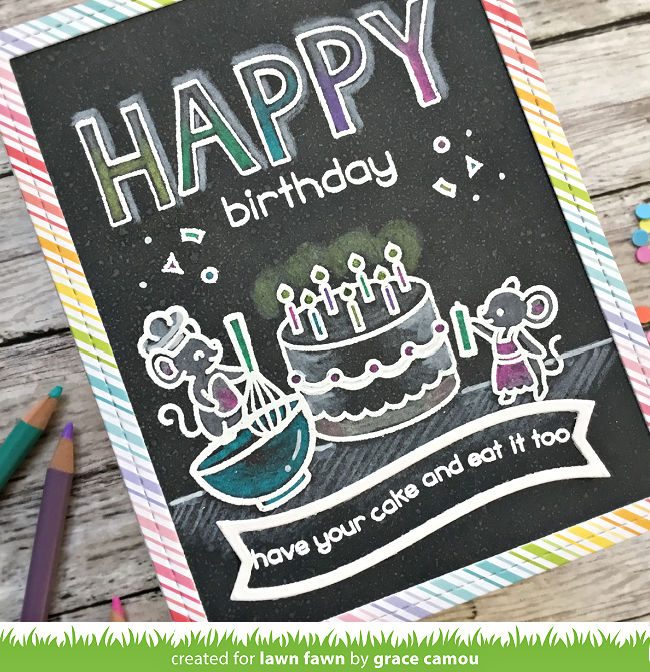
Eloise joins us today with an adorable holiday card featuring A Creature Was Stirring! You can watch the video below or click HERE to watch it at our YouTube channel.
Thanks so much for watching!
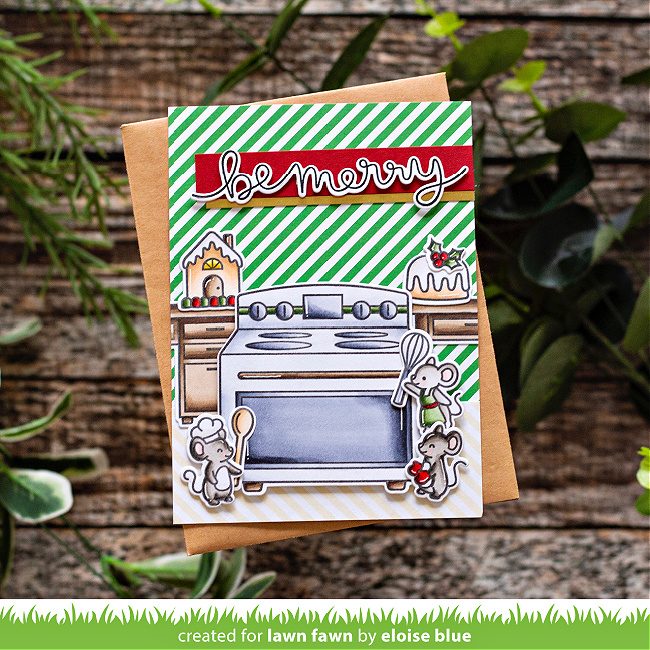
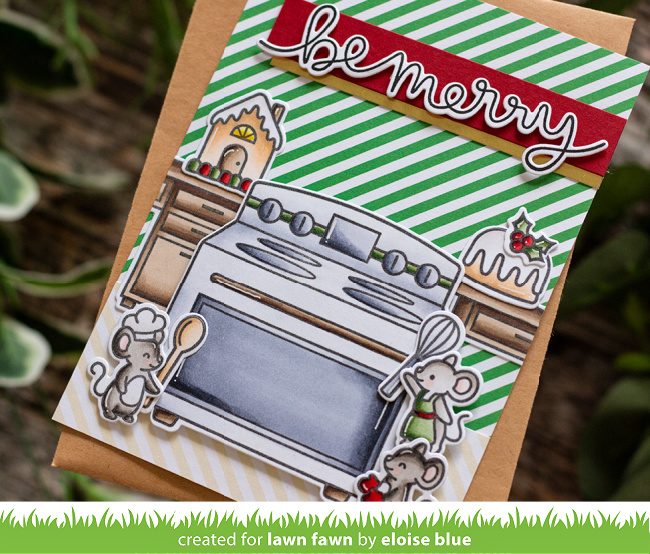
Eloise created a cheery kitchen scene by combining the stove from Sprinkled with Joy, the desk from You’re Just My Type and of course, the cute mice from A Creature Was Stirring! Keeping with the festive theme, she used Let It Shine papers and a greeting from Winter Big Scripty Words!
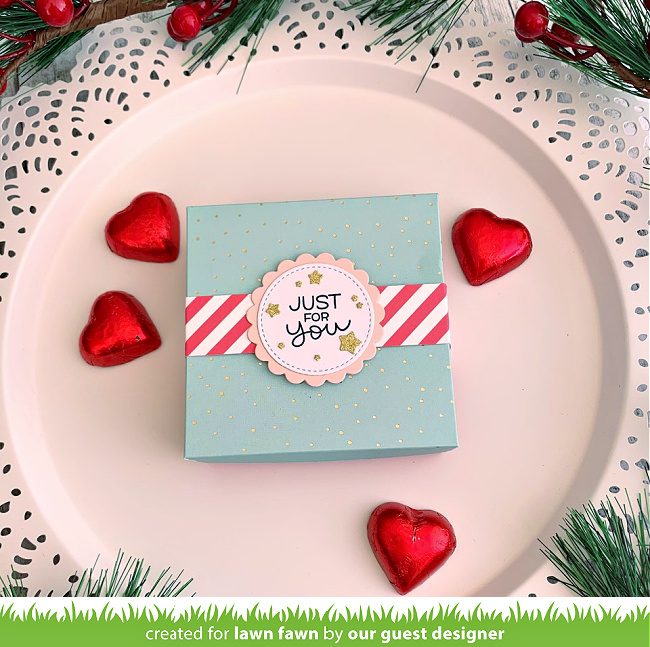
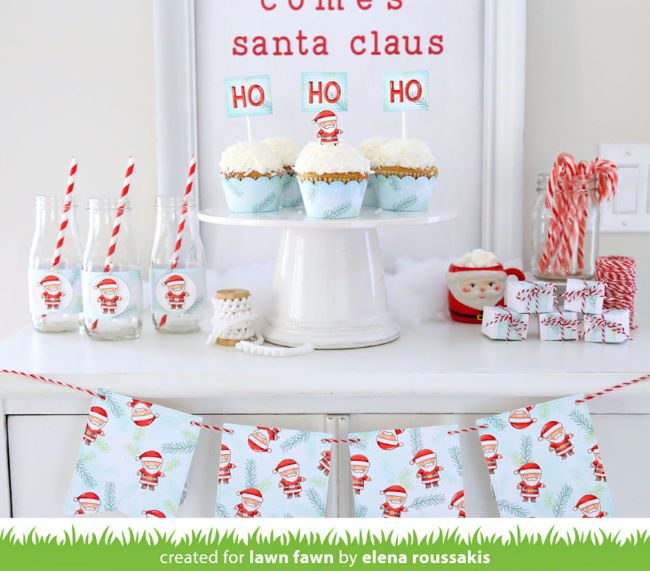
Laura is back today with another beautiful guest designer holiday project! This time she shares a set of square shaker cards, complete with a Mint Sprinkle ‘n Shine box! For the box, she used Scalloped Circle Gift Tag with a Tiny Tag Sayings greeting and gold glitter stars from Say What? Gift Tags.
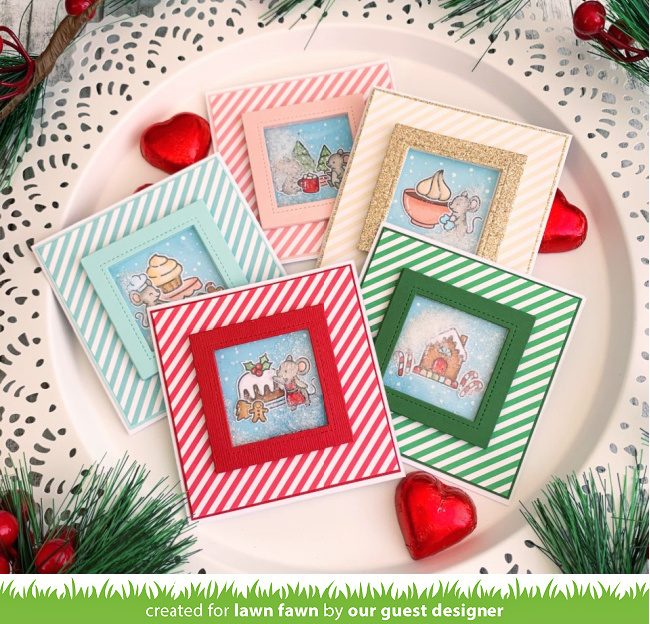
To craft these adorable shaker cards, Laura used more Let It Shine paper! She created sweet little scenes with A Creature Was Stirring and framed them with the square that is found in the Magic Picture Changer die set.
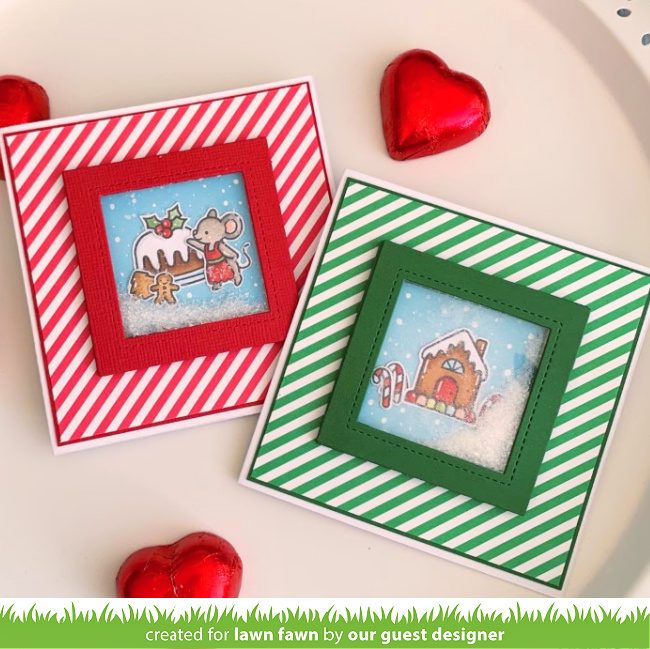
Laura filled the shaker windows with crystal ice bits for a beautifully frosty look!
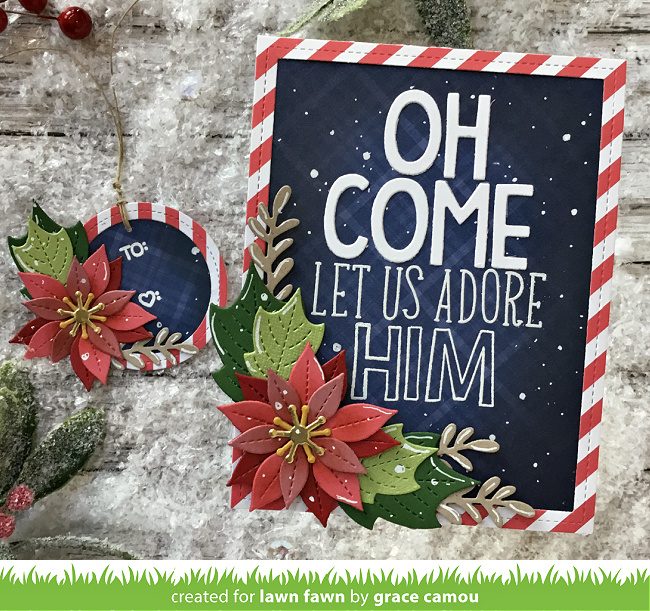

Grace created this gorgeous card and tag featuring the title of a favorite Christmas carol! Stitched Poinsettia is the star of this beautiful set!
She white embossed part of the greeting using Violet’s ABCs and Quinn’s Capital ABCs and finished it with die cut Finley’s ABCs letters. The tag is made with a Stitched Circle Frame and Shutter Card Holiday Sayings.
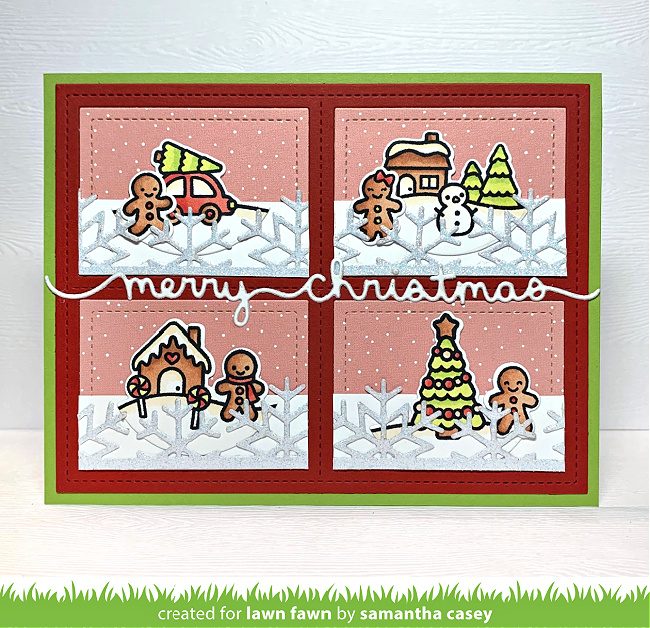
Samantha‘s whimsical holiday card starts with a Foursquare Backdrop: Landscape and Snowflake Borders! Then she filled the windows with cute Snow Globe Scenes and Tiny Gingerbread characters! The Merry Christmas Border finishes this card with the perfect sentiment!
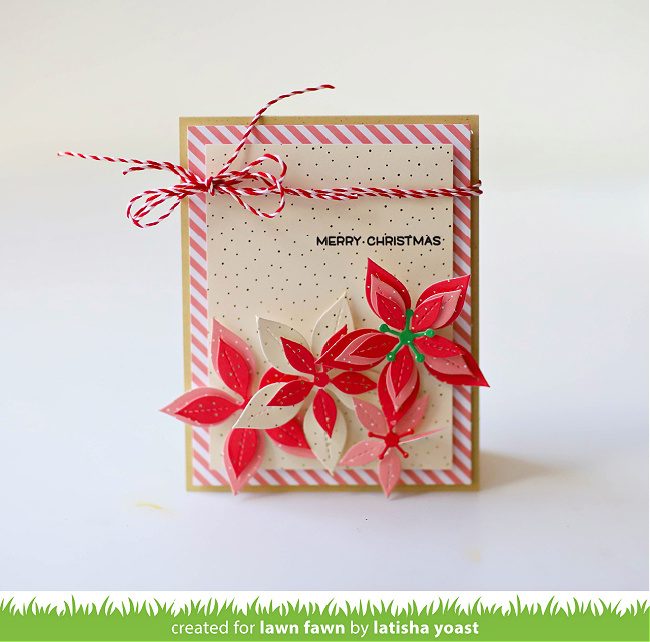
Latisha created lovely Stitched Poinsettias with Let It Shine papers to feature on her cheerful design! She layered more of the 6×6 papers on the cardbase and tied a double bow of Peppermint cord to finish her beautifully simple card!
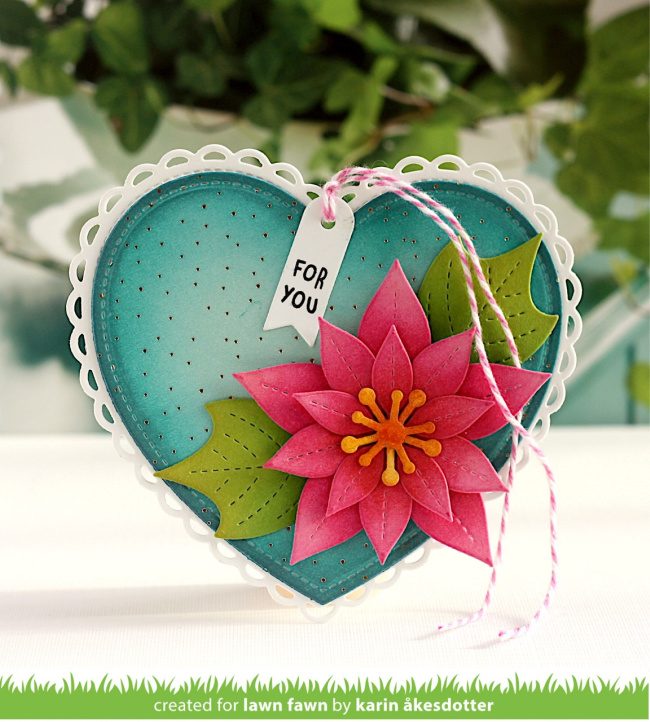
Karin also used Stitched Poinsettia in bright ink blended colors to decorate a gorgeous Lacy Heart gift tag! I love how she inked the Let It Shine paper!
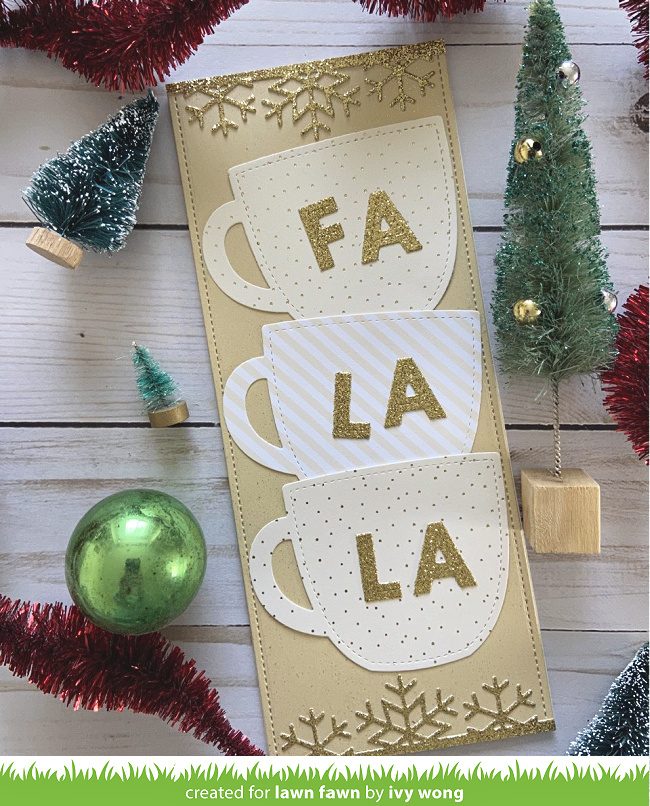
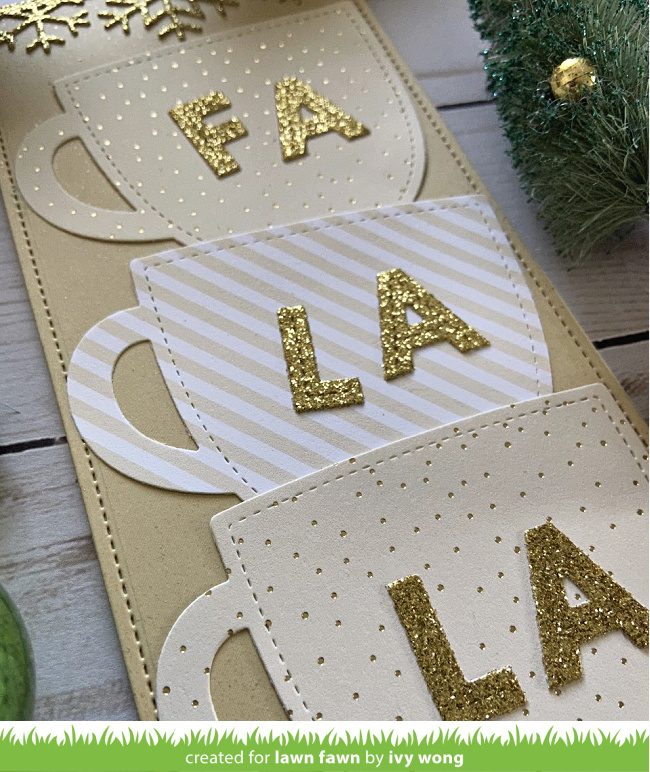
Ivy‘s tall slimline design is a showstopper in glittery gold and cream! I love how she stacked the Outside In Stitched Mugs, die cut from Let It Shine Cream Sprinkle ‘n Shine papers!
To keep the sparkly gold theme going, Ivy used Gold Rush cardstock for the card base and included Snowflake Border cut from gold glitter cardstock! Oliver’s Stitched ABCs spell out the fun greeting in more glittery gold!
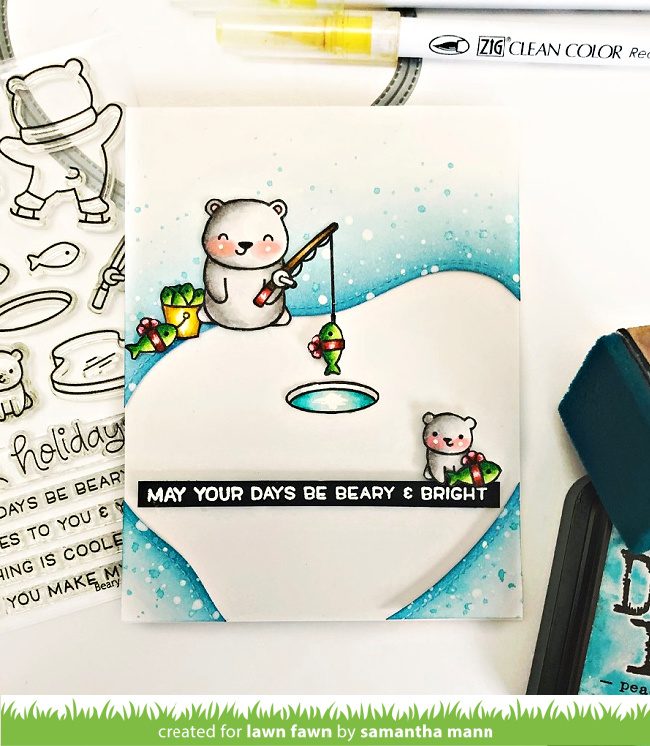
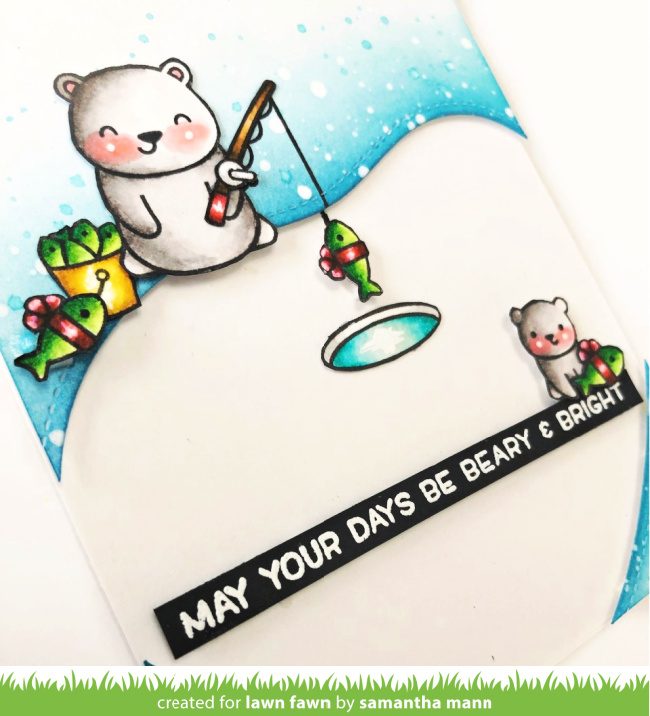
Samantha‘s “beary and bright” design is so charming! She used Stitched Pond to create an icy pond for the cute Beary Happy Holidays bears to do some ice fishing!
I hope you have enjoyed this fun look at some of our Holiday and Winter sets. Tomorrow we will announce our Fawny Holiday Week giveaway winners, so let’s do another giveaway! Leave us a comment by TODAY November 21st at 2:00PM ET, and we will randomly pick one winner for a stamp set with coordinating dies of their choice and a Let It Shine 6×6 Petite Paper pad! Post about our Fawny Holiday Week on social media and leave another comment for another chance to win!
Make sure to comment on all of our Fawny Holiday Week 2020 posts by TODAY Saturday, November 21st at 2:00PM ET! We will announce the winners tomorrow, November 22nd. We hope you enjoyed this week of holiday inspiration! Thank you so much for sharing all of your holiday favorites with us!
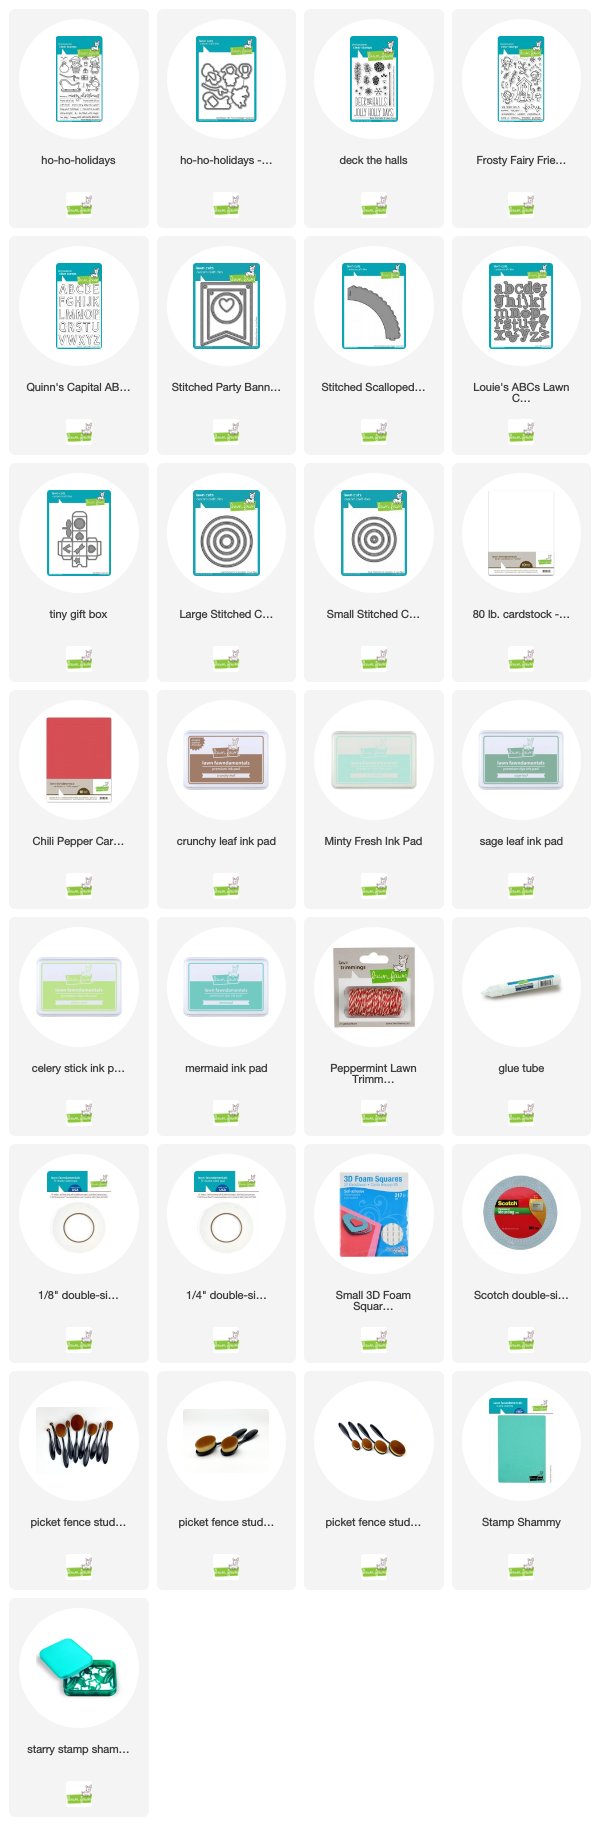
Supplies:

Thanks for visiting!
Have an amazing day!