We have some amazing new products releasing this month! Be sure to save the release date February 24th! And then join us for all the Spring Release Week intros, videos, inspiration and giveaways starting February 16th! See you then! (For a little sneak, check out this Reel!)
It’s time for another brilliant 1 Stamp, 3 Ways with Tammy! Her designs are so clever, featuring a favorite Valentine candy!
Take it away, Tammy!
Hi friends and welcome to another 1 Stamp, 3 Ways! This month, I am featuring the adorable new set, Scent With Love. Combined with some iconic Sweethearts candy, these sweet projects are perfect for Valentine’s Day or your sweetie!
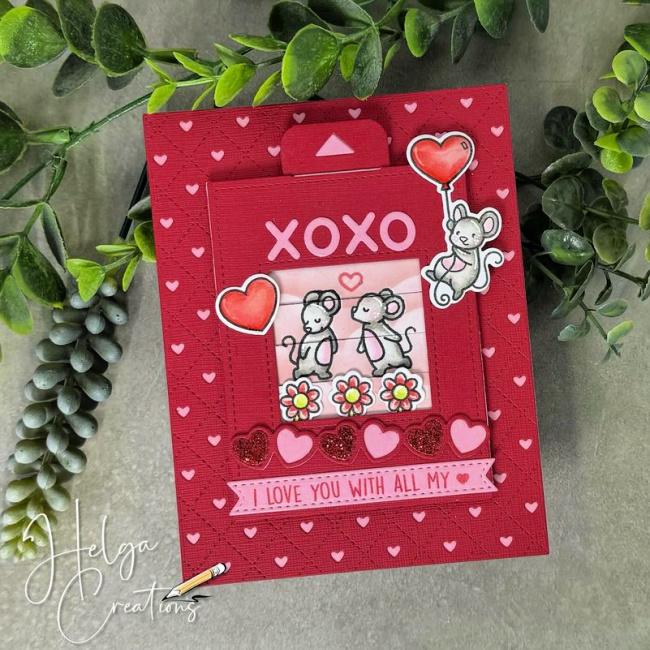
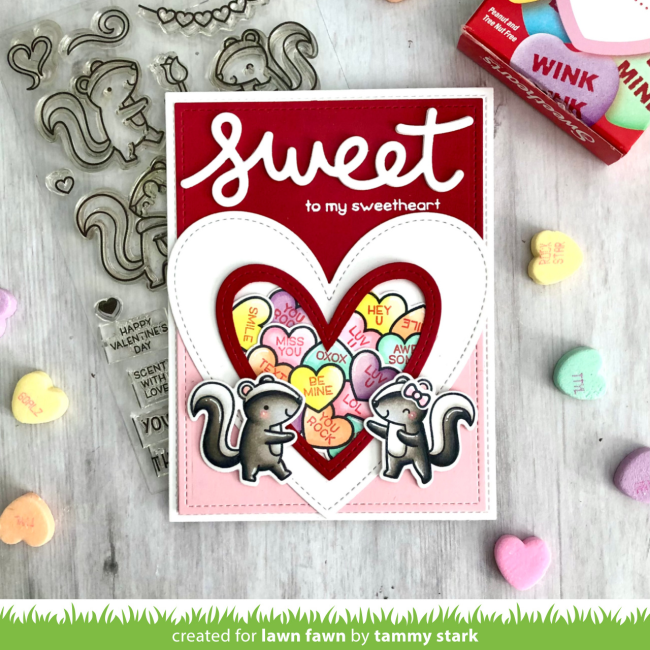
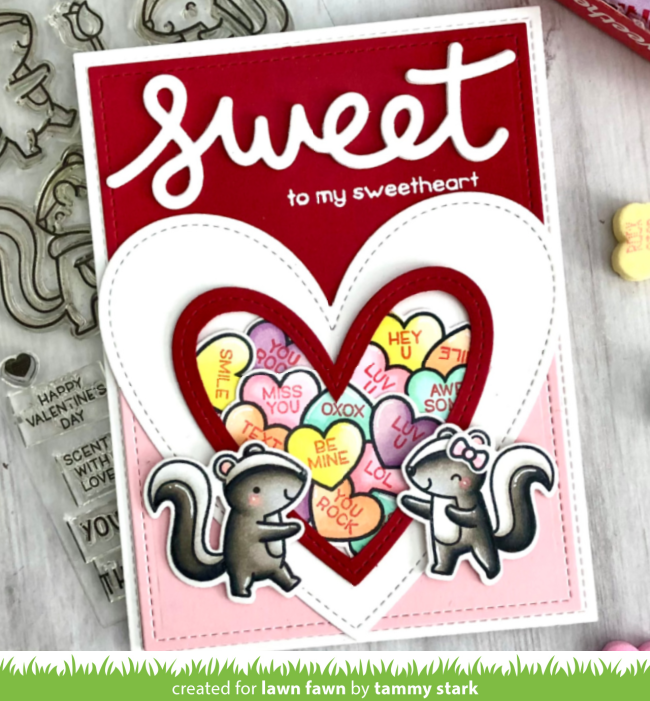
Box of Sweethearts Card
I remember handing out boxes of Sweethearts to my classmates in elementary school. It was always so much fun to read the printed messages on the candies!
To create my card, I began by stamping the images from Scent With Love, coloring with Copic markers, and die cutting with the Scent With Love Coordinating Dies. I then cut white cardstock using the largest die from the Large Stitched Rectangle Stackables. Next, using the largest die from the Outside In Stitched Rectangle Stackables, I die cut a rectangle from Chili Pepper and Ballet Slippers cardstock. I cut the rectangles in half and attached to the larger white cardstock.
Then I cut a white heart using the Stitched Heart Stackables, and a smaller heart from Chili Pepper cardstock. I placed the die onto the red heart and traced it, then cut it out to create a frame. Next, I stamped the images from How You Bean? Conversation Heart Add-On, colored with Copic markers, and die cut with the Coordinating Dies.
I attached the conversation hearts behind the red heart, then glued it to the white heart. Then I die cut the white “sweet” sentiment 3 times using the Scripty Sweet Die, stacked them on top of each other, and attached to the top of my card, then white heat embossed the sentiment from How You Bean? Conversation Heart Add-On underneath. Lastly, I attached the skunks to the card front using foam tape for dimension.
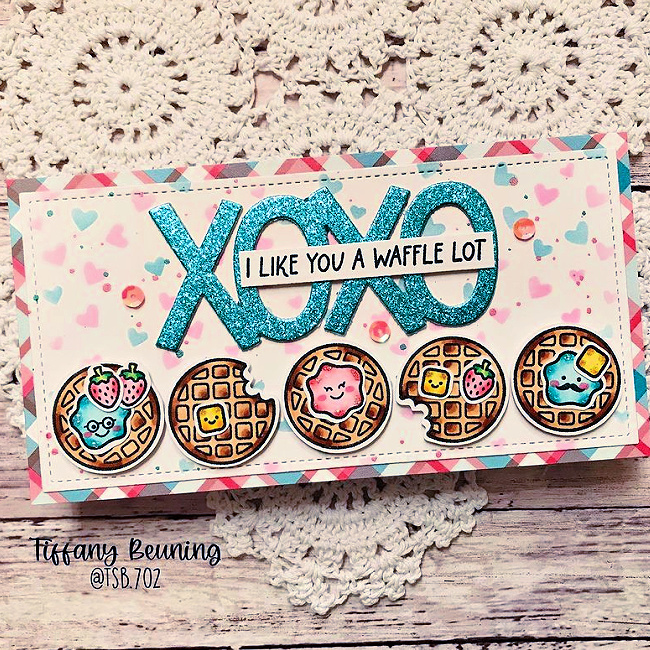
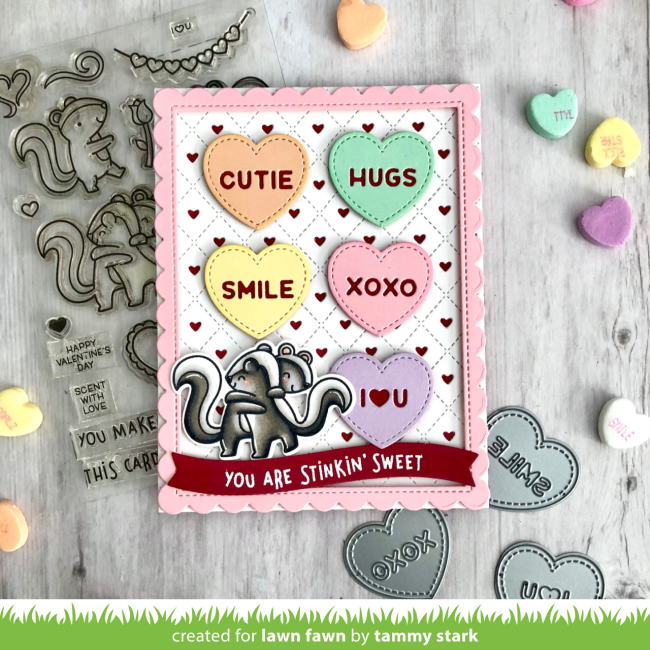
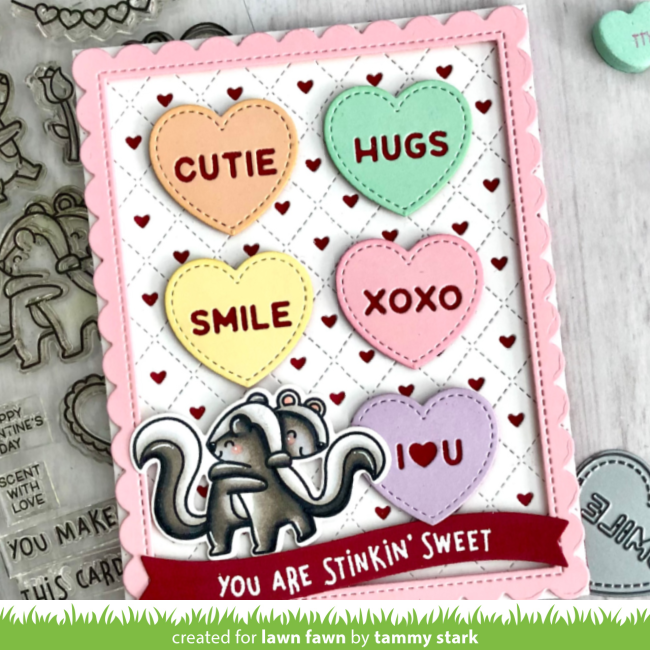
Candy Hearts Card
To create this card, I began with an A2 white card base. Then I die cut white cardstock using the Quilted Heart Backdrop: Portrait. I layered it over Chili Pepper cardstock and attached it to the card base. I framed the card with a Stitched Scalloped Rectangle Frame cut from Ballet Slippers cardstock; attaching it with foam tape for dimension. Next, I die cut some Candy Hearts using Apricot, Sage Leaf, Sticky Note, and Ballet Slippers cardstock layered over Chili Pepper to create the sweetest little candies!
And then, I stamped the adorable hugging skunks from Scent With Love, colored with Copic markers, and die cut with the Scent With Love Coordinating Dies. I attached the Candy Hearts and skunks to my card using foam tape. And I finished it up with a Chili Pepper Simple Wavy Banner for the white heat-embossed Scent With Love Add-On sentiment.
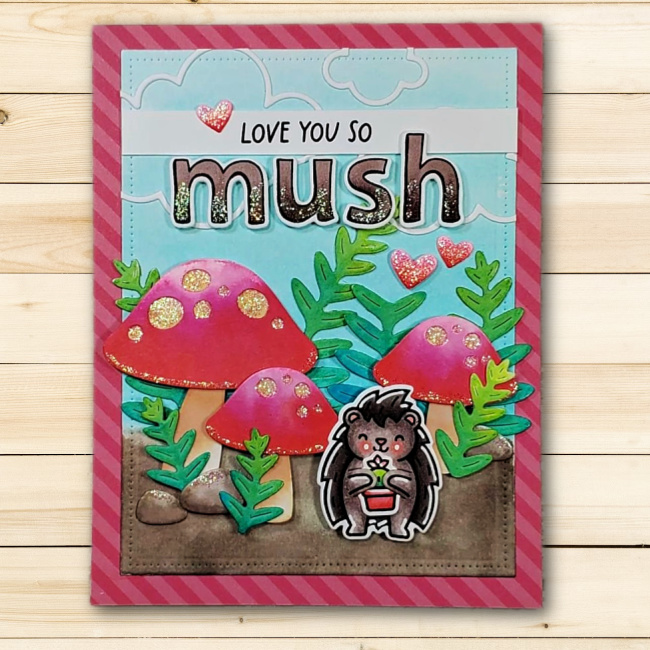
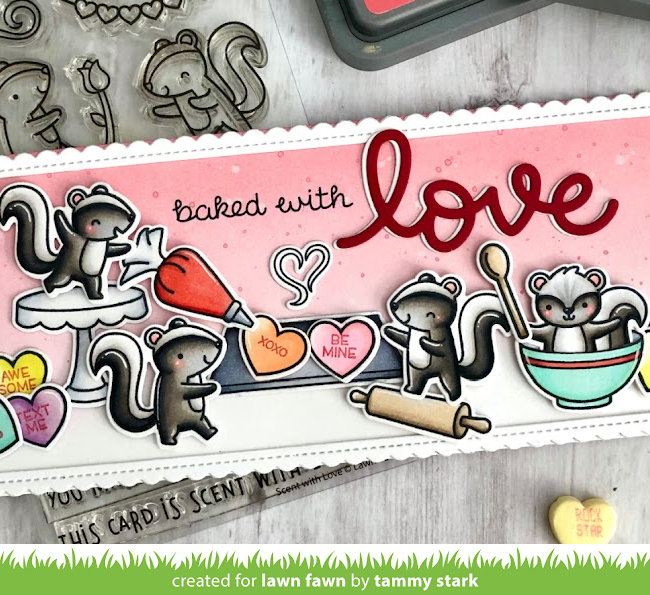
Baked With Love Slimline Card
Did you ever wonder how the Sweethearts were made? Bet you’d never guess it was by these cuties, haha!
To make this slimline card, I began by cutting a piece of Bristol Smooth cardstock to 3 ½ X 8 ½” and ink blending the background with Worn Lipstick and Spun Sugar Distress Oxide inks. Next, I created a scalloped frame by first cutting white cardstock using the Scalloped Slimline With Hearts: Portrait. I then placed the rectangular die on top of the white scalloped die cut and ran it through my die cut machine to create a frame, which I then attached to the inked background.
Next, I stamped, colored with Copic markers, and die cut the images from the following sets:
Scent With Love/ Coordinating Dies
Scent With Love Add-On/ Coordinating Dies
How You Bean? Conversation Heart Add-On/ Coordinating Dies
Baked With Love/ Coordinating Dies
A Creature Was Stirring/ Coordinating Dies
I arranged the colored images onto my inked background, attaching some with foam tape for dimension. Lastly, I stamped the sentiment from Baked with Love in Jet Black Ink then die cut the Scripty Love from white and Chili Pepper cardstock, layered them together and attached to my card to finish it off!
Thanks so much for stopping by! I hope you enjoyed this month’s 1 Stamp, 3 Ways! Please leave a comment below or over on Instagram for any suggestions or sets you would like to see featured in the upcoming months.
Big Hugs,
Tammy
Big hugs and thanks to you, Tammy! These Valentine cards are so much fun and bring back lots of great memories!
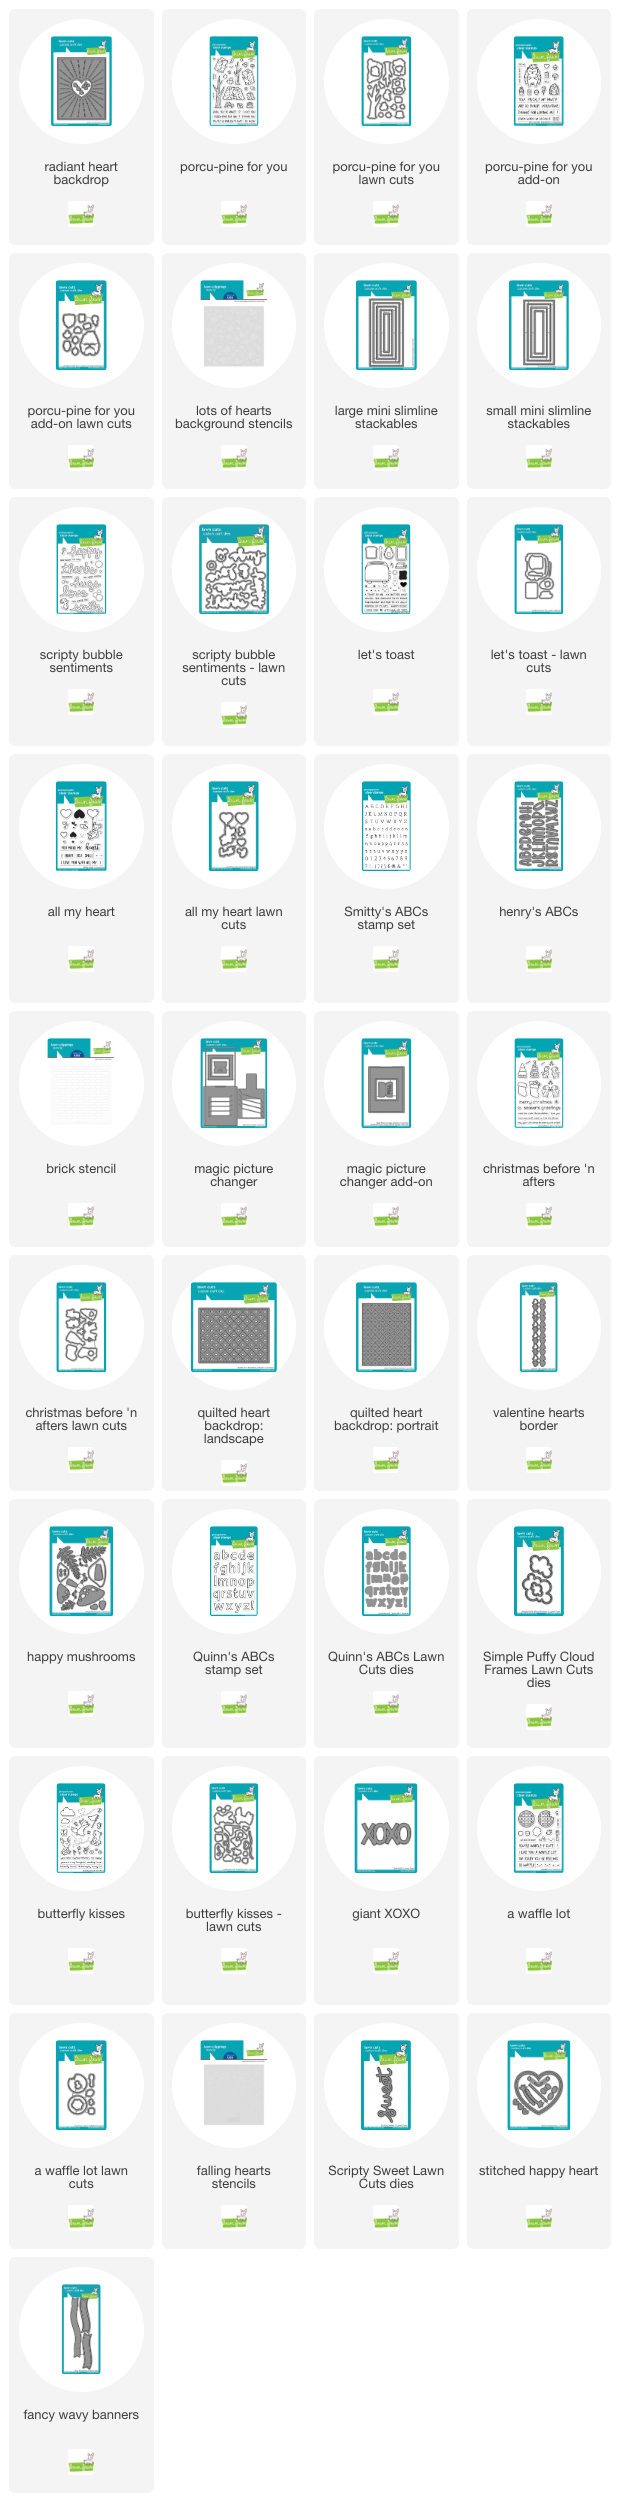
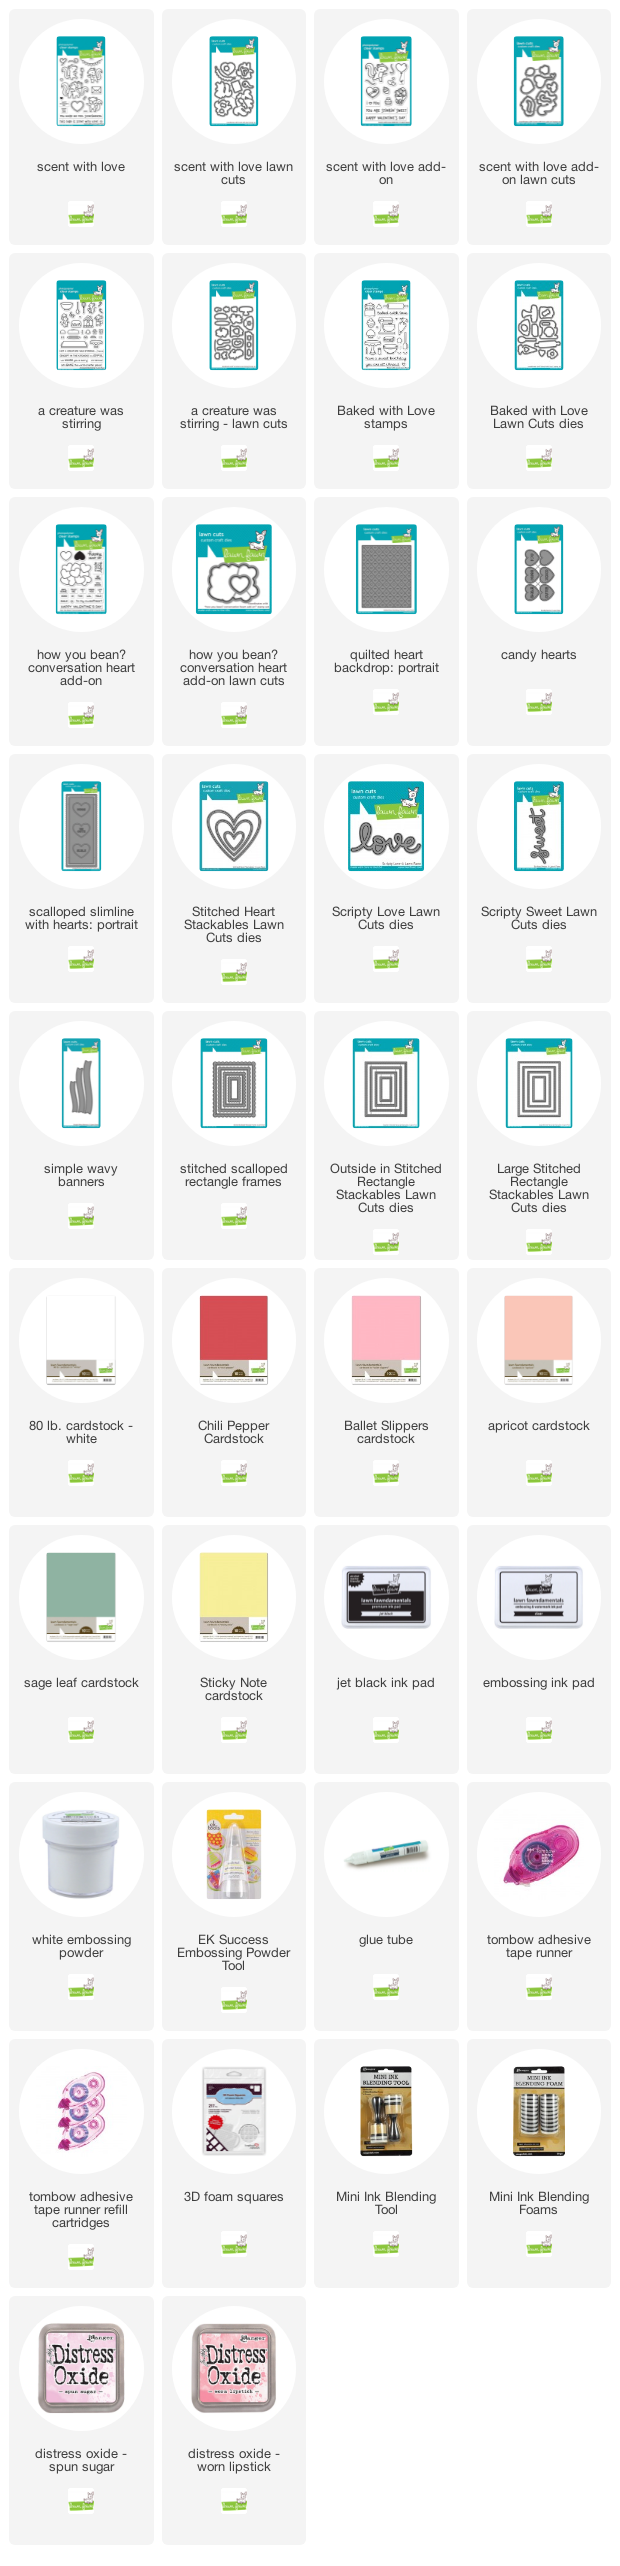
Supplies:
Thanks so much for visiting!
Have an amazing day!