Elena’s Orange You Glad Party!

It’s Party Time! Elena has another great entertaining idea, Orange You Glad? She shows us how to combine hand-crafted decorations with store-bought items to create a fun and festive orange-themed welcome home party! There’s a photo tutorial at the end to show how to create the fabulous citrusy party backdrop!
To announce the party theme, Elena created a cheerful sign using Quinn’s ABCs and Quinn’s Capital ABCs along with some selectively inked words from Plan on It: Vacation! The question mark is from Riley’s ABCs.

 You can easily personalize store-bought party favors by adding cute Stitched Leaves and Tiny Tags!
 The orange stripes on the purchased candy boxes are a perfect match for this orange-themed party! Fill them with orange candies to carry on the theme!
 More Tiny Tags with a Summertime Charm orange slice decorate the drink bottle while Stitched Leaves add a cute detail to the straws! The tiny “orange juice” is found in So Smooth.
Check out the photo tutorial below for tips on making the orange background! For the cake topper use a circle die cut and Flower Power leaves and blend on color using Lawn Fawn ink.
 To create a stencil use a Circle Stackables die to cut a large circle. Working on a large sheet of white poster paper use the circle stencil to sponge on Lawn Fawn ink in Carrot randomly across the paper.

 Add shading to the “oranges” by sponging on Pumpkin Spice ink.
 Create another stencil using the leaves from Flower Power and add green leaves with Freshly Cut Grass ink.
Use markers or colored pencils to add details and the stem!
We hope Elena has inspired you to do a little entertaining with her brilliant Orange You Glad party!
Thanks so much Elena for another fun and innovative party idea!

Thank you so much for visiting!
Have an amazing day,

A St. Patrick’s Day Card and Treat Box by Lynette

We can’t wait to share more awesome Design Team inspiration and Intro Videos! Join us this Wednesday March 15 for our Big Giveaway Post!
_______________________________

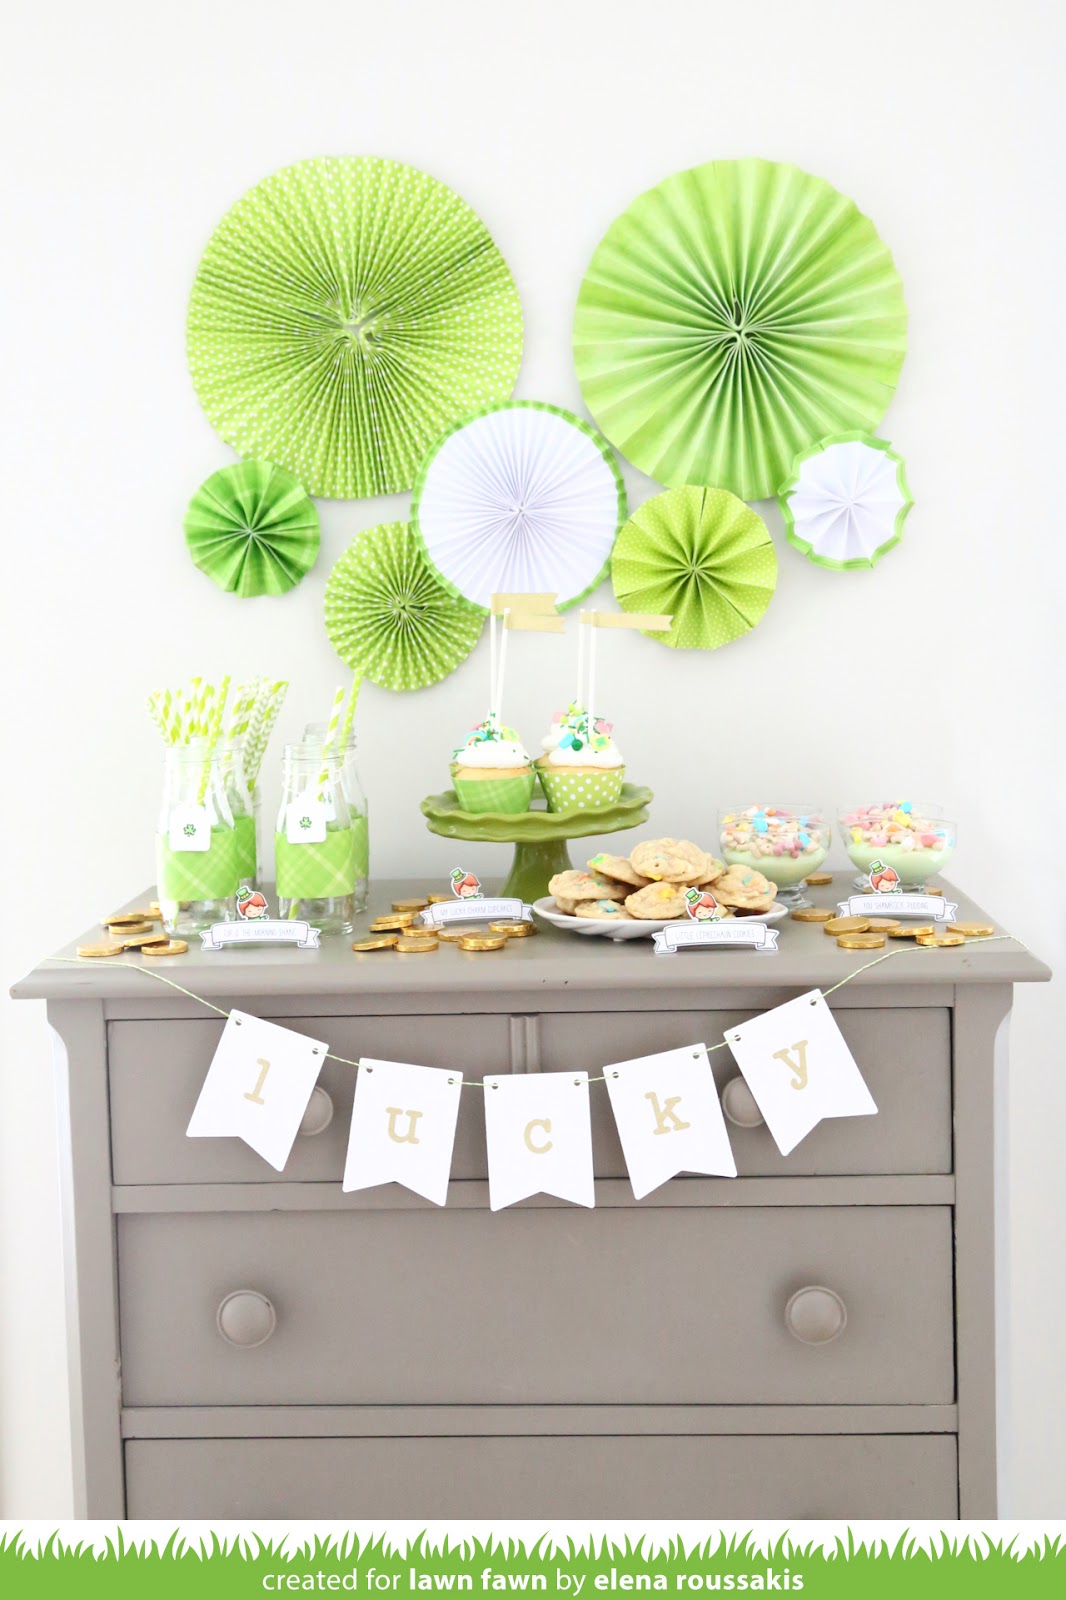
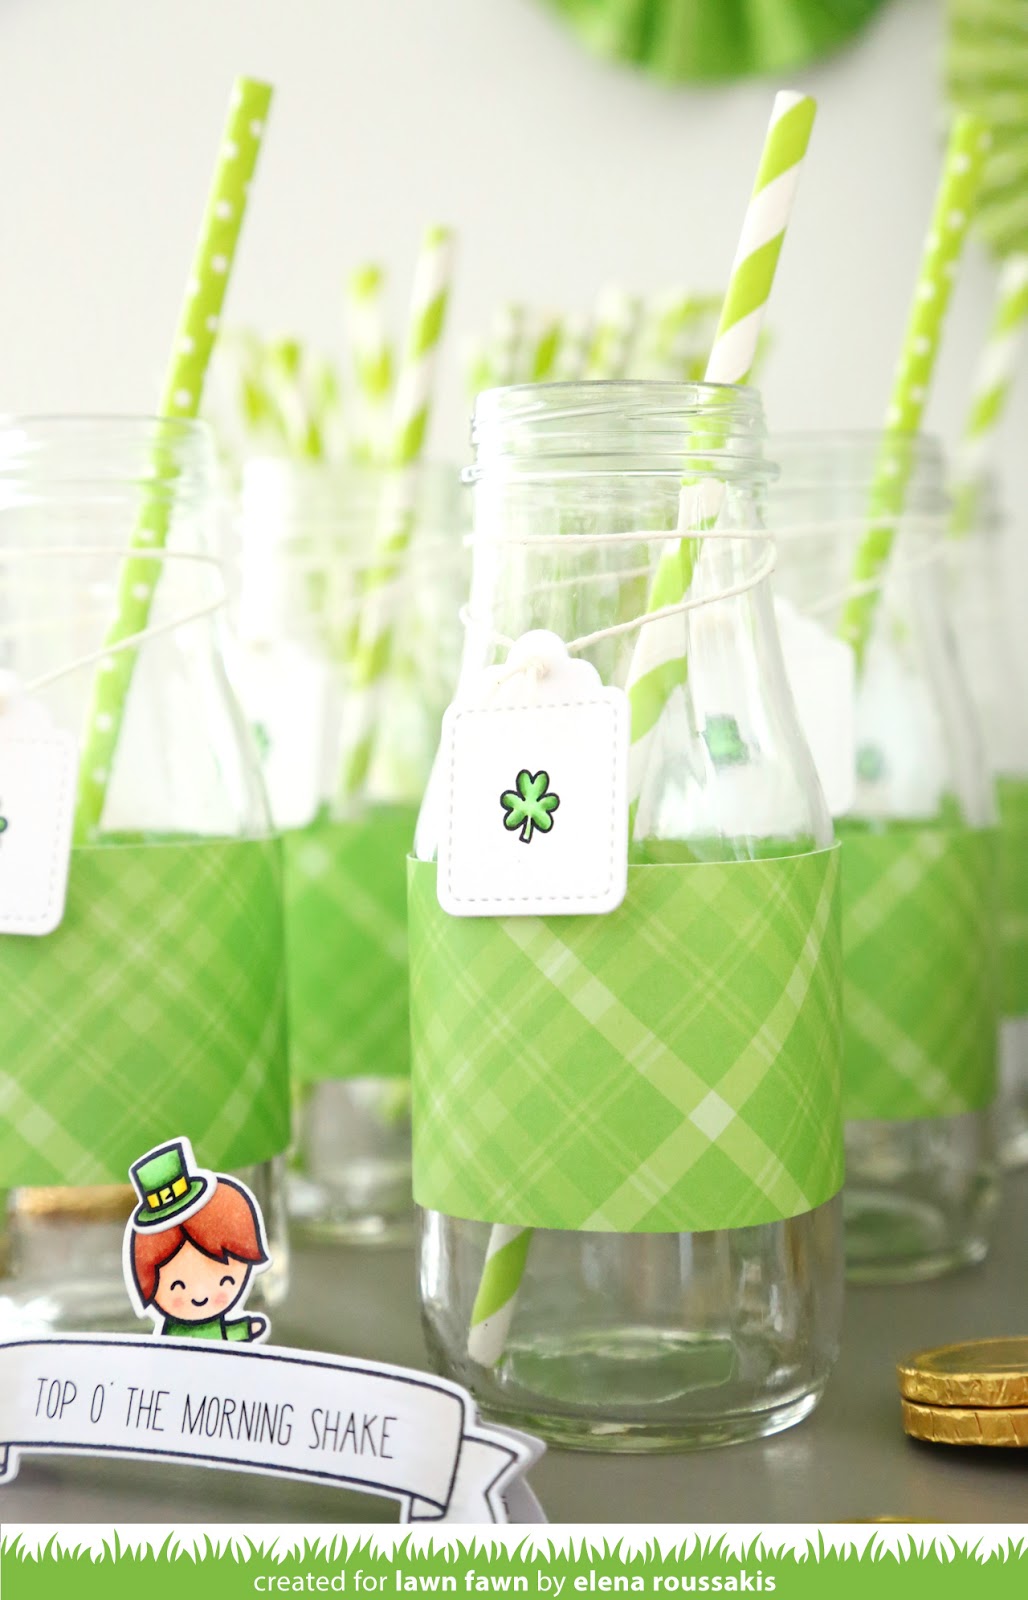
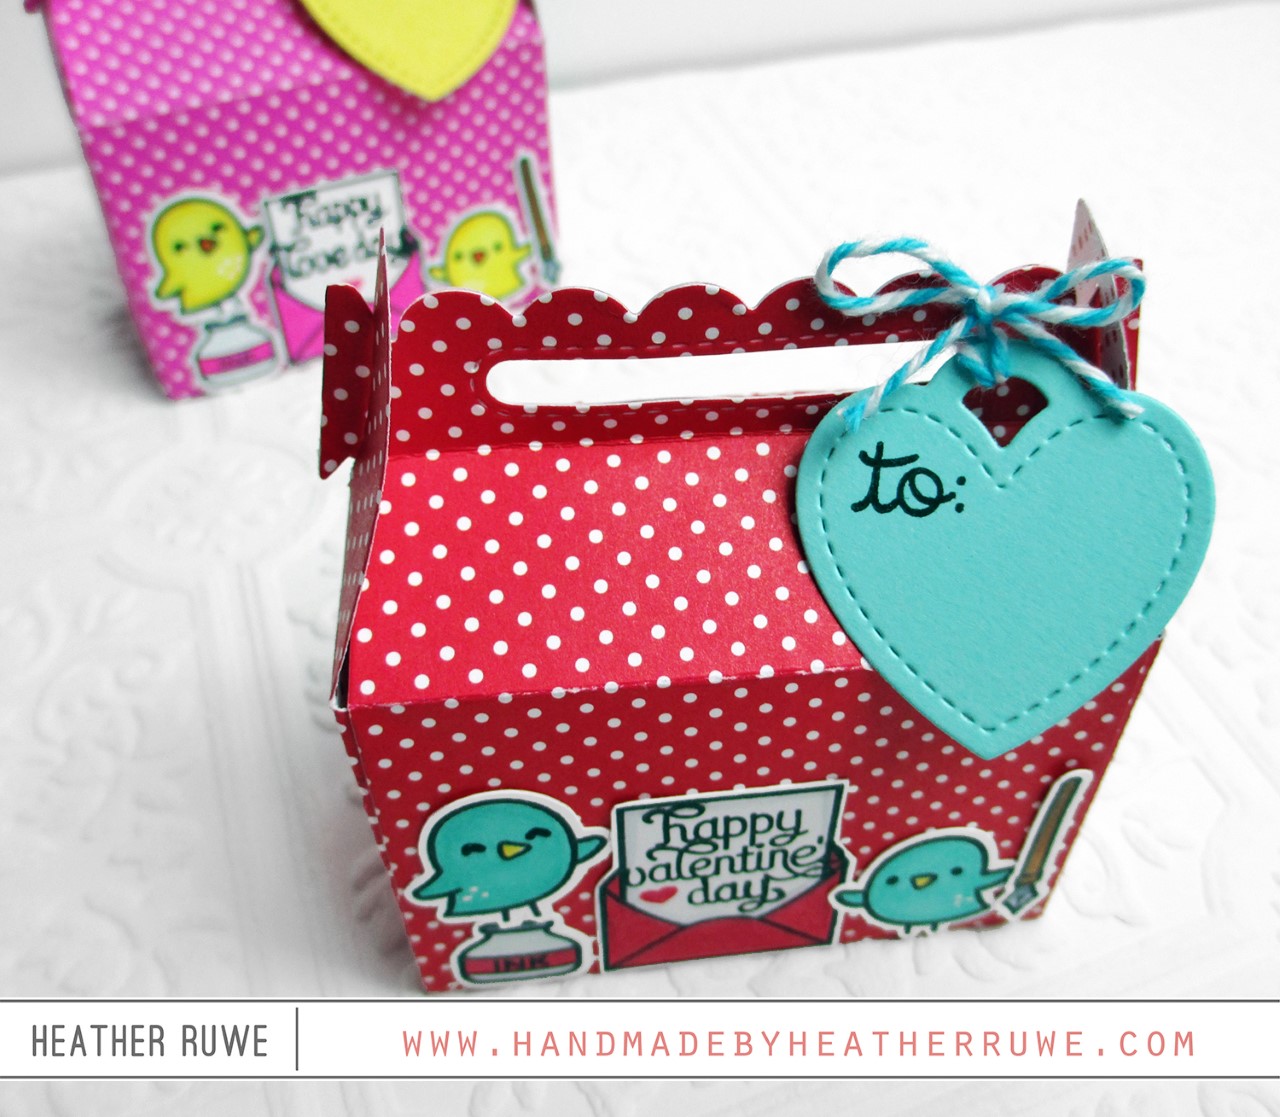
Our super-creative Fawnie, Lynette, joins us today to share a clever double-sided treat box and a cute card for St. Patrick’s Day!

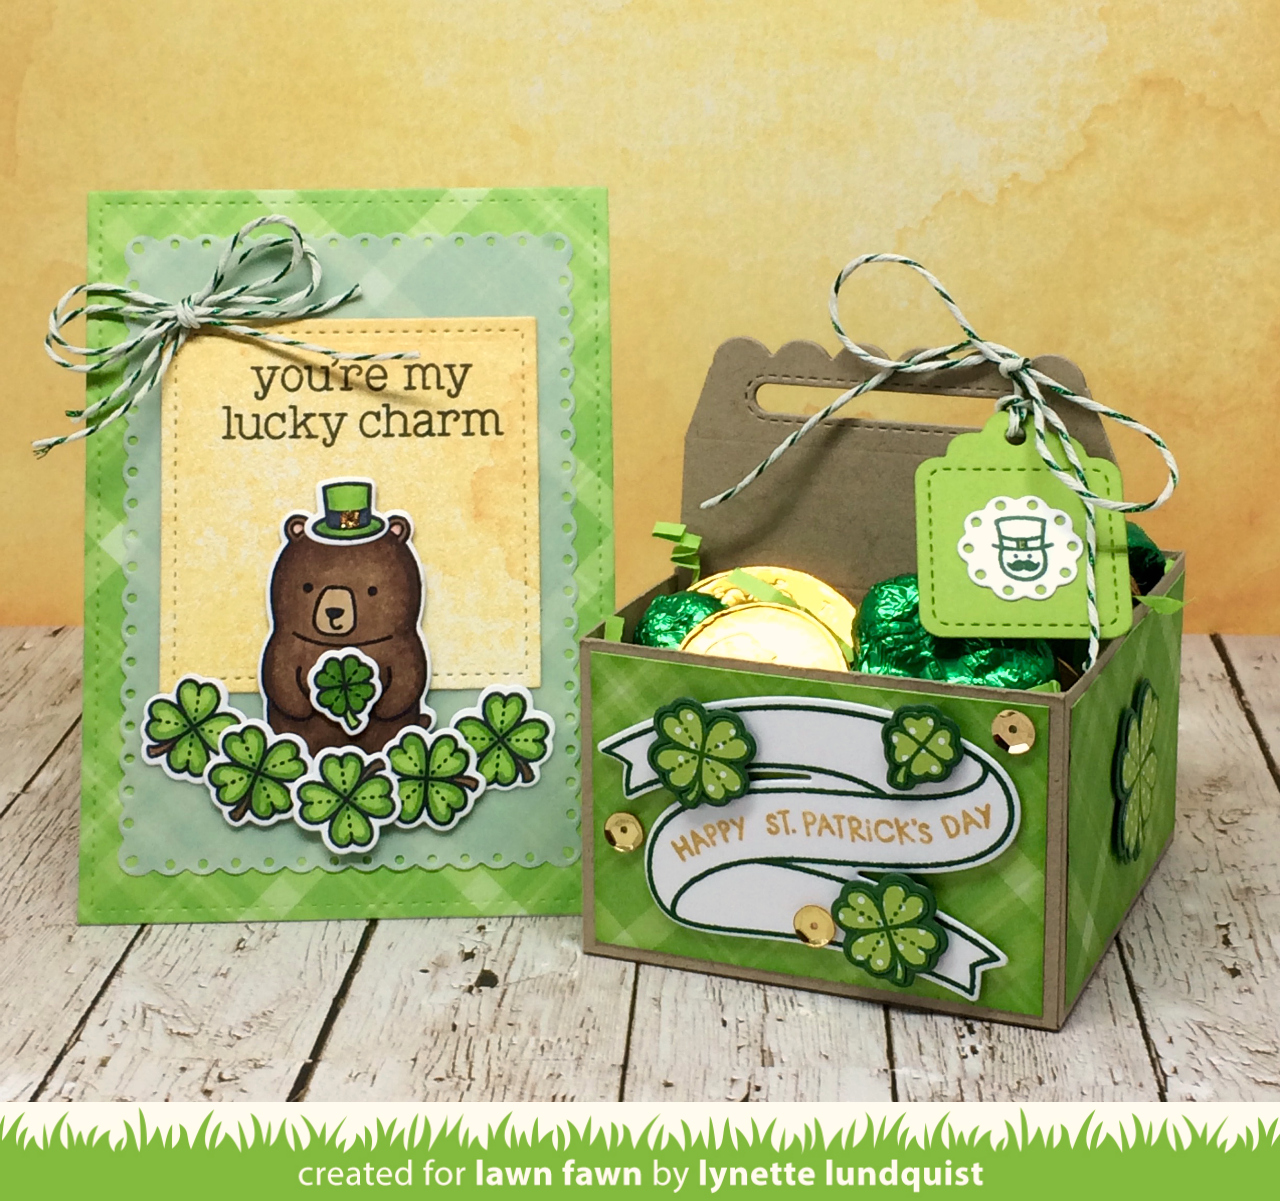
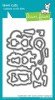
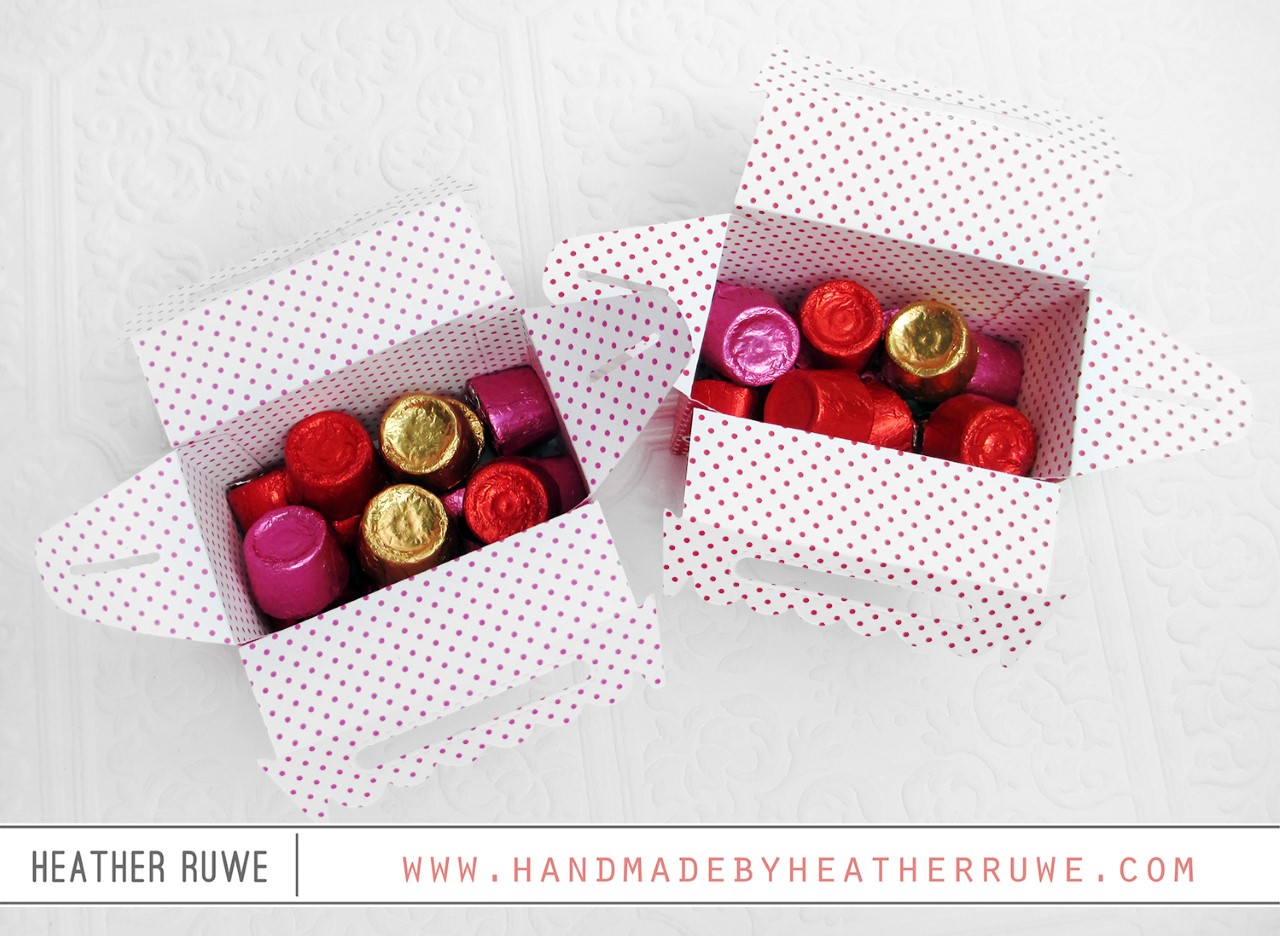
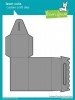
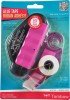
Lynette used our Scalloped Treat Box to make a double box tote to hold holiday candies!
She included a photo tutorial to show how she made the clever candy tote.

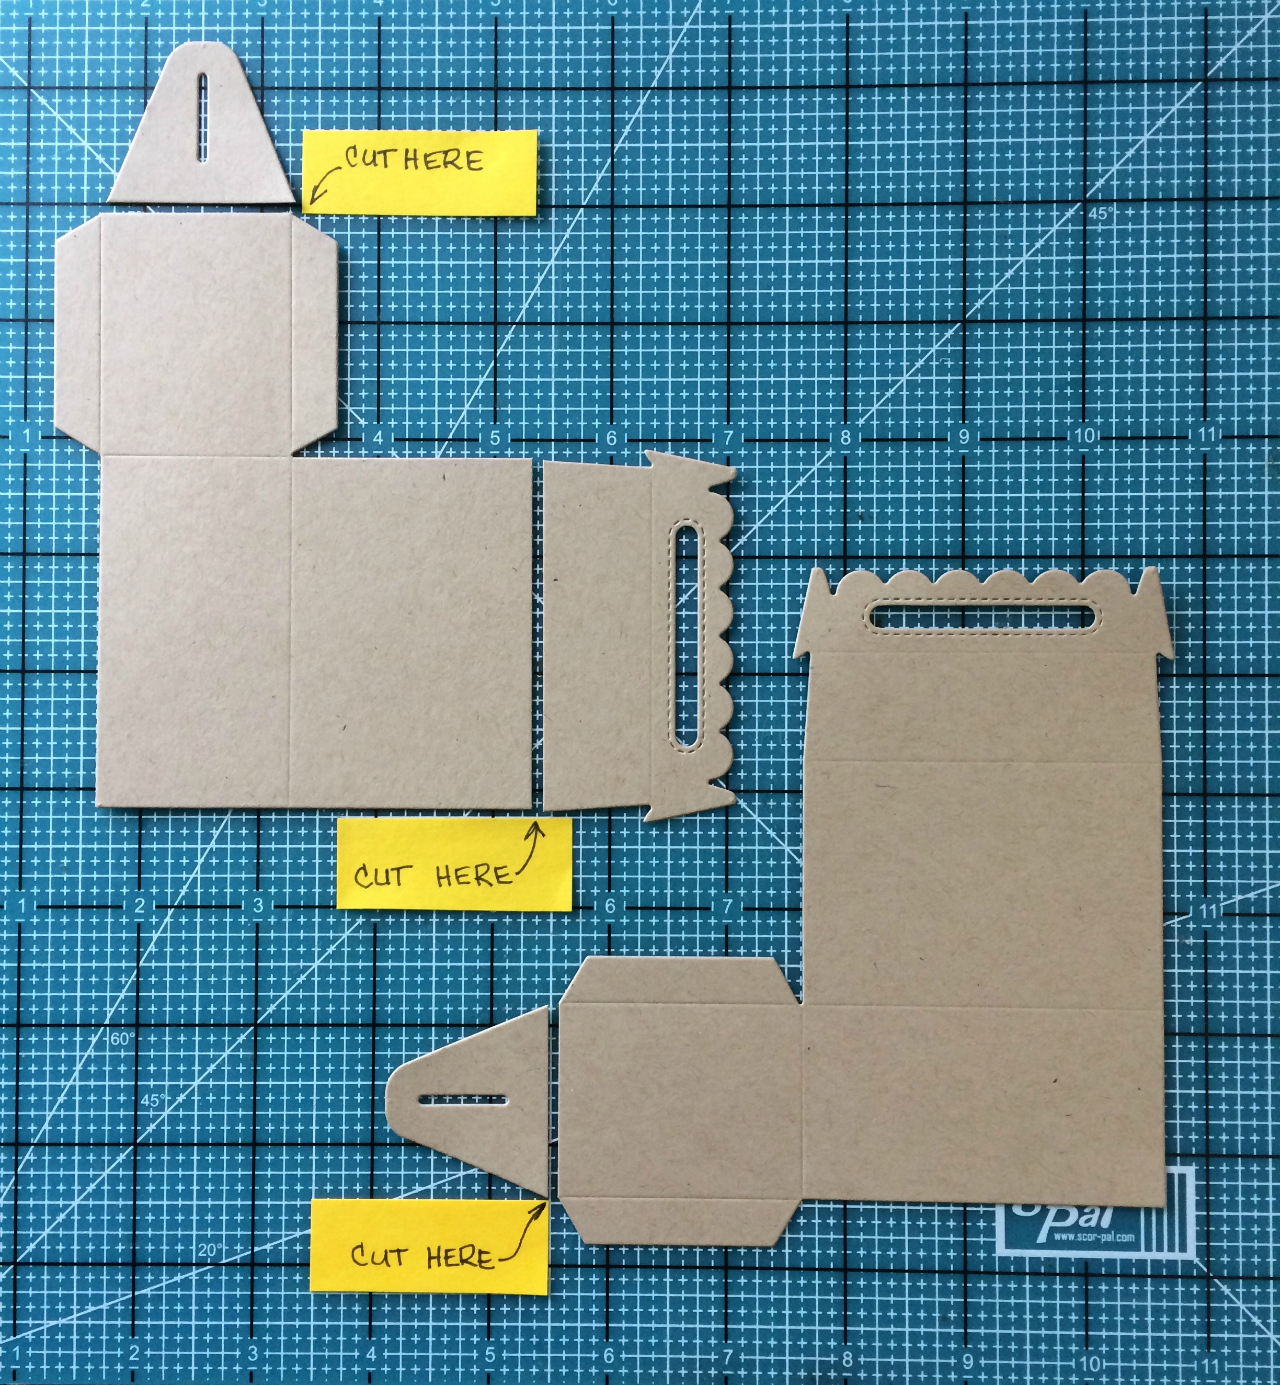
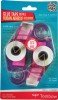
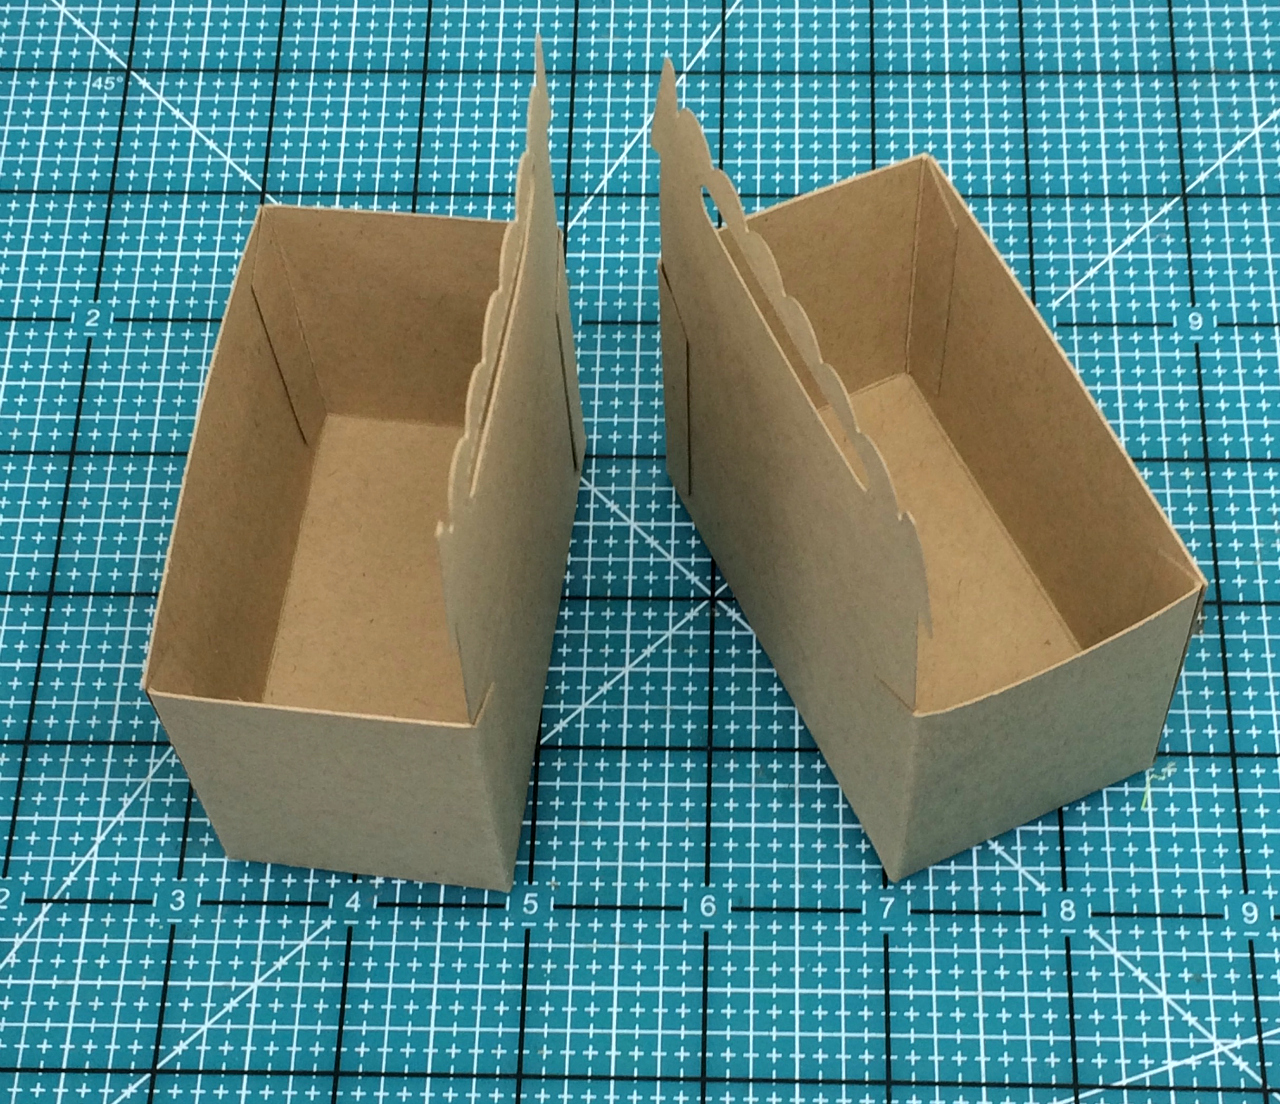
 Cut off the upper tab portion of the Scalloped Treat Box as shown above. This makes one side of the tote.

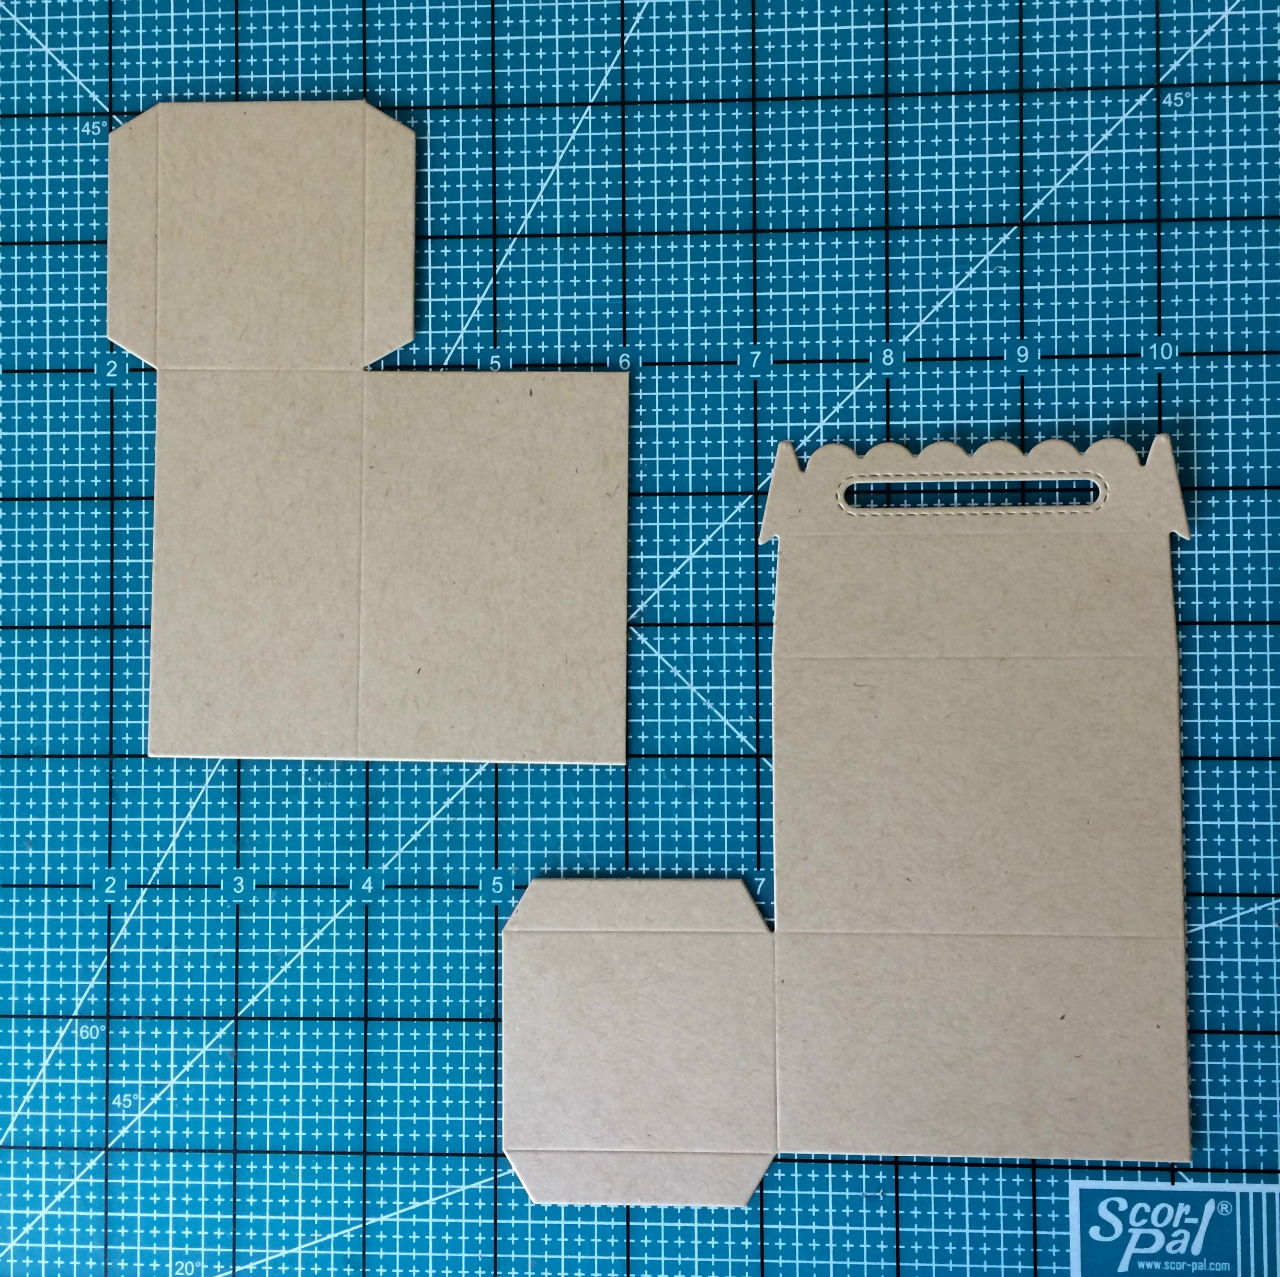
 This is what the box pieces will look like after they are trimmed. You will need to cut 2 more pieces to complete the box.

 Fold the pieces outward (the opposite of how you would fold it to make a regular Scalloped Treat Box) to assemble each side. Once they are assembled it’s time to glue the 2 sides together.

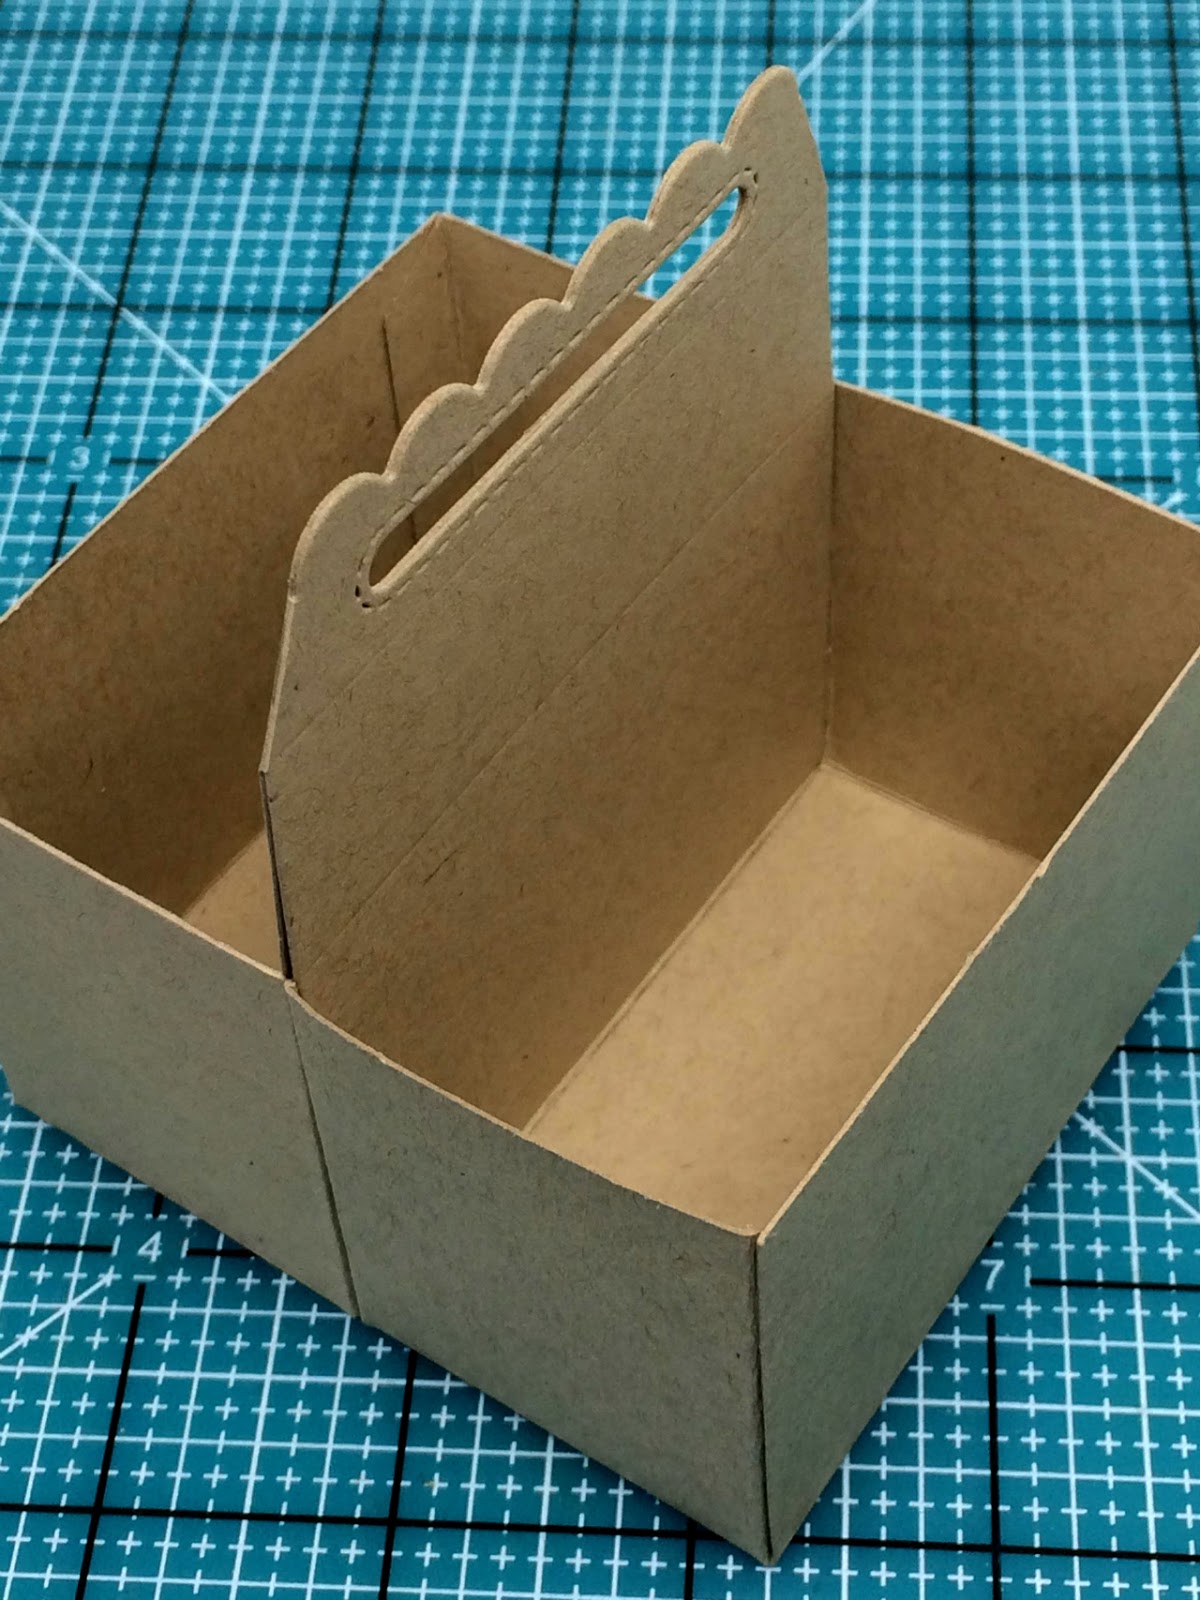
Cut off the small side tabs from the top of the box. Now it’s ready to be embellished!

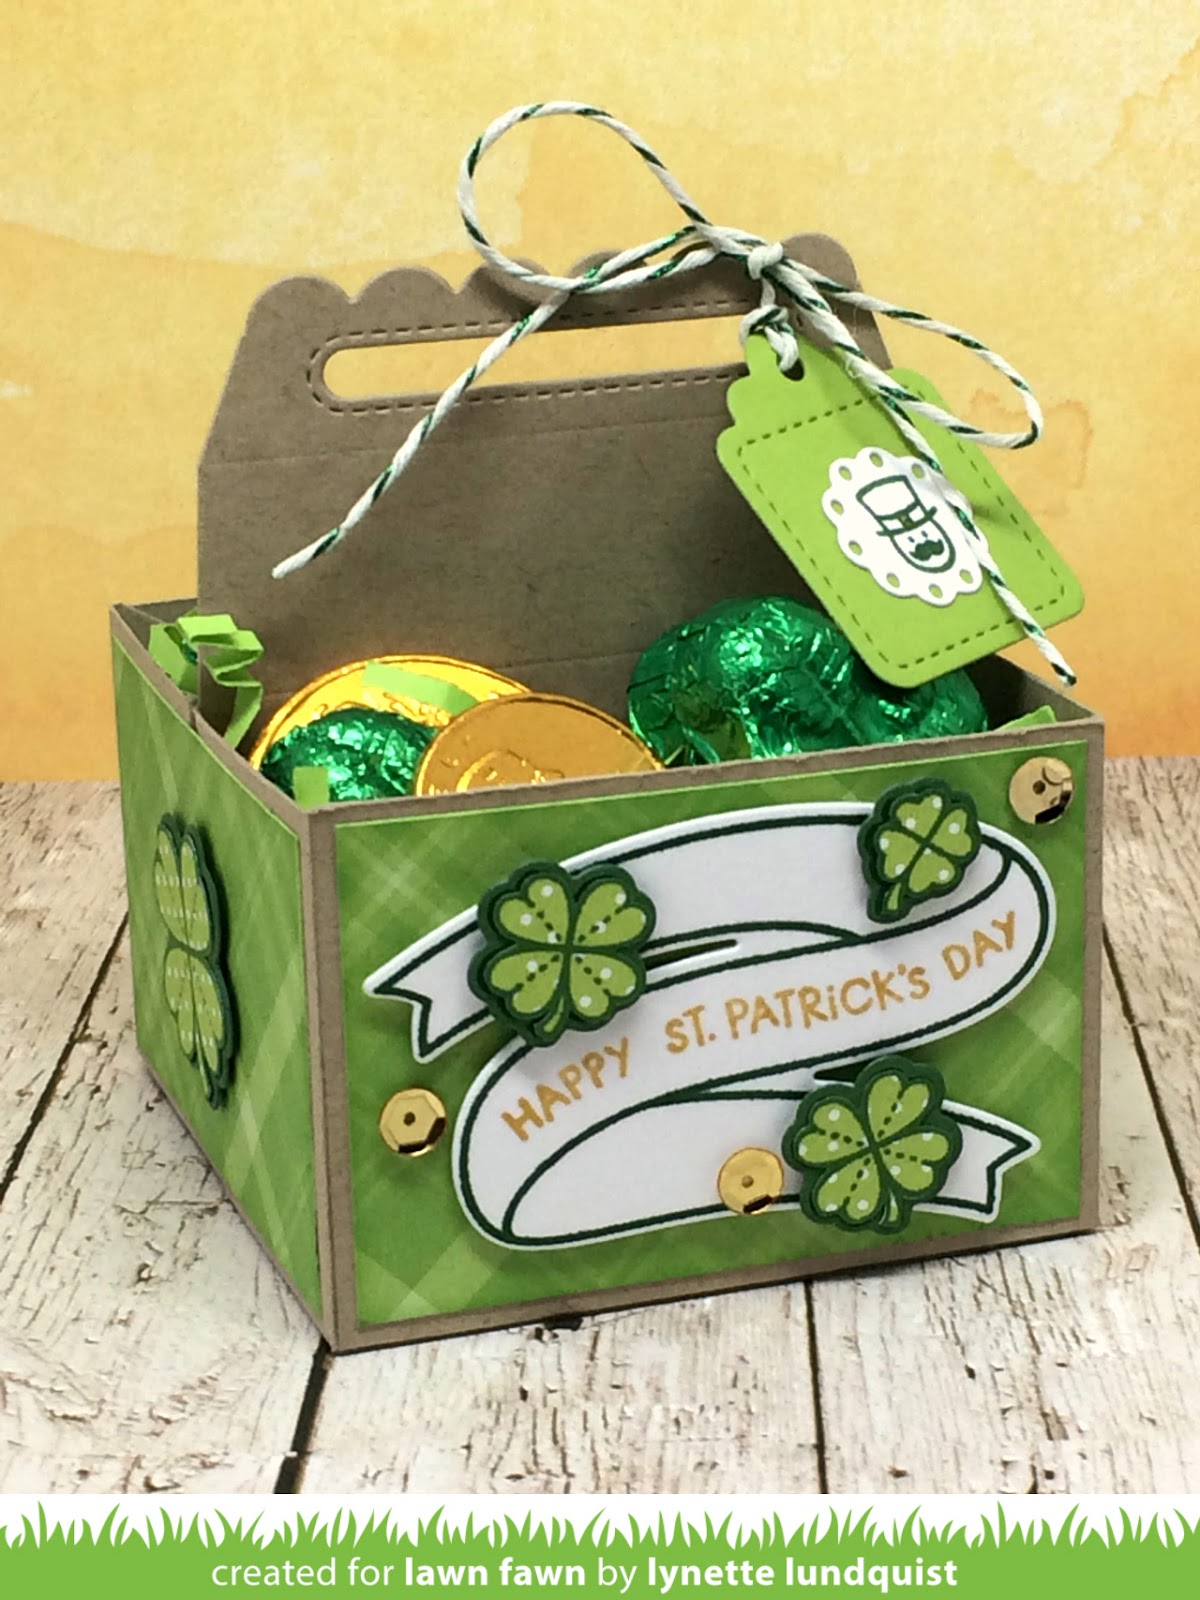
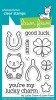
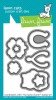
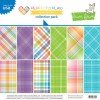
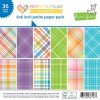
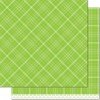
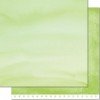
Lynette used Perfectly Plaid Rainbow- Sour Apple paper to cover the sides of the double tote box. The holiday greeting from Plan on It: Holidays fits perfectly on the Bannertastic banner! The shamrocks from My Lucky Charm were stamped on Grasshopper Polka paper from the Let’s Polka in the Meadow 6×6 paper pad and fussy cut by hand. The she layered them on shamrocks die cut from Noble Fir cardstock using My Lucky Charm coordinating dies.

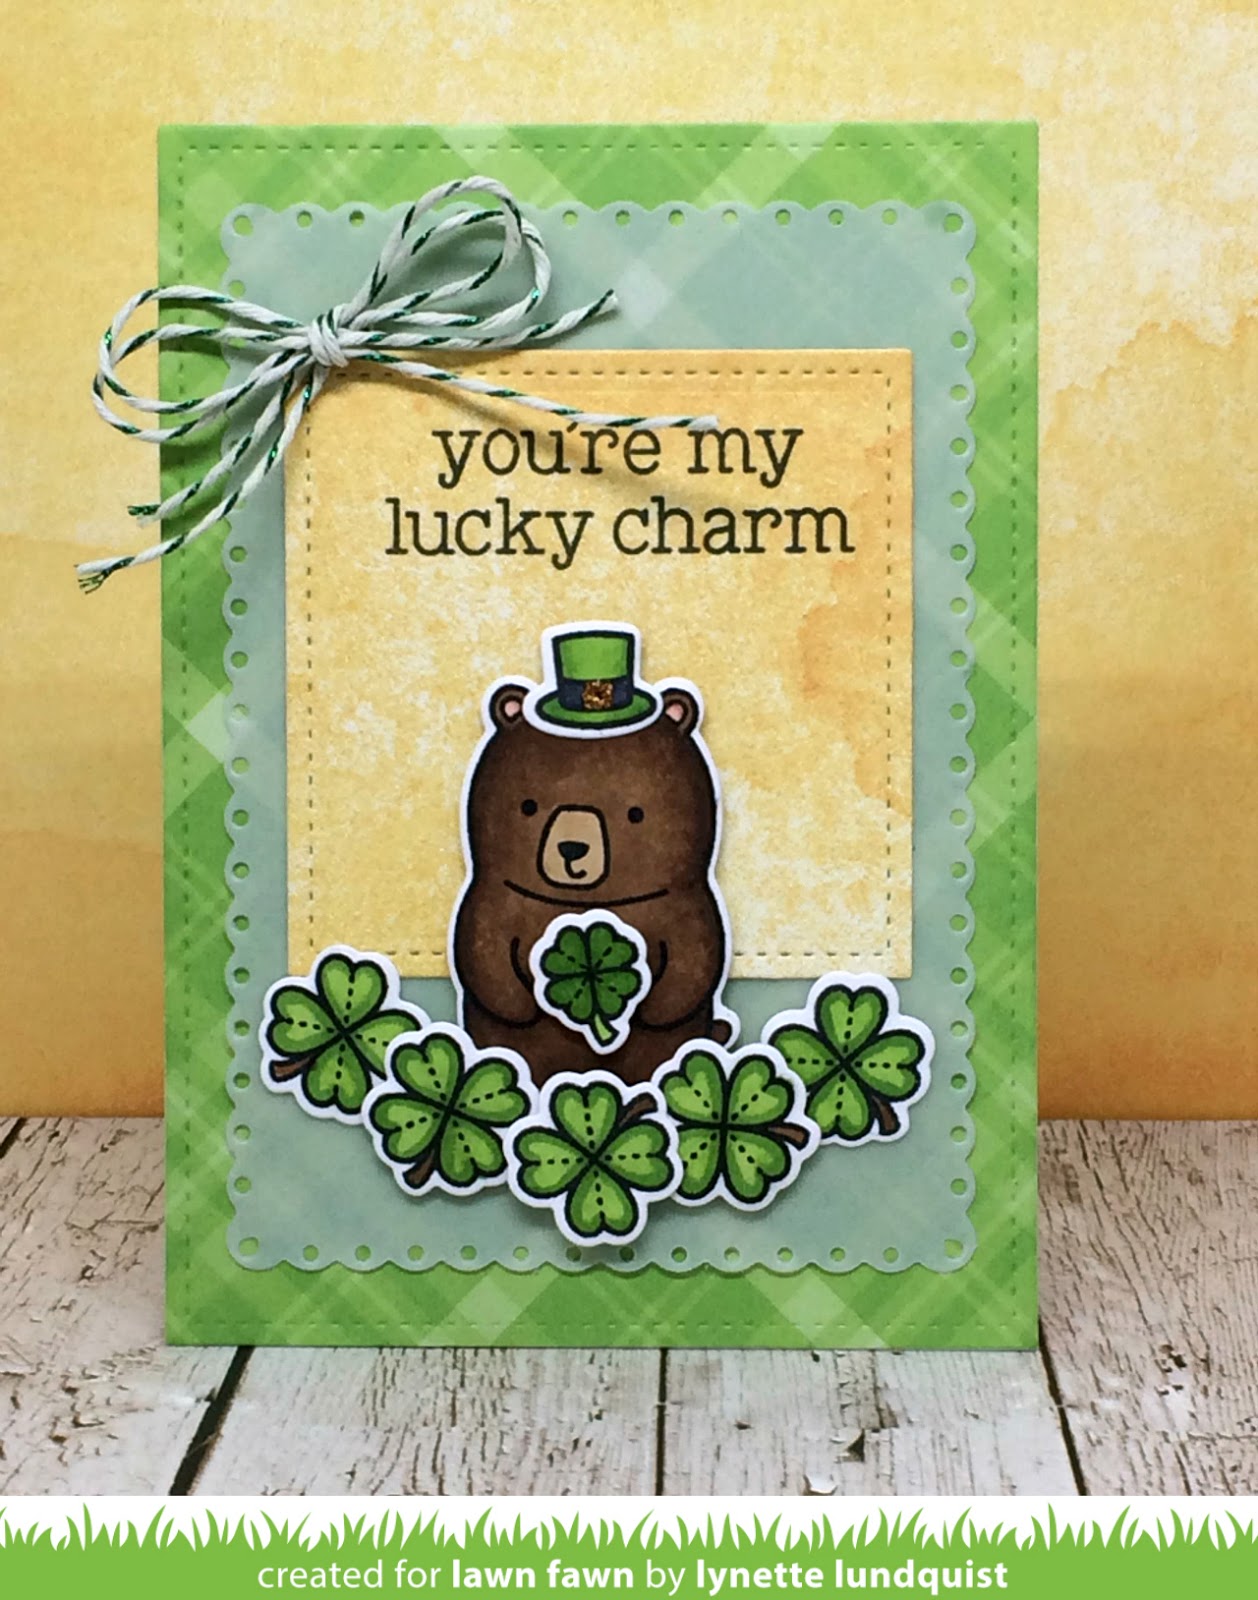
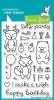
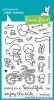
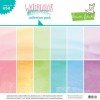
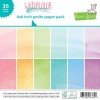
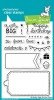
The cute card uses My Lucky Charm and Party Animal combined with papers from Perfectly Plaid Rainbow and Watercolor Wishes! The cute hat is found in our new set, Bicycle Built for You!

Thank you so much for sharing your awesome creativity with us today, Lynette!

________________________________________

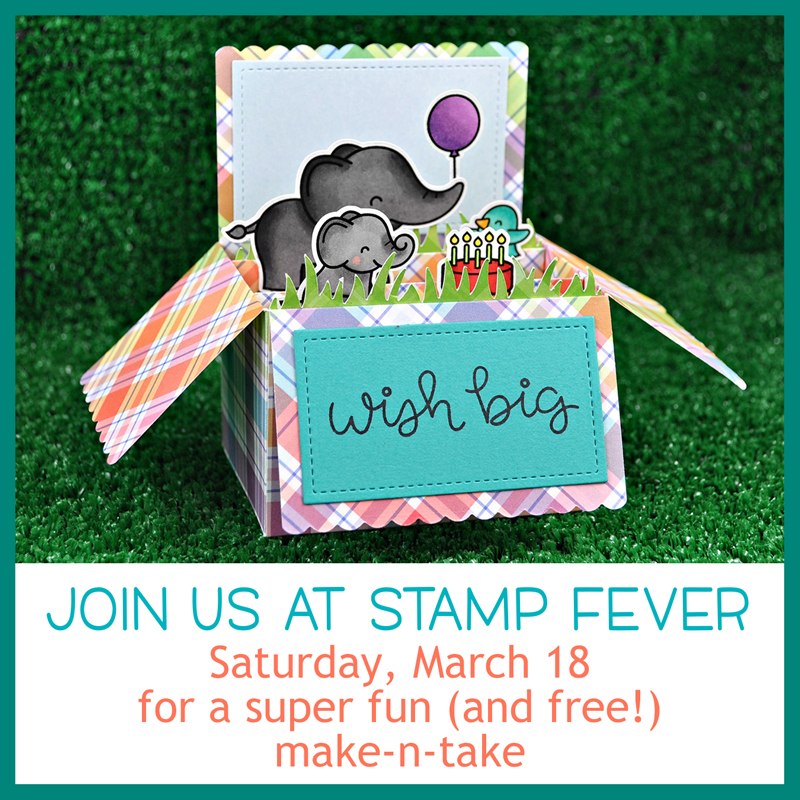
If you are in the Southern California area or are planning to be here
this weekend we want to invite you to help us celebrate our 7th
Birthday at Stamp Fever in Orange on Saturday March 18!
There will be refreshments and raffles, a fun make n take and lots of fun!
Click HERE for more details. Call the store to sign up for the Free Make n Take at 714 974-3552.

Thank you so much for visiting!
Have an amazing day,

Elena’s Lucky Charm Party!

Elena joins us today with another ingenious party idea! This time it’s a Lucky Charm party filled with shamrocks, leprechauns and lots of green!

The cute “lucky” banner is made with Stitched Party Banners and Louie’s ABCs!

Everyday Sentiment Banners were die cut with glittery gold paper to use as cupcake toppers!

Elena created the fun computer-generated menu labels with Bannertastic. She used the boy from Bicycle Built for You as her little leprechaun by customizing his top hat to add a buckle!
She added a folded second layer to the banners so they stand up!

These cookies look so yummy!!

A Tiny Tag with an image from Plan on It: Holidays and a band of Sour Apple paper adorn the cute beverage bottles!

I love how she used Lucky Charms cereal to decorate the “You ShamRock Pudding”!

Elena created the gorgeous fans using papers from Let’s Polka in the Meadow, Watercolor Wishes and Perfectly Plaid Rainbow. She also added white fans by drawing a green border with a marker on white cardstock.

I hope you’ve been inspired to decorate for St. Patrick’s Day even if you’re not entertaining. Elena’s awesome ideas are perfect for decorating a simple family breakfast or a large gathering of friends!

Thank you so much for sharing this brilliant party idea with us, Elena!

Thank you so much for visiting!
Have an amazing day,