There’s another fun Adventures in Cardmaking coming your way this week! Check out the Lawn Fawn Instagram Stories to vote on products, techniques, theme and colors. Then join the East Coast Fawnies on Thursday May 22 at 10:00am PT/1:00pm ET for a fun time of crafting as Jenn and Chari make cards with the winning combination! Click HERE to be notified when they go live!
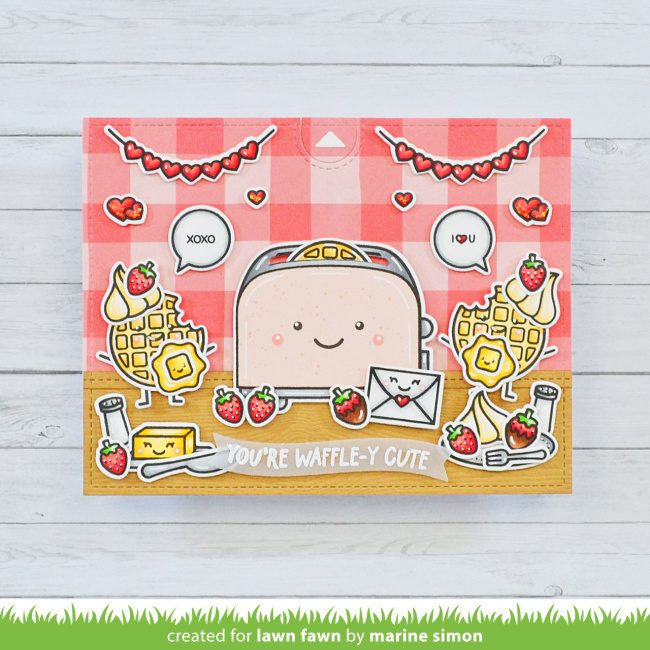
Hello friends! Today Chari has a treat for you! She created a set of fun collage-style interactive cards with a hobby theme! She used Pull ‘n Slide Surprise along with some favorite older sets and the results are amazing! You can watch the video tutorial below or click HERE to watch at our YouTube channel.
Thank so much for watching! Which sets would you use for a hobby themed collage!
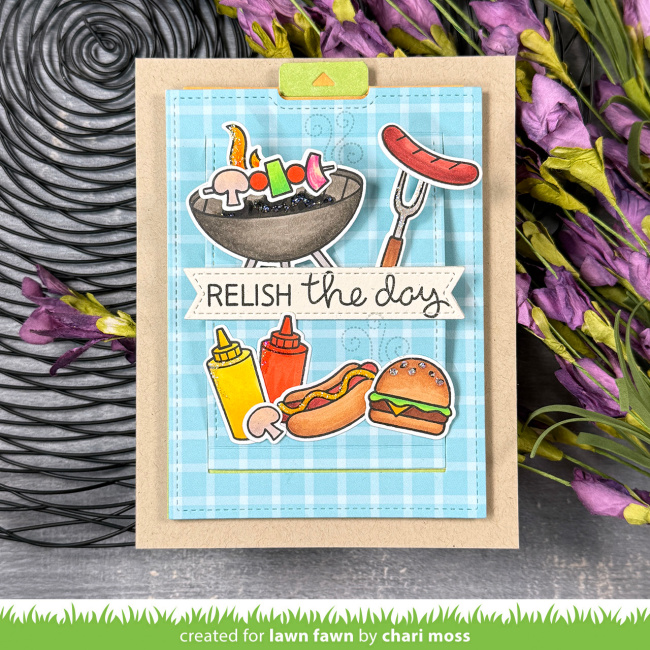
With a simple card “recipe” Chari designed three clever interactive cards combining hobby-themed stamp sets and coordinating sentiments! She also used colorful patterned papers from Falling Leaves and Watercolor Wishes!
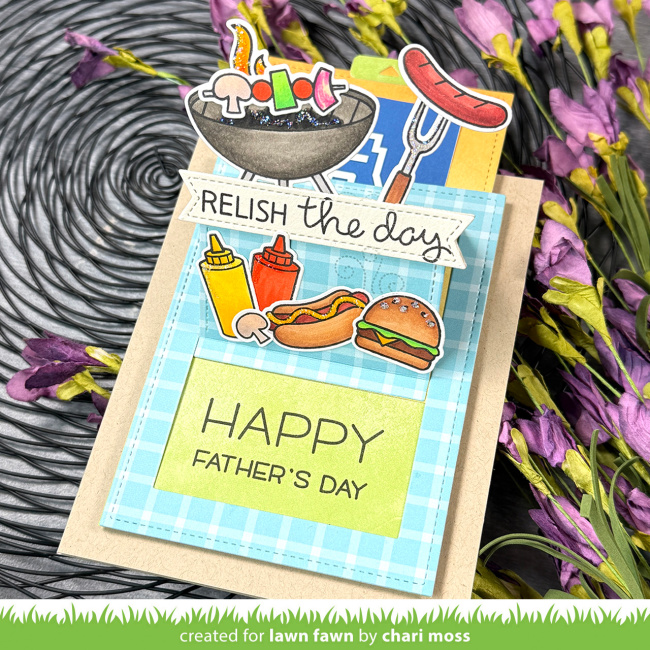
Chari’s fun collage using Let’s BBQ is perfect for Father’s Day! She found the Father’s Day greeting in Happy Happy Happy!
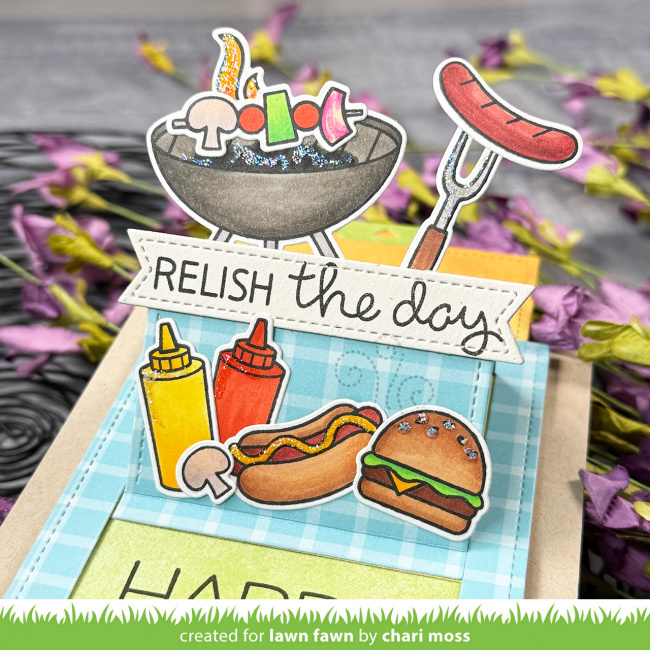
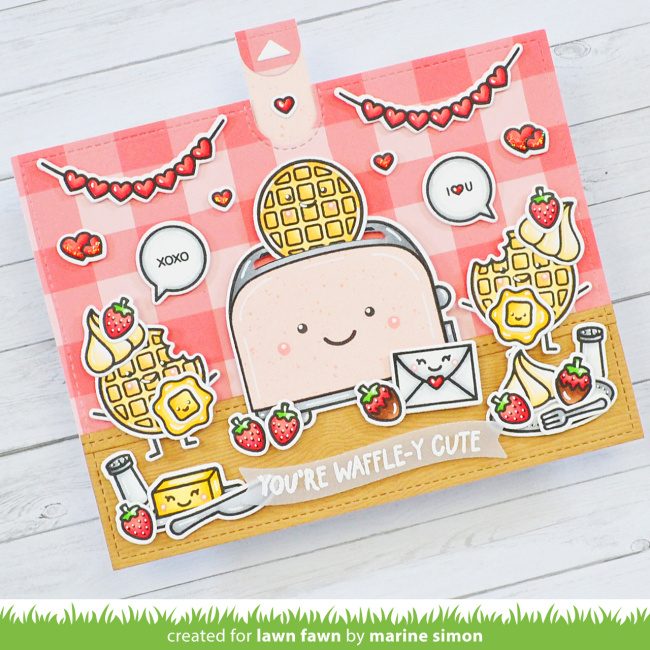
Her brilliant design leaves part of the collage above the fold of the Pull ‘n Slide Surprise, adding to the fun of each design!
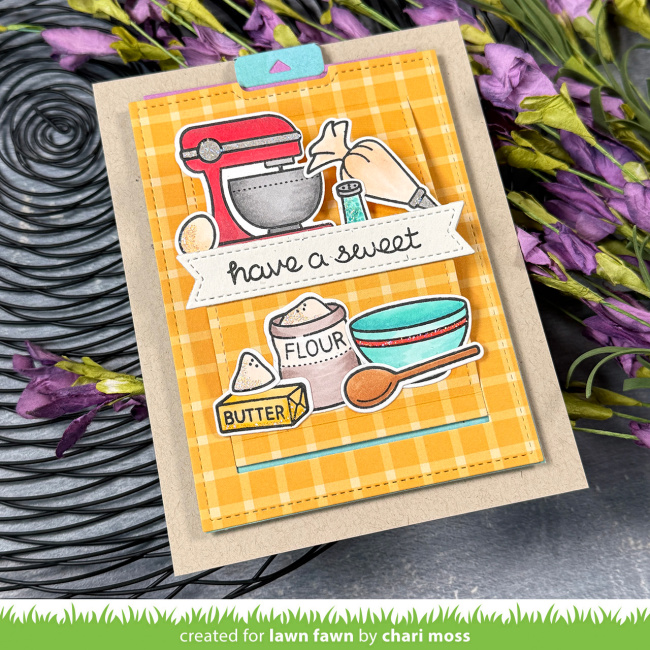
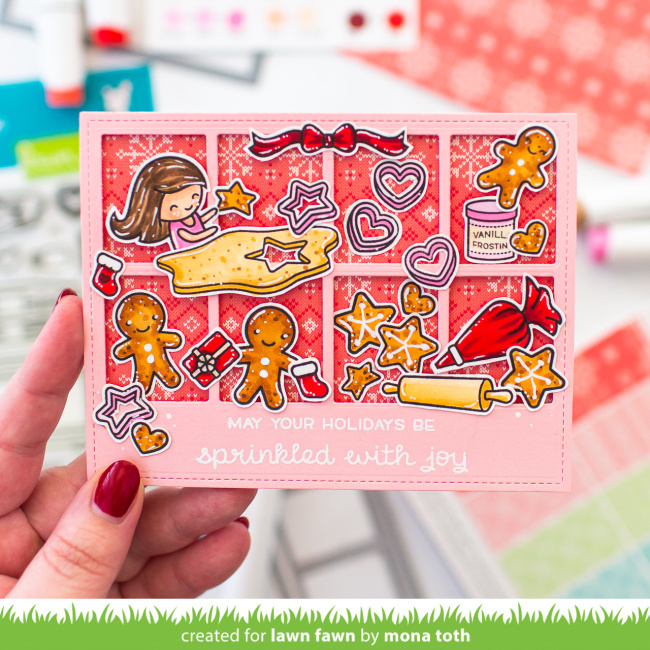
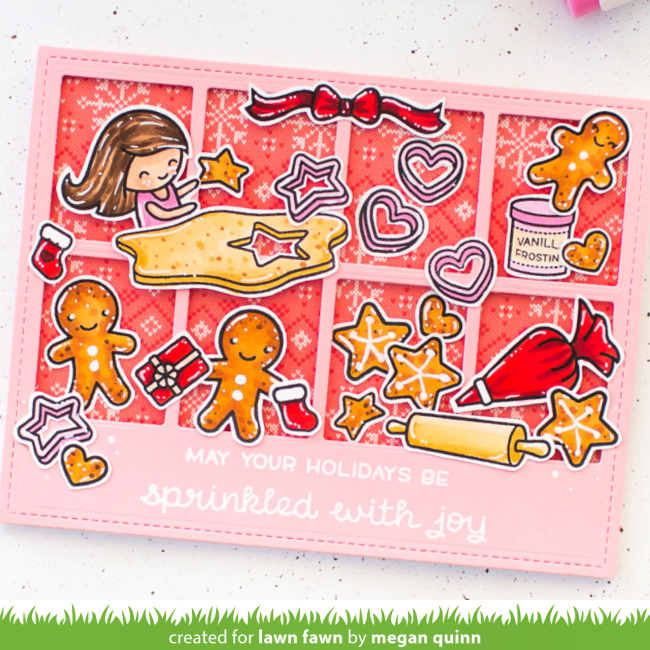
For this card, Chari featured another all-time favorite set, Baked with Love! The stand mixer, mixing bowl, pastry bag and ingredients combined to create a charming collage.
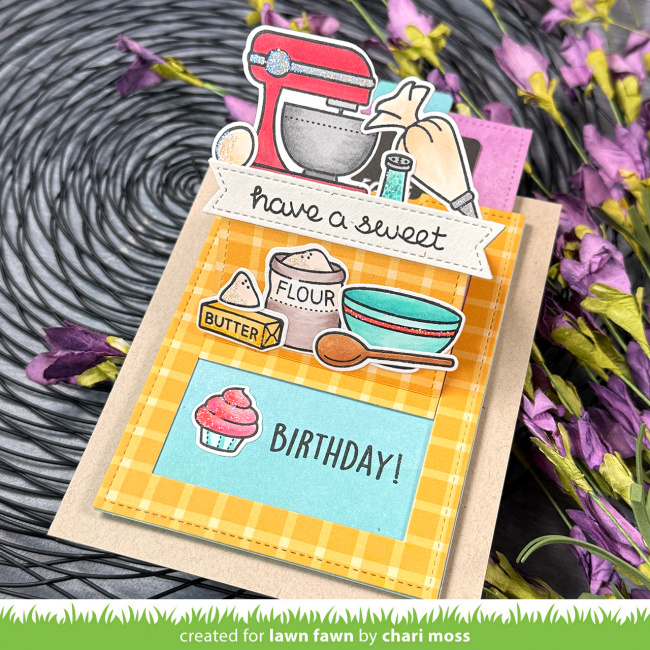
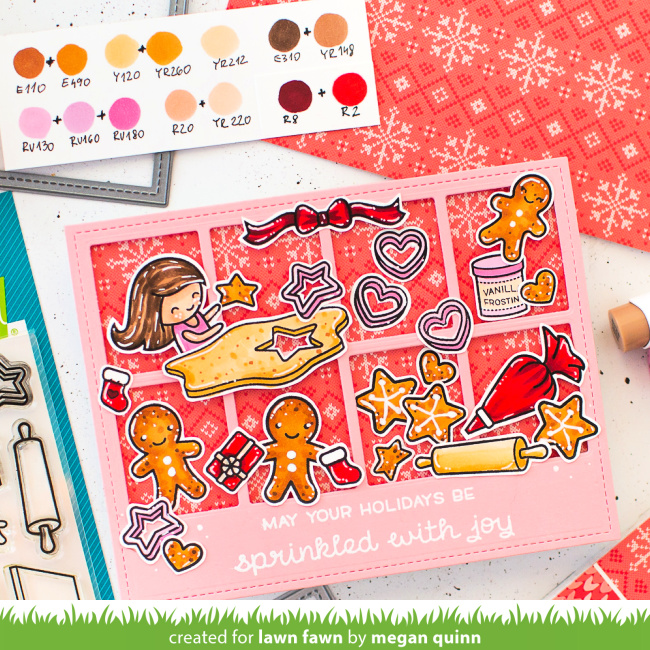
To make this a fun card for a birthday, Chari paired the sentiment from Baked with Love with one from All the Party Hats!
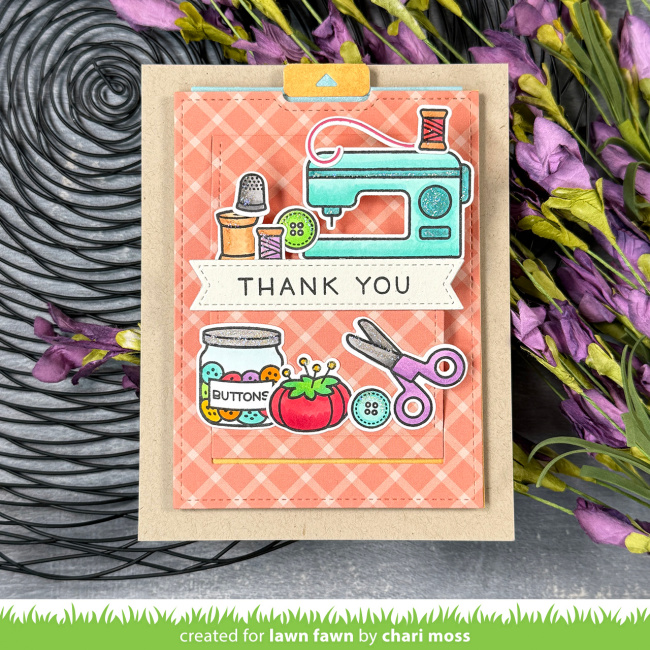
And finally, Sewn with Love is perfect for this sewing themed design!
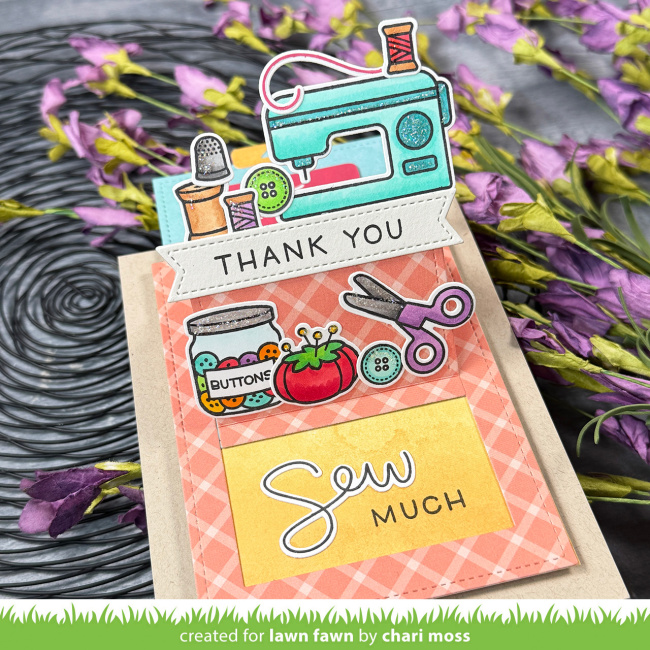
Chari stamped thank you from Simply Sentiments on the Stitched Sentiment Banner and hid the rest of the greeting under the slider!
Thank you for this delightful inspiration, Chari! I love the collage style and hobby theme!
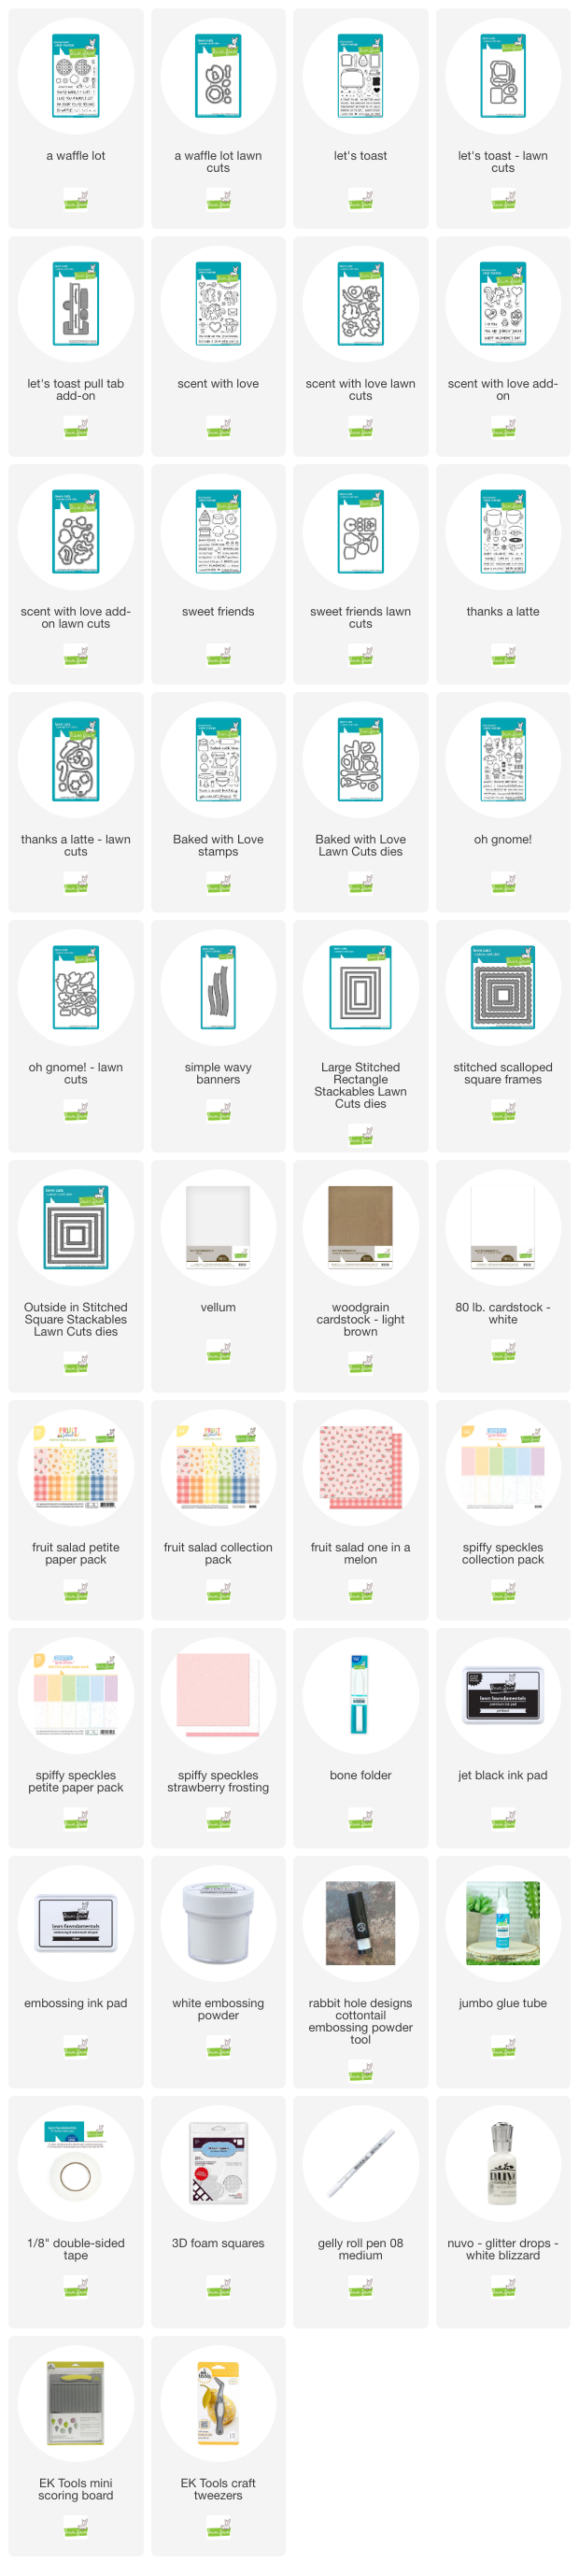
Supplies:
Thanks so much for visiting the Lawn Fawn blog, have an amazing day!