

You can now find all of our new Fall & Winter 2021 Release products at www.lawnfawn.com and at your favorite stores! Woohoo!
Join us on September 29 at 5pm PT on Facebook Live for a fun class and learn how to make two adorable cards using our newest release! We invite you to join us in the fun even if you don’t have the products. For all the details, click HERE! See you on September 29!
It’s time for another brilliant 1 Stamp, 3 Ways with Tammy! This month she highlights our brand new Halloween sets Purrfectly Wicked and Purrfectly Wicked Add-On with some amazing inspiration! Take it away, Tammy!
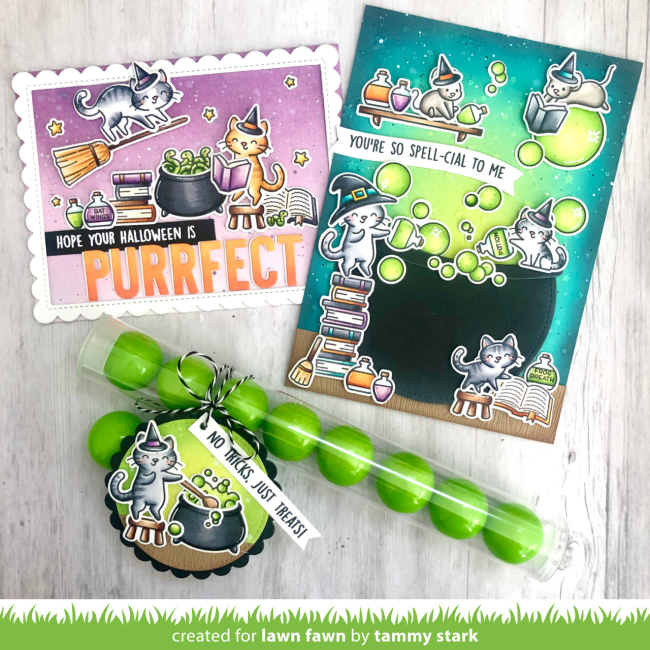
Hello friends! I’m back with another 1 Stamp, 3 Ways, featuring the brand-new set, Purrfectly Wicked! These adorable cats are wicked cute brewing up their magic potions and spells! I created a trio of Halloween themed projects, including a fun favor tube of cauldron bubbles!
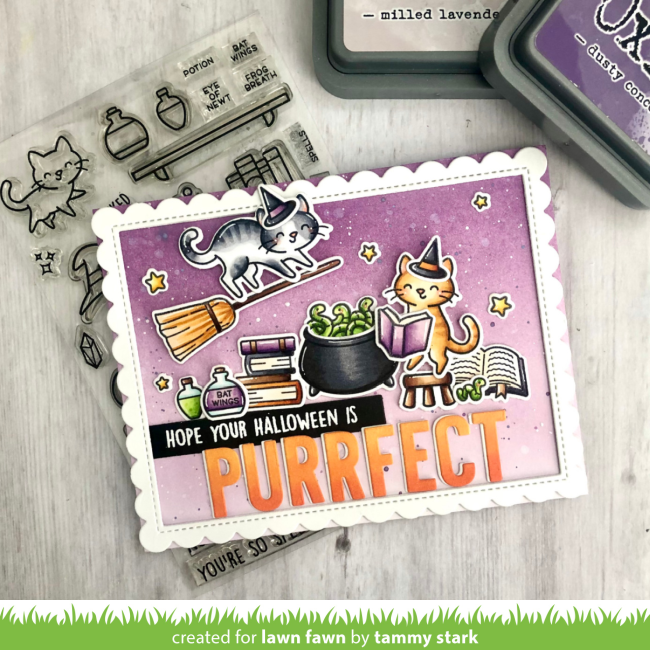
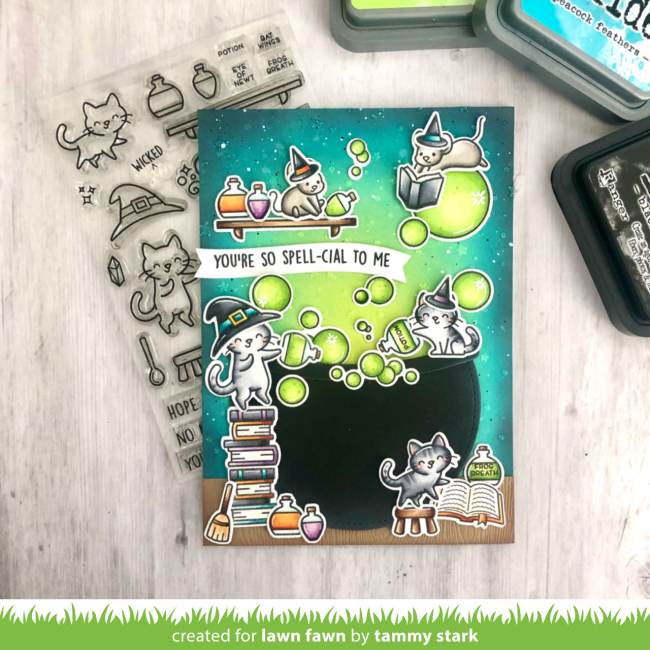
PURRFECT Halloween Card
To begin, I cut an A2 sized piece of Bristol cardstock and ink blended the background with Dusty Concord and Milled Lavender Distress Oxide inks. I splattered the background with some water, then some Dusty Concord, thinned with water, for interest.
Next, I stamped, colored with Copic markers, and die cut the images from the following sets:
Purrfectly Wicked/ Coordinating Dies
Purrfectly Wicked Add-On/ Coordinating Dies
Den Sweet Den/ Coordinating Dies
Fox Costumes Before n’ Afters/ Coordinating Dies
Making Frosty Friends/ Coordinating Dies
Then I die cut a white scalloped frame using the Stitched Scalloped Rectangle Frames. I cut it 3 times, gluing the frames in a stack. Then I attached them to the inked background. Next, I die cut the letters for the sentiment from white and Fake Tan cardstock using Cole’s ABCs. I lightly blended some Crackling Campfire Distress Oxide ink on the bottom of the fake tan die cut letters then layered them over the white letters, just slightly offset, and attached them to my card. I white heat embossed the sentiment onto a strip of Black Licorice cardstock and attached above the die cut sentiment, tucking it under the letters.
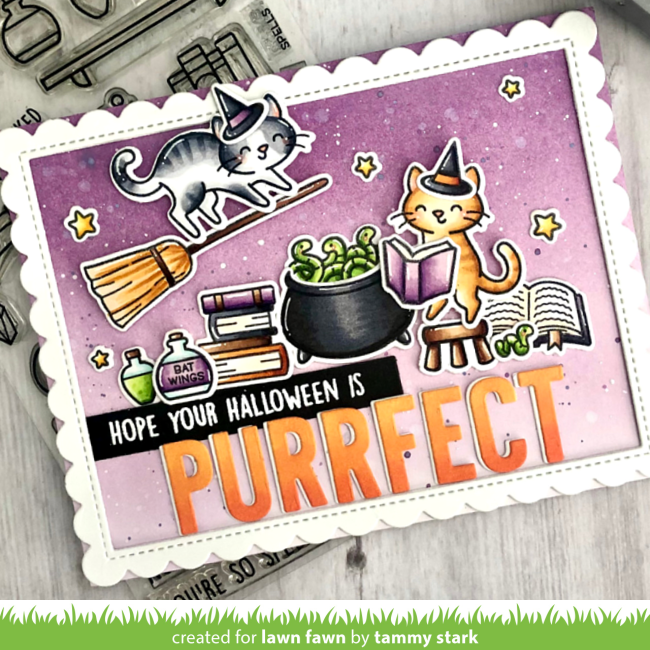
Lastly, I arranged the colored images onto my card, adhering some with foam tape for dimension, then attached to an A2 card base to complete my card.
Cauldron Card
This is an A6 card. measuring 4 ½ X 6 ¼”, and features a super simple custom cauldron, that I will show you how to create using Lawn Fawn dies.
To begin, I cut a piece of Bristol cardstock to 4 ½ X 6 ¼” and ink blended the background with Twisted Citron, Peacock Feathers, and Black Soot Distress Oxide inks. I splattered the background with water and a bit of black and white acrylic paints. After the background was dry, I placed the Starry Sky Stencil on top of the inked background and applied the new Fairy Dust Stencil Paste to give the background a magically subtle effect!
I stamped, colored with Copic markers, and die cut the images from the following sets:
Purrfectly Wicked/ Coordinating Dies
Purrfectly Wicked Add-On/ Coordinating Dies
You Autumn Know/ Coordinating Dies
Den Sweet Den/ Coordinating Dies
Fox Costumes Before n’ Afters/ Coordinating Dies
Bubbles of Joy/ Coordinating Dies
Scripty Bubble Sentiments/ Coordinating Dies
Creating the Cauldron
Next, I created the cauldron by cutting the largest circle from Black Licorice cardstock using the Outside In Stitched Circle Stackables and the largest curved die from the Slide on Over dies. I lightly inked the edges of the die cut pieces with Yeti Ink. I attached the curved die onto the circle, about 1/3 of the way down, so the sides of the cauldron rim hang over the edge a bit. Next, I cut along the top of the cauldron rim, removing the top part of the circle to finish it. See? So easy!
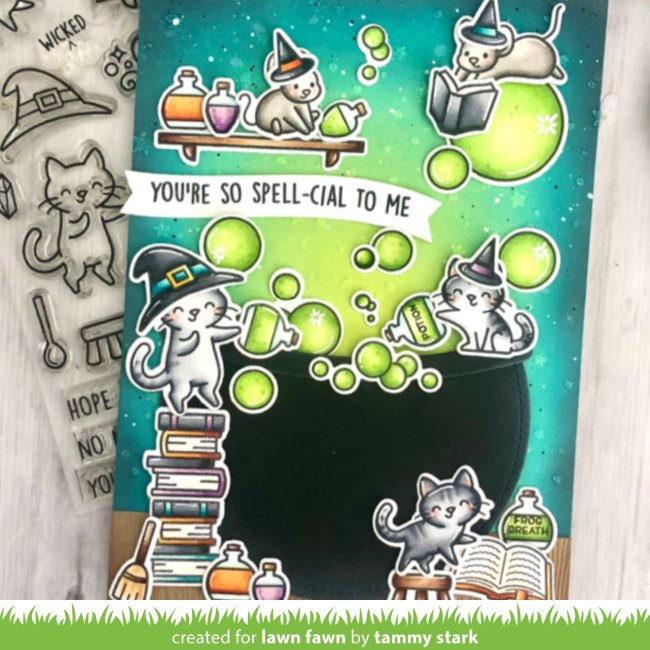
Now that our cauldron is complete, we can finish up the card! I cut a 1 X 4 ½”piece of Light Brown Woodgrain Cardstock. I attached it to the bottom of the background, inking the edges with Walnut ink.
Next, I attached the cauldron and then the colored images to the card using foam tape for dimension. Lastly, I stamped the sentiment onto a white Simple Wavy Banner to complete my card!
Cauldron Bubble (Gum) Treat Tube
For my last project, I created these fun Bubbling Cauldron Treat tubes. What kid, or adult, wouldn’t love these? They’re perfect for trick-or-treaters and kids classroom treats!
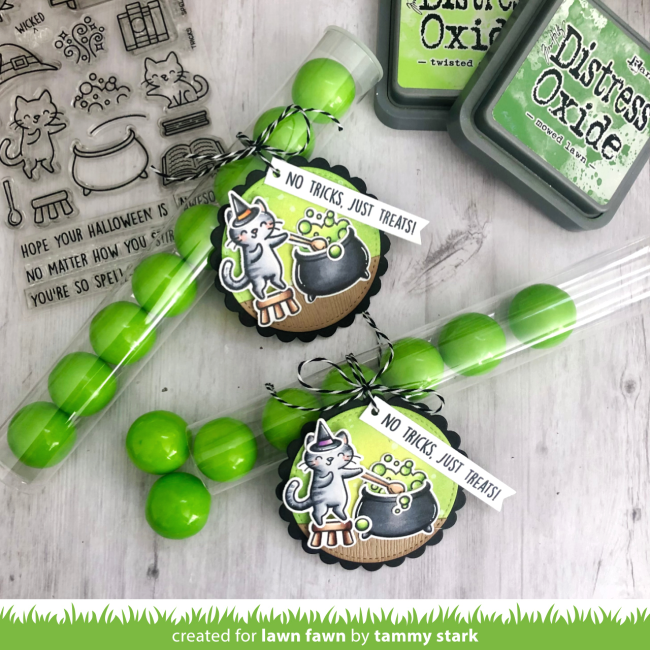
To begin, I cut the tag bases from black licorice cardstock using the Scalloped Circle Stackables. Next, I cut 1 ½” circles from Bristol cardstock using the Small Stitched Circle Stackables, and ink blended the background with Twisted Citron and Mowed Lawn Distress Oxide inks.
Then I added a thin strip of Light Brown Woodgrain Cardstock to the bottom of each inked circle before attaching them to the black scalloped circles. And then I added the stamped, colored, and die cut images from Purrfectly Wicked. I used Fox Costumes Before n’ Afters for the witch hats and attached them all using foam tape for dimension.
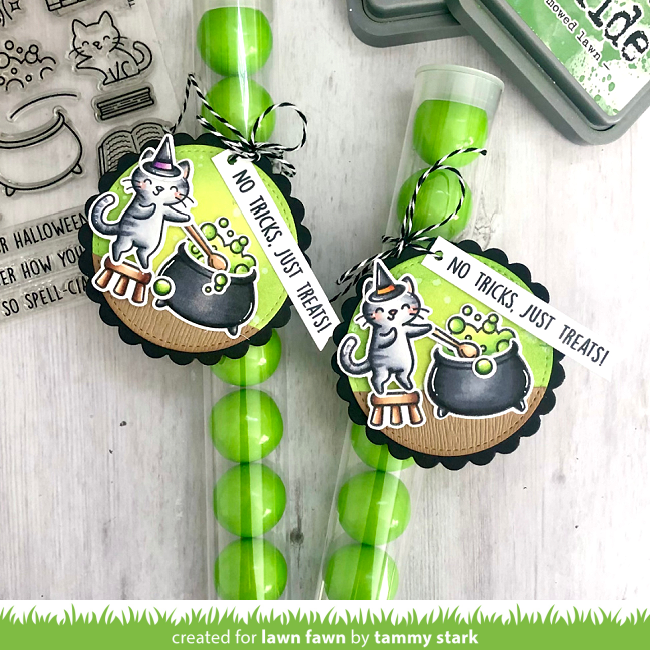
I stamped the sentiment from Purrfectly Wicked Add-On onto a white Everyday Sentiment Banner, cutting off one end of the banner to create a straight edge. Lastly, I punched a hole at the top of the tags and threaded some Black Tie Cord through and attached the tags to a clear tube, filled with cauldron bubble (green gumballs) to complete them!
Thanks so much for joining us today for 1 Stamp, 3 Ways! As usual, we love hearing your suggestions for sets you would like to see featured in the upcoming months! Please leave your comments here or over on Instagram!
Big Hugs, Tammy
Thank you so much for this “purrfectly” amazing inspiration, Tammy!
Supplies:

Thank you so much for visiting!
Have an amazing day!
Purr-fectly adorable Tammy.
So cute! And those cauldron bubble gum treat tubes are very clever! Great idea!
Oh – I love these! I love the treat tubes – I think I will do something like this for the grandkids. So happy that I ordered these stamp sets. I got notified that they are on their way.
awesome cards and so fun to see the cats doing their magic!
Wow just love the cards. Can’t wait to give them a try
Adorable. I’m trying to hold out until October to buy these! My birthday month!
These are amazing Tammy!
Fabulous Halloween projects, Tammy!!!!
Lovely projects!!
For the cauldron bubble treat tube – do you have it posted somewhere the copic colors that you used? It’s so adorable!