We Wish You a Very Fawny Holiday Week 2023 {Day 3}


Hello friends! Welcome to another special Fawny Holiday Week! We will be sharing inspiring holiday projects by our amazing Fawny family of designers along with videos and daily giveaways! Comment below for a chance to win a stamp set with coordinating dies and a 6×6 paper pad of your choice!

Joy has wonderful inspiration for you featuring Build-A-Snowman! She will show us how Spooky Forest Backdrop can become a beautiful winter landscape! You can watch the video tutorial below or click HERE to watch at our YouTube channel.

Thank you so much for watching!


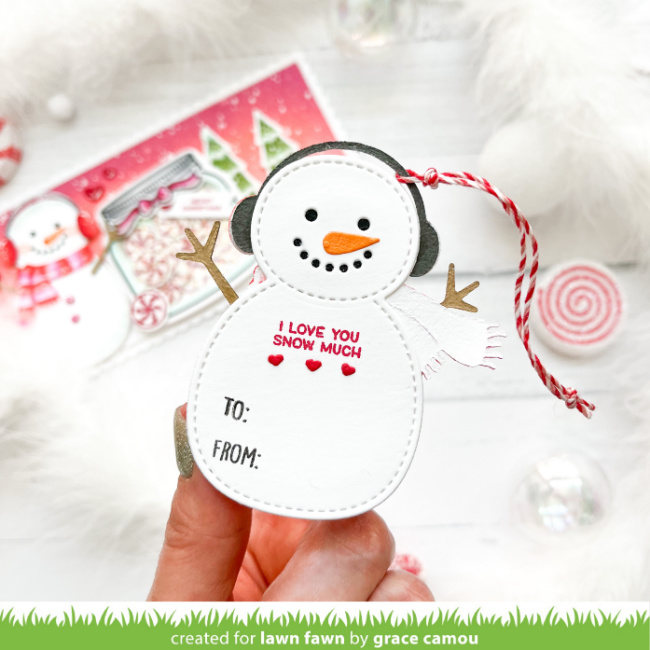
Spooky Forest Backdrop takes on a beautiful snowy character to frame Joy‘s delightful Build-A-Snowman scene! She used Copic markers to color the snowman to give him beautiful, saturated color! And she inked Spooky Forest Backdrop and a background panel with Distress Oxide ink in Iced Spruce and Speckled Egg before layering it with a Stitched Hillside Border and foam strips.


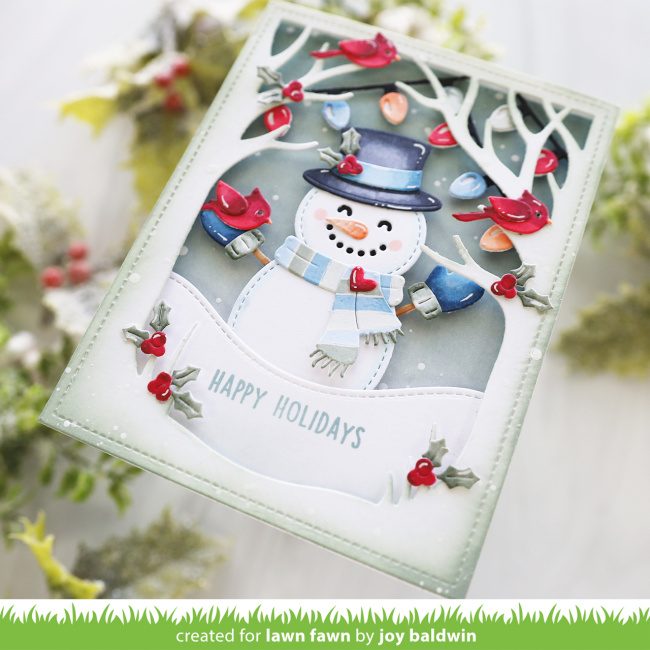
Joy also colored the light bulbs from Mini String of Lights with the same muted tones she used on the snowman, birds, holly and berries. This wintry scene is just so lovely and a perfect way to send wishes for happy holidays!


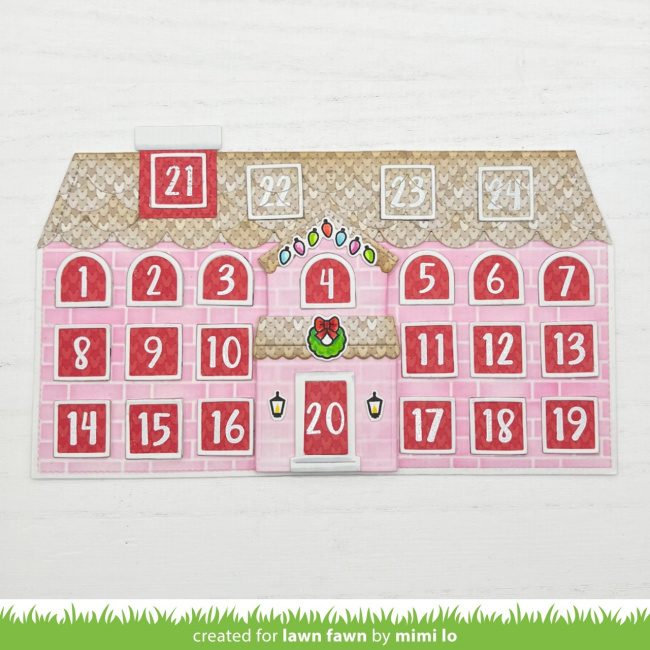
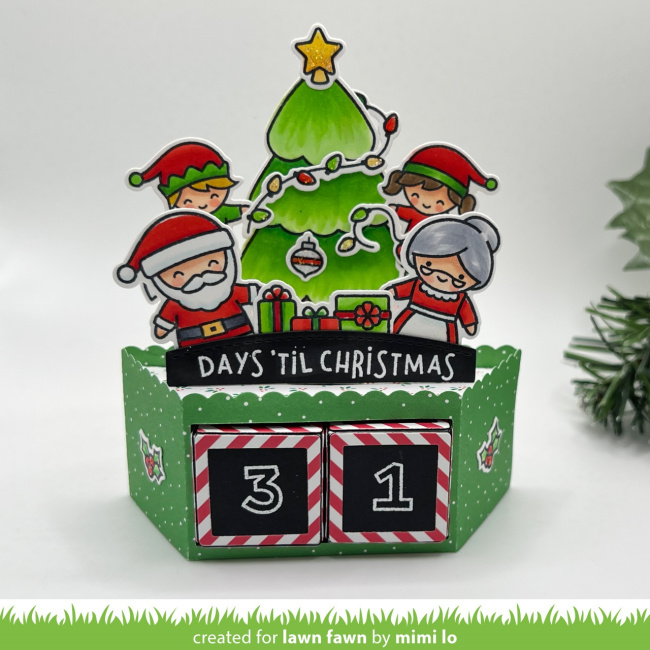
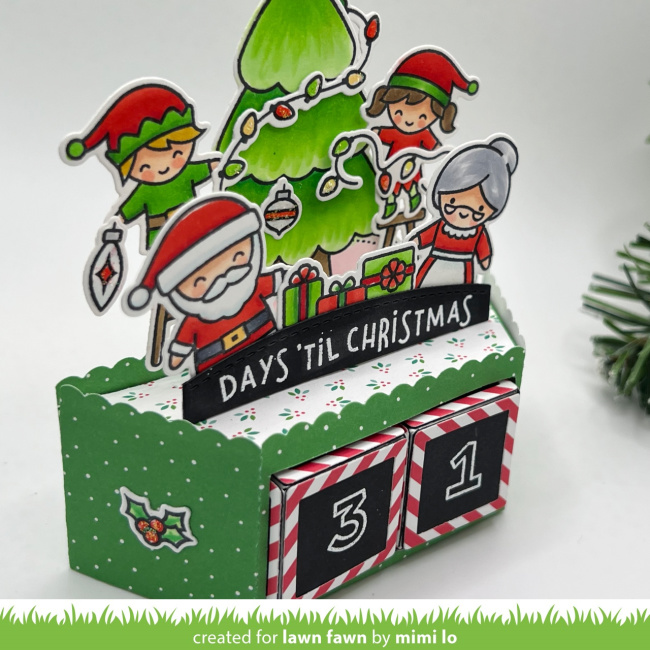
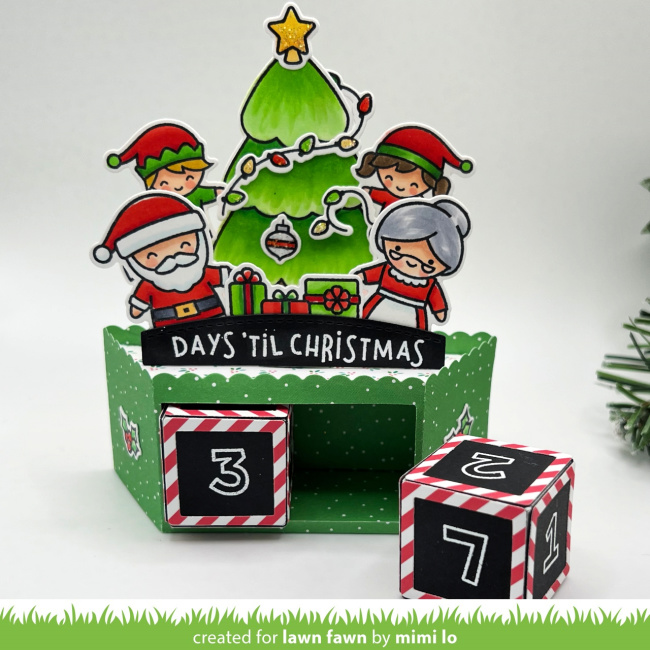
Mimi‘s advent calendar is so brilliant! What could possibly be hiding behind those 24 windows?


Mimi began by stenciling the Large Slimline with Sliders panel using Brick Stencil and Kitsch Flamingo Distress Oxide ink. Then she also stenciled Build-A-House the same way. She used Knit Picky Winter paper to cut the Rooftop Border and Build-A-House Gingerbread Add-On rooftops. And she cut the windows using the arched window and square window from Build-A-House and the square from You’re Just My Type Lawn Cuts. Then she used Henry Jr.’s ABCs to white emboss the numbers on the windows and door.


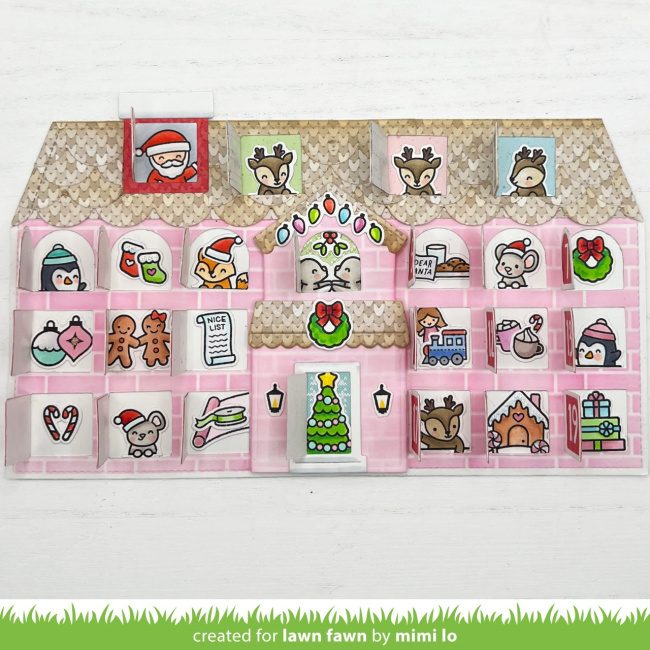
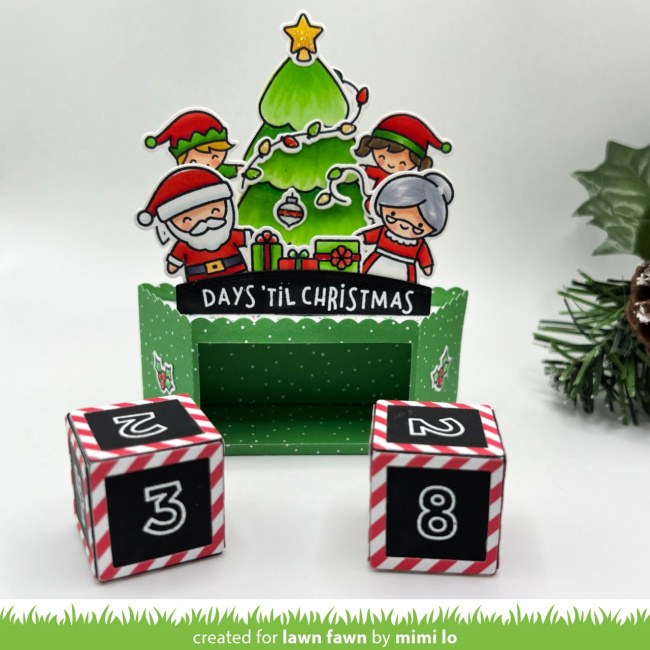
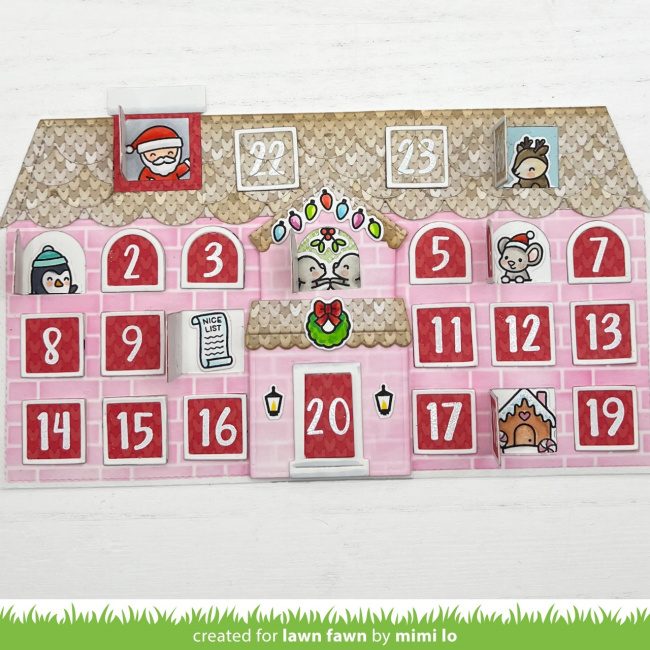
Here’s a list of the sets Mimi used to fill the windows with cuteness! You can check your Lawn Fawn holiday sets and shop your stash to fill the windows!

Simply Celebrate Winter Critters – penguins, reindeer, mice
Snow Globe Scenes – gingerbread house, Christmas tree
Simply Celebrate More Critters – fox
Simply Celebrate Winter – gingerbread, ornaments
Holiday Helpers – gift wrap, ribbon, toys, drinks
Christmas Dreams – Santa cookies, stockings
Christmas Before ’n Afters – kissing mouse, mistletoe
Car Critters Christmas add-on – wreath, presents
Cheery Christmas – mini Santa hat
A Creature Was Stirring – candy cane heart
Winter Birds add-on – Christmas lights
Winter Village – porch lights
Please check the supply list below for links to these sets.


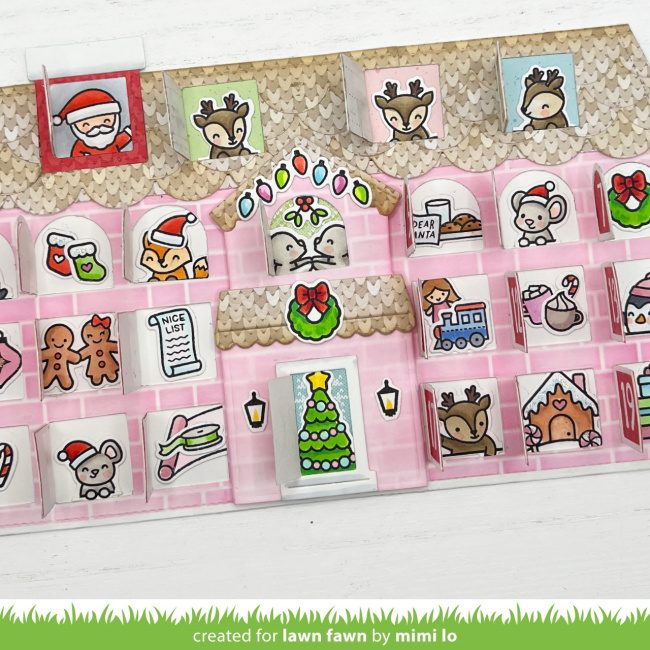
This advent calendar would make a wonderful gift! A perfect handmade holiday present for someone very special!


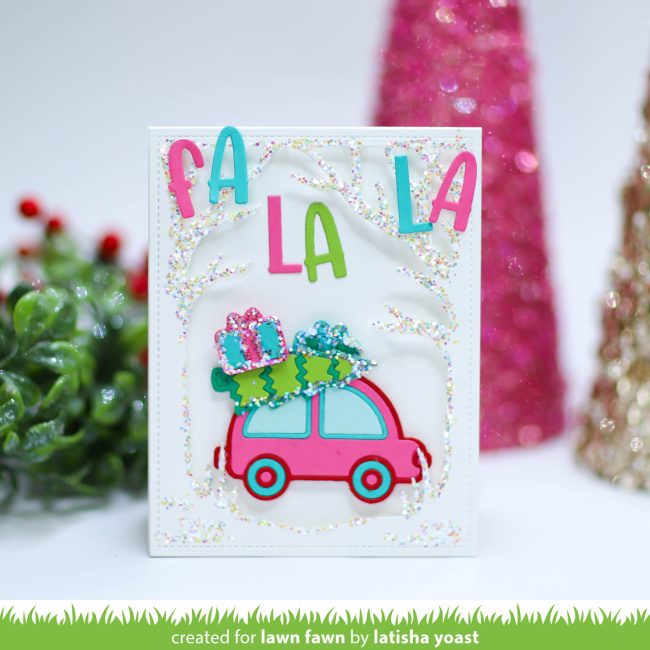
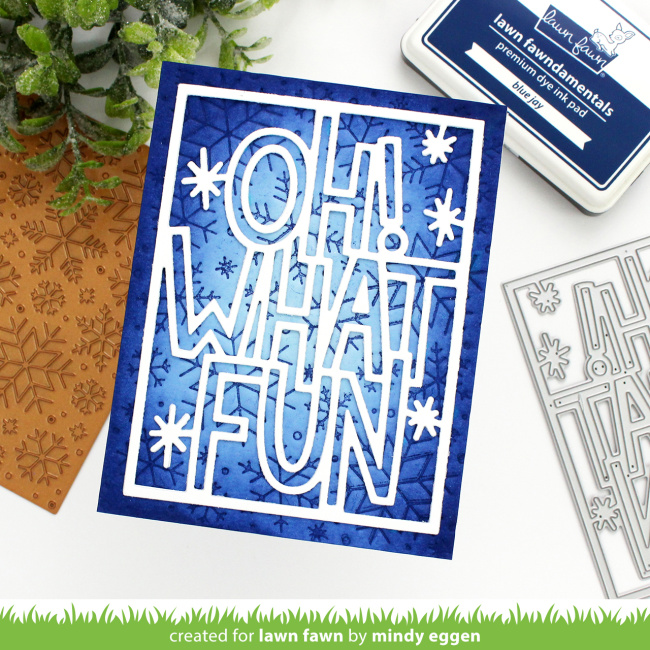
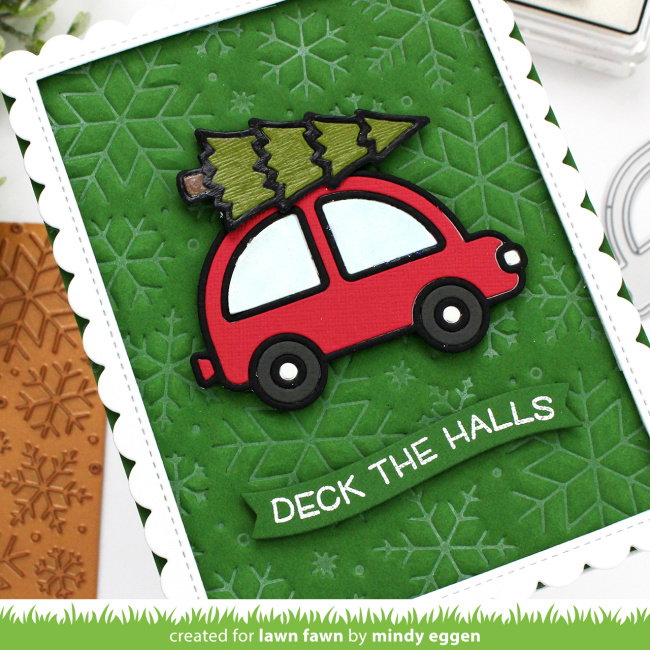
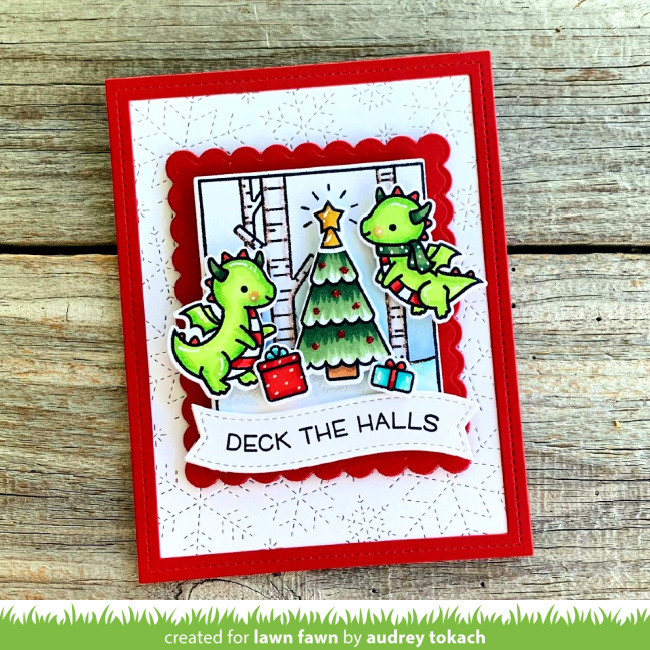
Glittering tree branches and bright, happy colors are the recipe for Latisha‘s whimsical holiday card! Spooky Forest Backdrop takes on a whimsical look covered in Chunky Glitter and is the perfect frame for Deck the Car! Latisha used Henry’s ABCs to add the light-hearted greeting!


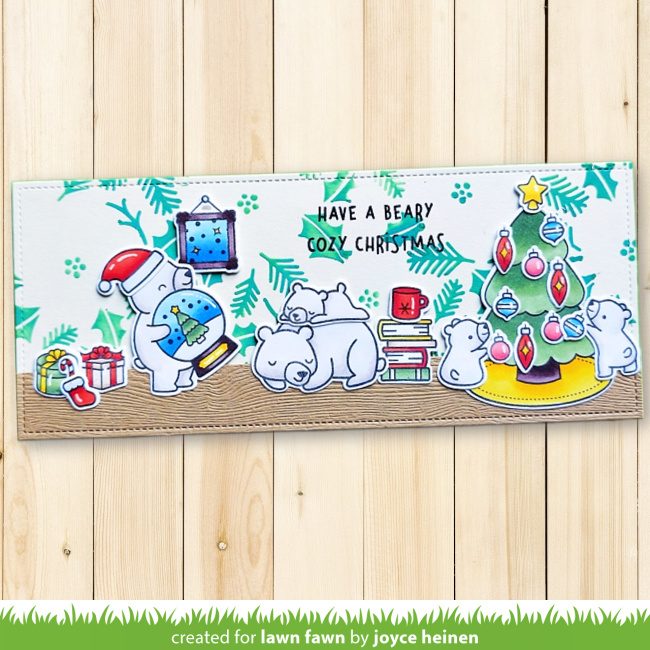
The Lawn Fawn bears are preparing for a cozy and warm Christmas! Joyce scene combines bears from Little Snow Globe: Bear, Den Sweet Den and Snow Much Fun along with the tree from Joy to All. I love the Winter Sprigs stenciled background, it adds so much to the holiday fun!


Samantha filled her slimline scene with joyful winter fun! The mice of Snowball Fight and Mice on Ice are enjoying fun in the snow and on the ice! She built this tall scene on a Scalloped Slimline with Hearts: Portrait panel.


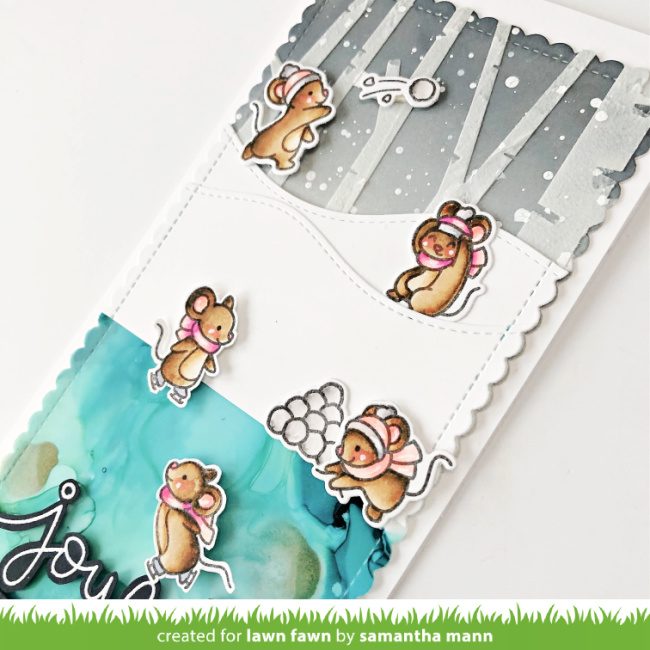
The Snowball Fight scene features Birch Trees stenciled in a snowy sky and Stitched Hillside Borders.


And then Samantha created the icy pond with alcohol inks in pretty teal and green for the mice to skate on!


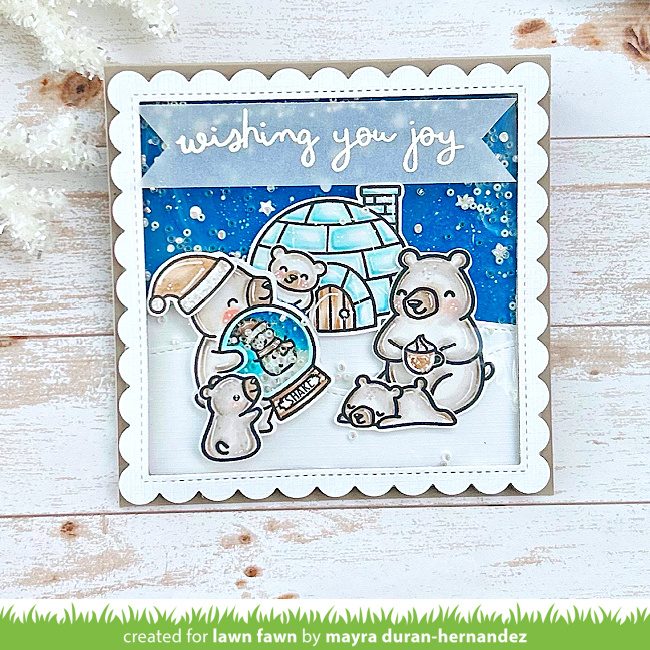
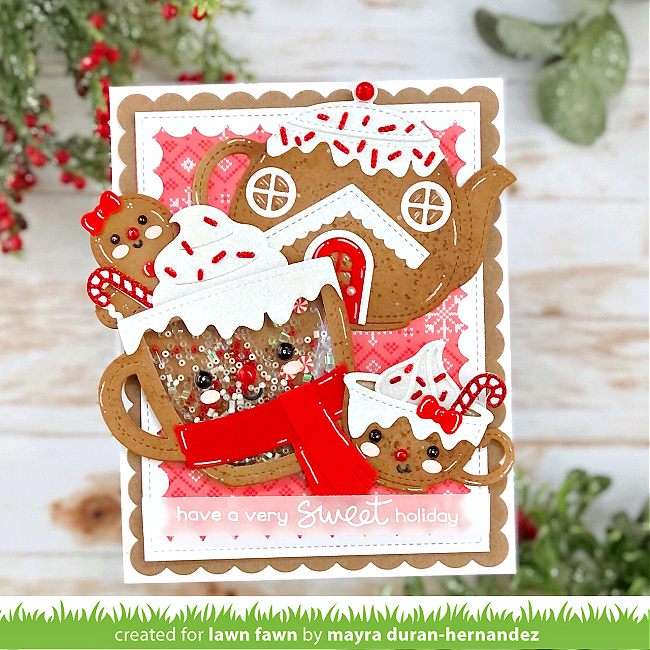
Mayra used the new Scribbled Sentiments: Winter to send a joyful holiday greeting! Her arctic scene features “polar” bears enjoying the snowy season with hot cocoa and a cute snow globe! Mayra assembled images from Penguin Party, Den Sweet Den and Little Snow Globe: Bear to create this charming square shaped card.


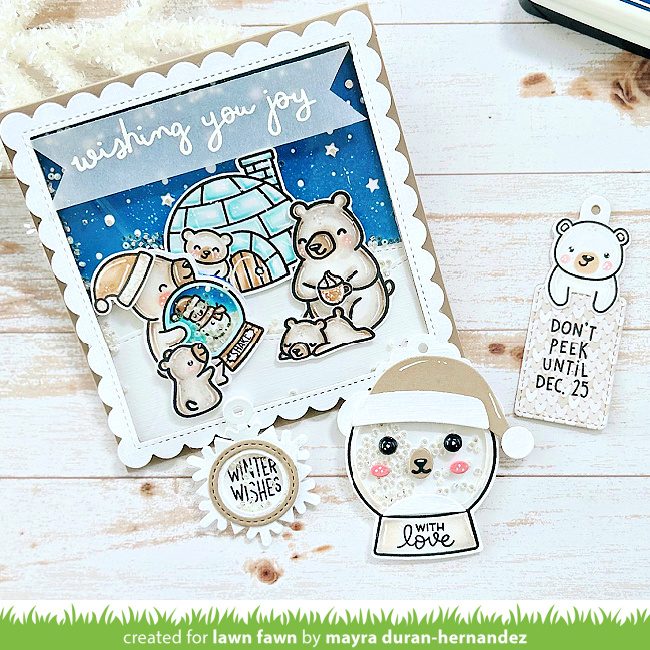
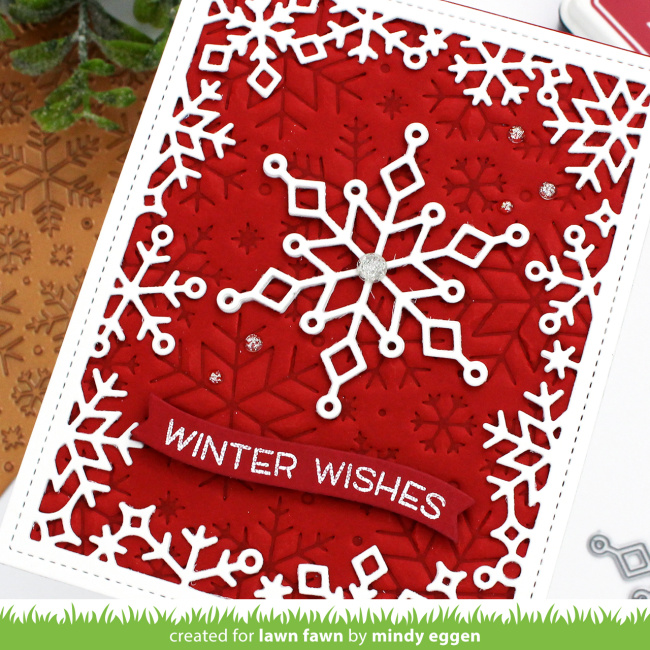
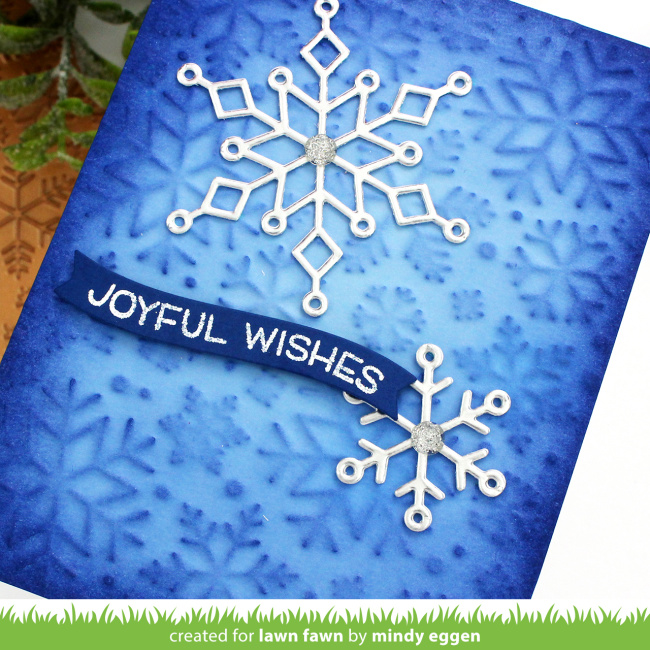
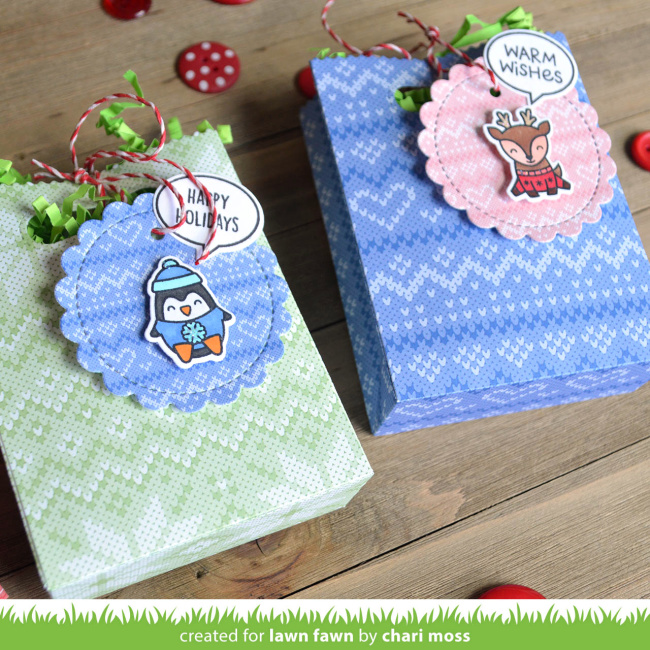
And to keep the cute bear theme going, Mayra also created some cute tags! She stamped Winter Wishes from Little Snow Globe Add-On inside a shaker snowflake tag made with Winter Tiny Tags. Then she used Snow Globe Scenes Shaker Add-On to create a cute bear-themed tag with the Santa hat from Woodland Critter Huggers Winter Add-On! To create the bear’s nose and mouth, Mayra cleverly used Tiny Gift Box Dog Add-On! And she created another tag using For You, Deer and For You, Deer Add-On!

Giveaway time!

I hope you have enjoyed this fun look at some of our Holiday and Winter sets. Tomorrow, we will have another fun Fawny Holiday celebration but for now, it’s giveaway time! Leave us a comment sharing a special holiday gift you have given or received by November 17th at 5:00PM ET. We will randomly pick one winner for a stamp/coordinating dies set plus a 6×6 paper pad of their choice! If you post about our Fawny Holiday Week on social media, leave another comment for a second chance to win!

Make sure to come back tomorrow, Thursday, November 16 for our next Fawny Holiday Week post! We hope you guys love this week!
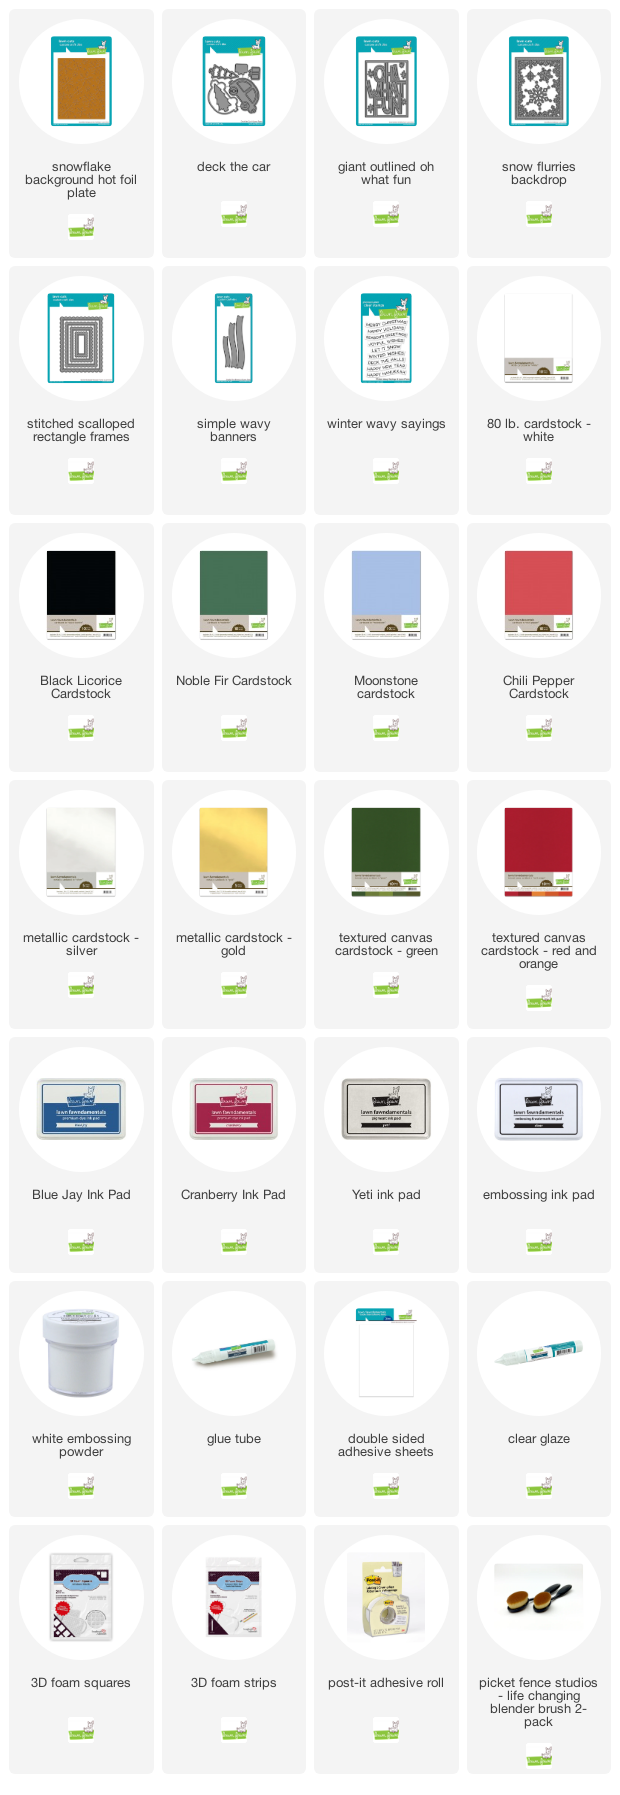
Supplies:

Thanks so much for visiting, have an amazing day!

Lawn Fawn Video {11.22.22} Alternate Ways to Use Hot Foil Plates with Mindy

Hi friends! Mindy has a fun technique for getting more out of your hot foil plates! She will demonstrate this technique while making four wonderful winter-themed cards! You can watch the video below or click HERE to watch at our YouTube channel.

Thanks so much for watching!

Mindy used two different techniques with Snowflake Background Hot Foil Plate to create this beautiful set of cards!

For this design, Mindy inked the hot foil plate before dry embossing it with the die cut machine. This creates a beautiful letterpress look. She blended Blue Jay ink on the background before layering Giant Outlined Oh What Fun on top!

For this pretty green background, she did the letterpress technique with Yeti Ink on Noble Fir cardstock. Then she added Deck the Car with a Winter Wavy Sayings greeting bordered with a Stitched Scalloped Rectangle Frame!

Mindy created another letterpress-look design and framed it with Snow Flurries Backdrop and the large snowflake as the focal point! For the rich red color, she used Chili Pepper cardstock and Cranberry Ink.

For this card, Mindy inked the embossed side of the snowflake background for a totally different look! The card came together with Snow Flurries Backdrop snowflakes and Winter Wavy Sayings white embossed on a Simple Wavy Banner.

Thank you so much for sharing this creative technique with us today, Mindy! Your cards are so beautiful!

Supplies:

Thank you so much for watching, have an amazing day!

We Wish You a Very Fawny Holiday Week {Day 2}

Hello everyone! Welcome to another special Fawny Holiday Week! We will be sharing inspiring holiday projects by our amazing Fawny family of designers along with videos and daily giveaways! Comment below for a chance to win a stamp set with coordinating dies plus a 6×6 paper of your choice!

Chari created truly adorable Goodie Bag designs to inspire us today! Check out how she added fun holiday die cuts in today’s video tutorial. You can watch the video below or click HERE to watch at our YouTube challenge.

Thank you so much for watching!


Gingerbread Friends

Build-A-Snowman

Outside In Stitched Christmas Tree

Create a bunch of Chari‘s adorable Goodie Bags to give gift cards and small gifts or use them as decorations! They will add holiday spirit however you use them!

This adorable Yeti or Not shaker tag is ready to decorate a gift box. It can also add sparkle to the Christmas tree! Renata started with colorful craft foam cut with Stitched Snowflake Frame. Then she sandwiched it between another Pixie Dust Sparkle frame and an Outside In Stitched Snowflake!

Mayra‘s gingerbread tea set is so adorably creative! Send sweet holiday wishes with Stitched Teapot, Stitched Teacup and a shaker Stitched Mug Frame! She added cuteness with Gingerbread Friends, Build-A-House Gingerbread Add-On, Stitched Cupcake and Woodland Critter Huggers Winter Add-On. The sweet sentiment is from Merry Messages.

Grace‘s minty card is so frosty and fun! She combined Build-A-Snowman with How You Bean? and the Mint Add-On set to fill the shaker! She added the paper-pieced tree from Deck the Car to create the snowy scene.

Along with the stamped mints, Grace also added Chunky Glitter to the shaker mason jar!

Grace also created a coordinating snowman tag for her amazing card! On one side, she used a plastic ornament half to fill with shaker elements. Then on the other side she added another snowman with to/from and a sweet sentiment!

Audrey put together a charming dragon-themed holiday card! She created a cute scene using Window Scene: Winter, Yeti or Not, Little Dragon and Winter Dragon. She used the scalloped rectangle to frame the scene, then she layered it on a Stitched Snowflake Backdrop.

Melissa‘s pair of tags are so clever and perfect for adding to holiday gift packages! Shut the Front Door looks so brilliant with a brick stenciled background and a mini wreath! The other tag features white embossed trees from the newly retired set Snow Day. She also embossed the Ready Set Snow, and a star in gold and silver. Then she added a sentiment from Christmas Dreams on a Fancy Wavy Banner.

Mimi’s Fun Advent Calendar

Mimi got super creative to inspire us with a fun version of an advent calendar! She altered the Platform Pop-Up to make an opening for 2 small cubes. First, she die-cut the Platform Pop-Up only once, then she cut a rectangle in the front panel. She assembled this half, then added another scalloped piece to the back.

Mimi added another pretty patterned paper on the top and white embossed the sentiment anchored on a t-shaped bar. She stamped the sentiment using words from Thanks a Latte, For You Deer and Den Sweet Den.

The festive Christmas scene combines Ho-Ho-Holidays, Holiday Helpers, Furry and Bright, and Joy to All. Next, Mimi created two tiny 1″ cubes that fit in the opening. Then she die-cut Black Licorice cardstock using the small square die from You’re Just My Type Lawn Cuts. She white embossed the numbers from Plan on It: Birthdays before adding the squares to the sides of the cubes.

This is such a fun way to count down the days until Christmas!

Giveaway time!

I hope you have enjoyed this fun look at some of our Holiday and Winter sets. Tomorrow, we will have another fun Fawny Holiday celebration but for now, it’s giveaway time! Leave us a comment sharing a crafty holiday project or gift you are working on by November 18th at 5:00PM ET. We will randomly pick one winner for a stamp/coordinating dies set plus a 6×6 paper pad of their choice! If you post about our Fawny Holiday Week on social media, leave another comment for a second chance to win!

Make sure to come back tomorrow, Wednesday, November 16 for our next Fawny Holiday Week post! We hope you guys love this week!

Supplies:

Thank you so much for visiting, have an amazing day!