I am so excited to introduce a new blog feature with Design Team member, Tammy Stark! Every month she will be featuring one focal stamp set, and showing you three fun and unique ways to use that set!
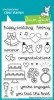
Hi Friends! It’s Tammy with an exciting new monthly feature called, 1 Stamp 3 Ways. Today, I am featuring the bee from Bugs and Kisses.
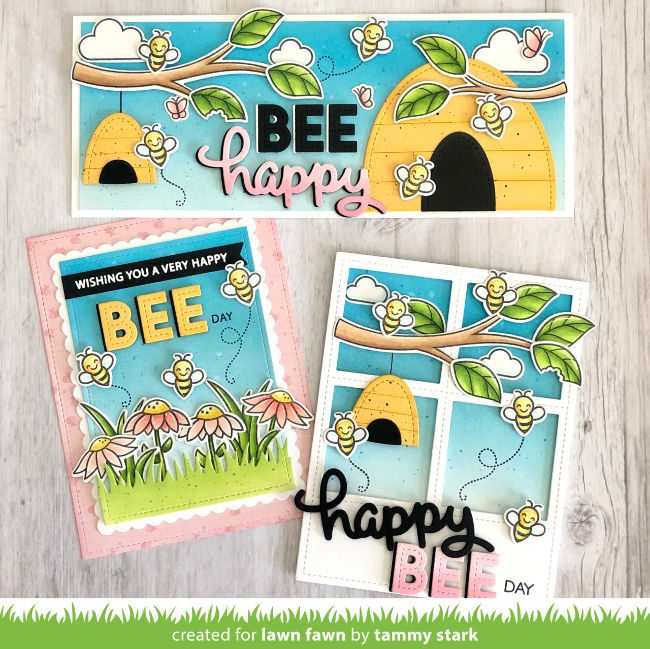
Slimline Card
The first card I created is a slimline card, measuring 3 ½ X 8 ½”. This card features a fun beehive, that I will show you how to create using Lawn Fawn dies.
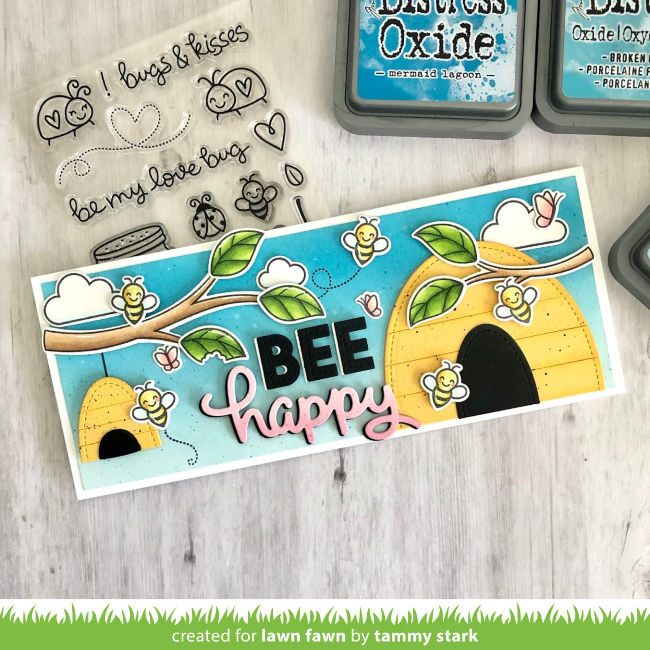
To begin, I cut a panel of white cardstock to 3 ¼ X 8 ¼”, and ink blended with Mermaid Lagoon, Broken China, and Tumbled Glass Distress Oxide inks. I splattered some water and Mermaid Lagoon thinned with water with a paintbrush onto my background and set aside to dry.
I stamped, colored and die cut images from the following sets:
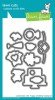
Bugs and Kisses (bees)/ Coordinating Dies
A Bug Deal (trees and leaves)/ Coordinating Dies
Butterfly Kisses (clouds, butterflies, bee trails)/ Coordinating Dies
Copic Colors:
Yellows: Y00, Y11, Y13, Y15, Y35
Pinks: R000, R00, R30, R20, R22
Greens: YG01, YG03, YG25, YG17
Browns: E30, E31, E34
Creating the Beehives
I made one large, and two small beehives for the cards.
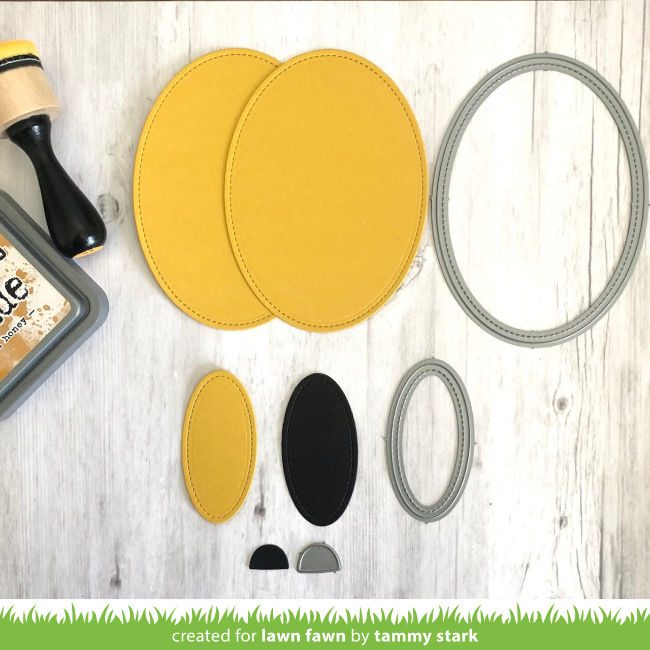
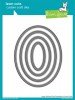
To begin, using the Large Stitched Oval Stackables, I cut two ovals (second to largest) from No. 2 Pencil cardstock. I also cut two yellow ovals using the smallest oval from the set, and one from Black Licorice. The small half oval shown in the picture was cut from the Tiny Gift Box Cat Add-On.
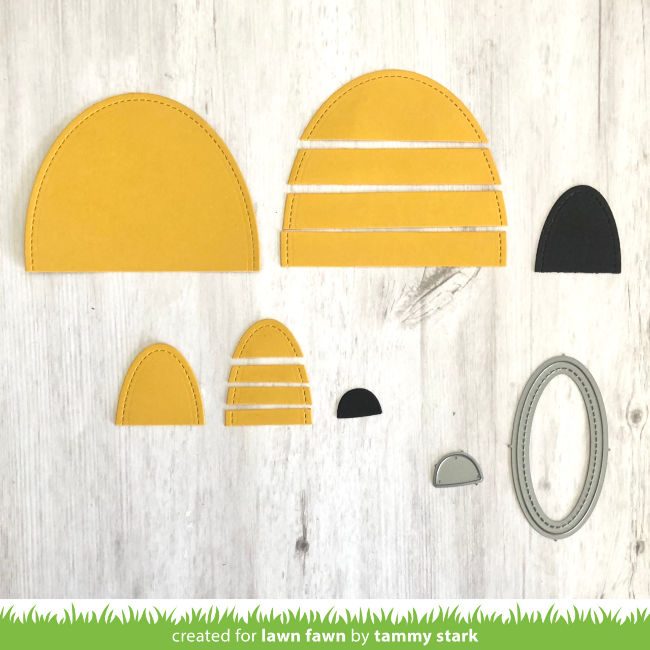
Here, you will see how easily the beehives were to piece together! I cut the ovals in half, then cut strips from the other half. Each piece was inked with Wild Honey Distress Oxide ink, then pieced onto the oval half. To add a bit of interest to the beehive, I splattered a bit of thinned down black acrylic paint before placing the black halved ovals. Once my beehives were done, I inked the edges again to add more depth.
Finishing the slimline card
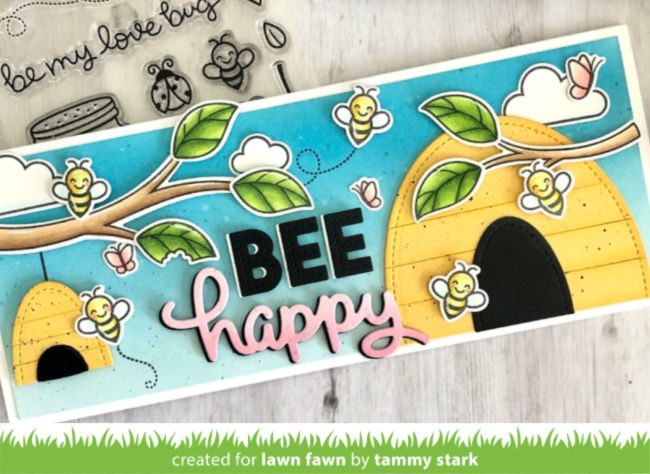
Now that you have your beehives completed, we can finish up the first card. I attached my ink blended background to a white card base, measuring 3 ½ X 8 ½”. Then I did a quick layout of my card before gluing anything down, and stamped the bee trails with the Jet Black ink pad. Next, I glued the large beehive onto the card, and then began layering on the other elements, attaching with foam squares for dimension.
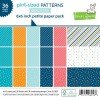
To make the smaller beehive look like it is hanging from the tree branch, I drew a black line with a Sharpie (and a ruler), then attached the beehive with foam squares. For the “Bee happy” title, I cut the word BEE from white and black cardstock using the Oliver’s Stitched ABCs, and layered on top of each other, just slightly offset. Using the Scripty Happy die, I cut it twice using the pink paper from the Spiffy Speckles petite paper pack. I lightly inked the bottom with Worn Lipstick Distress Oxide before layering and adding it to my card. To finish up my card, I centered the “BEE” title right above the “happy” and attached to my card using foam tape.
Scalloped Frame Card
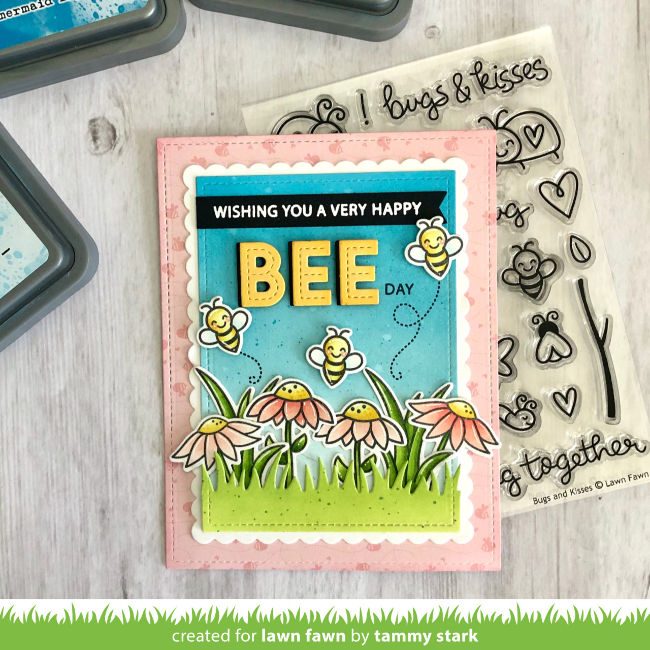
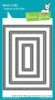
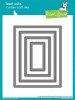
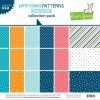
For the next card, I started by cutting the Mae Remix paper from the Hello Sunshine Remix petite paper pack, using the largest rectangle from the Large Stitched Rectangle Stackables. It was attached to a white A2 card base. Next, I cut a white scalloped rectangle using the Scalloped Rectangle Stackables (third from largest). Then I used the large stitched rectangle stackables again to cut a piece of Bristol smooth cardstock with the second to largest die in the set. The background was inked just like the slimline card and layered on the white scalloped rectangle, then on the patterned paper.
The following sets were stamped, colored and die cut:
Bugs and kisses/ Coordinating Dies
Fairy friends ( flowers)/ Coordinating Dies
Gleeful gardens (flowers, tall grass)/ Coordinating Dies
Butterfly kisses (bee trails)
Offset Sayings: Birthday
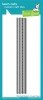
Next, I cut a Grassy Border from Bristol paper, and ink blended with Twisted Citron and Mowed Lawn distress oxide, and attached to my background using foam tape. I stamped the bee trails, and then began arranging my images onto my card, using foam squares for the bees.
Then I used Oliver’s Stitched ABCs to cut the word “BEE” twice (once each from No. 2 Pencil and Black Licorice cardstock). I layered the yellow on top of the black, just slightly offset, and then attached the letters to the card. I stamped the word “day” from Offset Sayings: Birthday in Black Licorice ink, and finished my card by white embossing the sentiment on black cardstock and cut it out with the Everyday Sentiment Banners, snipping off one end before attaching it to my card.
Foursquare Backdrop Card
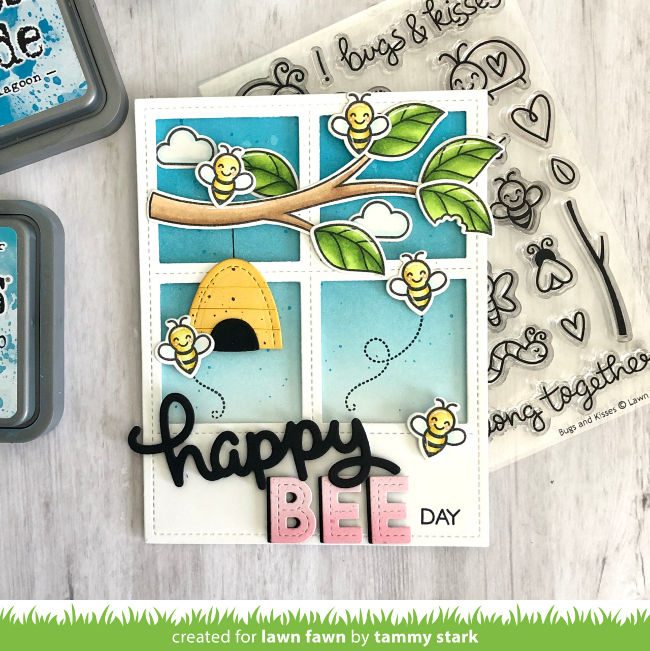
For my final card, I cut a piece of Bristol smooth card stock A2 size, and ink blended with Mermaid Lagoon, Broken China, and Tumbled Glass, in the same manner as the other cards. I cut white cardstock using the Foursquare Backdrop: Portrait and placed it on top of my inked background, using foam tape for dimension. Then this was attached to a white A2 card base.
Next, I stamped, colored, and die cut images from the following sets:
Bugs and kisses/ coordinating dies
A Bug Deal (trees,leaves)/ coordinating dies
Butterfly kisses ( bee trails, clouds)
Happy happy happy (day)
The bee trails were stamped with black ink, and I drew a black line using a Sharpie for my beehive before adding my stamped images. Next, I added all the darling elements to my card, using foam squares for dimension. The word “BEE” was cut from the Spiffy Speckles petite paper pack and Black Licorice cardstock using Oliver’s Stitched ABCs. I lightly inked the bottom of the pink letters with Worn Lipstick Distress Oxide ink before layering on top of the black letters, just slightly offset. I stamped the day sentiment from the Happy Happy Happy set in Black Licorice ink, and lined up my die cut letters to attach to my card. Using the Scripty Happy die, I die cut it twice from Black Licorice cardstock and attached it at a slight angle to complete my card.
Thanks so much for joining me today! I hope you all enjoyed the first post for the 1 Stamp, 3 Ways feature! What stamp set would you like to see featured next? Leave a comment for us and be on the lookout for an Instagram Stories poll in the near future!
Big hugs,
Tammy
Supplies:

Thanks for visiting!
Have an amazing day!