The Starry Stamp Shammy Case is here + A Spooky Village Card with Jessica!

We are so excited to introduce our new Starry Stamp Shammy Case! It is finally here! Check out the intro video below or click HERE to watch it at our YouTube channel.

Thanks for watching! Click here to check out our new Starry Stamp Shammy Case!

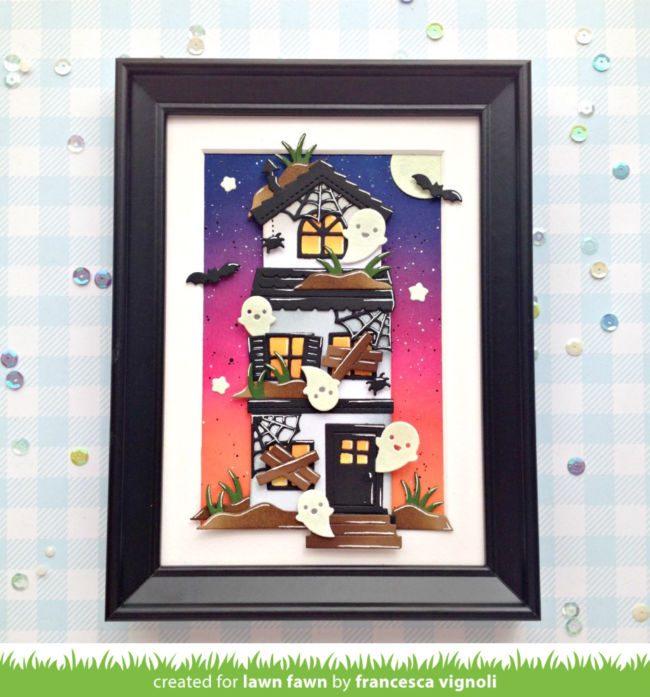
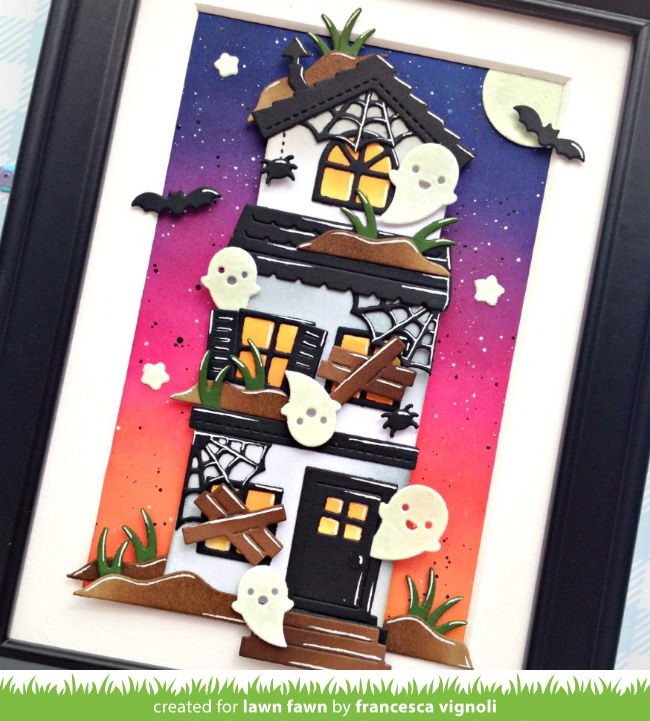
Jess joins us today to share some Halloween inspiration! Her Spooky Village card features an awesome ink blended night sky!

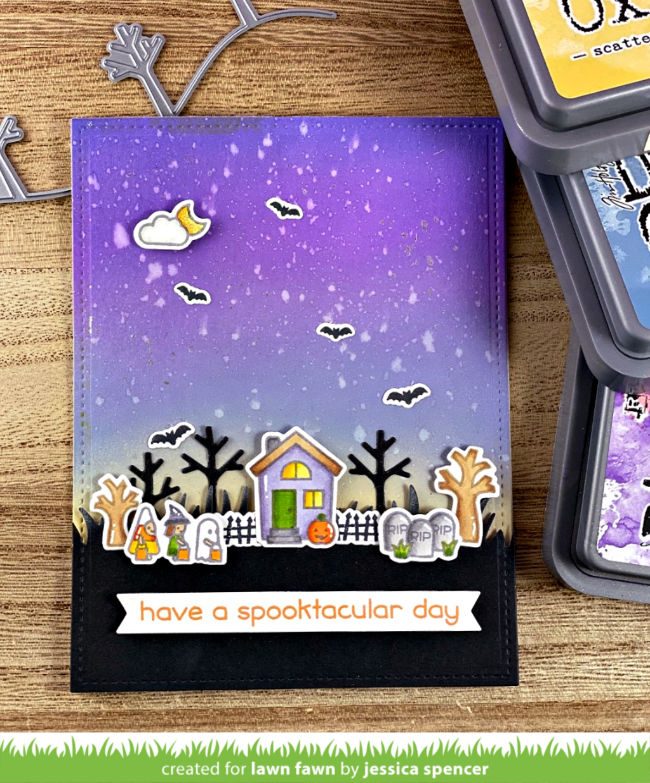
Jess used River Rock and Crunchy Leaf inks to stamp the images before coloring them with Copic markers. The little fence and bats (from Tiny Halloween) were stamped with Jet Black ink. She filled out the scene with Stitched Tree Borders and Simple Grassy Hillside Borders die cut from Black Licorice cardstock.

That amazing night sky is a blended combination of Wilted Violet, Faded Jeans and Scattered Straw Distress Oxide inks! Jess then sprinkled the background with Liquid Stardust mixed with a little water to add lots of sparkling texture! This fantastic card was finished with a spooktacular sentiment stamped in Fake Tan ink on an Everyday Sentiment Banner!

Thank you so much, Jess! I love this amazing Halloween design!

Supplies:

Thanks for visiting!
Have an amazing day!

Lawn Fawn Video {10.29.19} Two Skating Critters Cards with Nichol

Nichol shows how she created two adorable cards featuring our skating critters using the same design and supplies! You can watch the video below or click HERE to watch at our YouTube channel.

Thanks so much for watching!

To create her awesome winter scenes, Nichol die cut the scene-builder images from white cardstock and used Copic markers to add color! She used the log cabin from Shadow Box Card Mountain Add-On, trees from Stitched Hillside Backdrop Portrait and Landscape and Stitched Mountain Borders.

She also added color with Copic markers to the Pearlescent Vellum that is layered behind and becomes the icy Stitched Pond and snowy sky! She die cut the skating trails for the cute Mice on Ice who are wearing adorable coordinating skates and scarves!

For this second card, Nichol combined all of our skating critters! There’s the Winter Penguin and the skating bear from Beary Happy Holidays along with another cute mouse in another awesome winter scene!

Thank you so much for sharing these delightful cards with us today, Nichol! I just love all the skating critters!

Supplies:

Thanks for visiting!
Have an amazing day!

Franci’s Spooky Glow-in-the Dark Halloween House!

Franci is sharing her amazing spooky Halloween house with glow-in-the-dark ghosts, moon and stars! She made her house super-sized then added it to a picture frame as wall art! There’s a surprise when you turn off the lights!

Franci did some partial die-cutting to create a taller house but she says you could also just cut two Build-A-House main shapes and combine the two. To give her house more detail she used Distress ink to add some shading. She also used Distress ink to create that awesome night sky!

Franci decorated her haunted house using Halloween Add-On bats, cobwebs and spiders. She also added some grassy weeds and dirt from the Scalloped Treat Box Beach House Add-On; this spooky house has definitely seen better days!
To create the glow in the dark elements, Franci first added clear embossing ink to a panel of white cardstock, then sprinkled on the Glow-in-the-Dark embossing powder and heat set it. Once cooled the ghosts were cut using the dies in the Build-A-House Halloween Add-On set along with the stars and moon.

When the lights go out this beautiful picture becomes a spooky Halloween decoration with glowing ghosties!

Franci added white gel pen highlights to the die cuts then assembled the house with Glue Tube and foam squares then mounted the house to the background with foam tape. I love how the elements overlap the beveled photo mat! Such a fun detail!

Thank you so much, Franci, for sharing your amazing Halloween project with us today!

Supplies:

Thanks for visiting!
Have an amazing day!