A balloon themed party by Elena

We have an awesome Flickr challenge going on with our friends over at Simon Says Stamp! There are prizes and lots of crafty fun to be had! Go check it out here: https://www.flickr.com/groups/lawnfawn/discuss/72157650924144611/
 __________________________________________________ 
Guess what is coming up soon?! Our birthday celebration at Stamp Fever in Orange, CA on March 7th! Woohoo! Click here for more info, and make sure to call in and sign up for the make and take! 🙂 
 __________________________________________________
True Stamp is coming up soon! Woohoo!
You can used the code GOLD for $30 off registration until the end of February!
Check it out here:
http://www.truestamp2015.com/lawnfawn

__________________________________________________

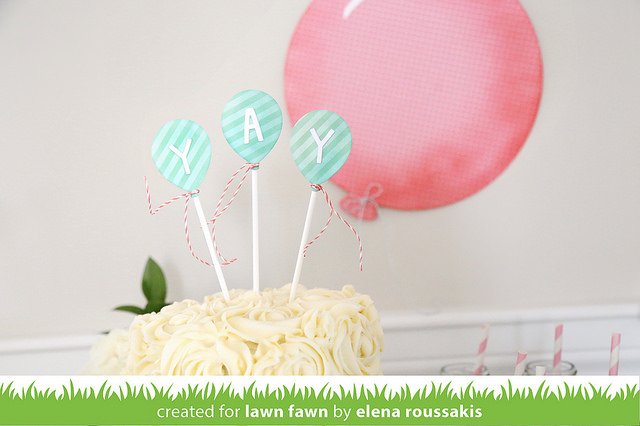
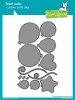
We have another awesome party by Elena today! She was inspired by our new Party Balloons dies! Let’s check it out!

balloonparty1

balloonparty2
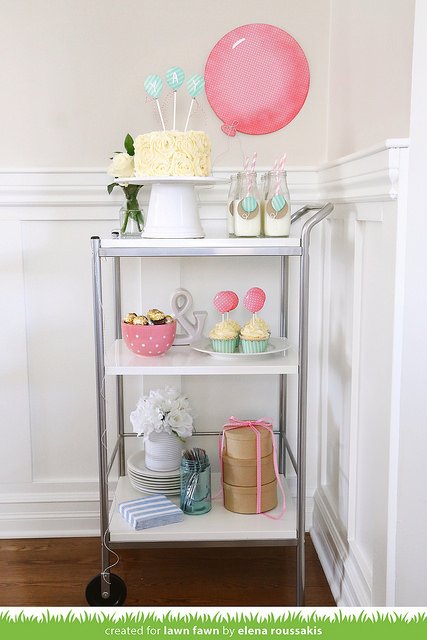
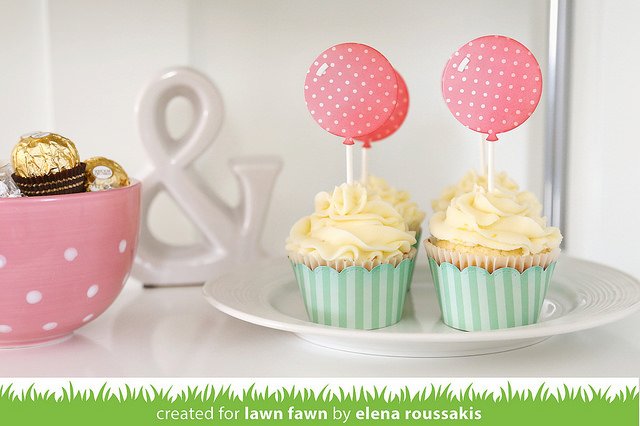
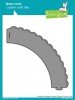
I just love the idea of the Party Balloons as cupcake toppers! The Scalloped Cupcake Wrapper die is perfect here, too!

balloonparty3
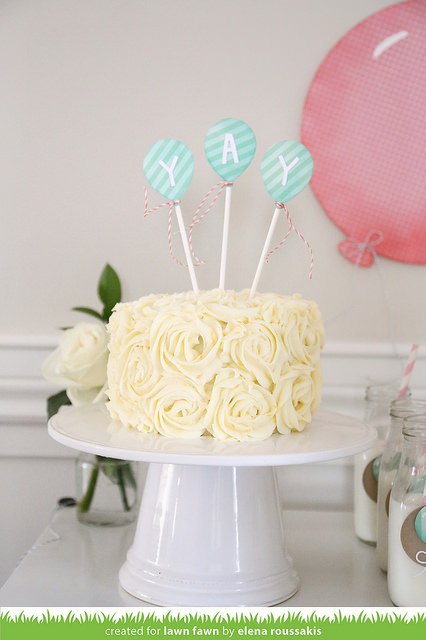
I just love how so many of our alphabet dies fit the Party Balloons. This is a great idea for a cake topper! You could even do someone’s name!

balloonparty5

balloonparty6

balloonparty7
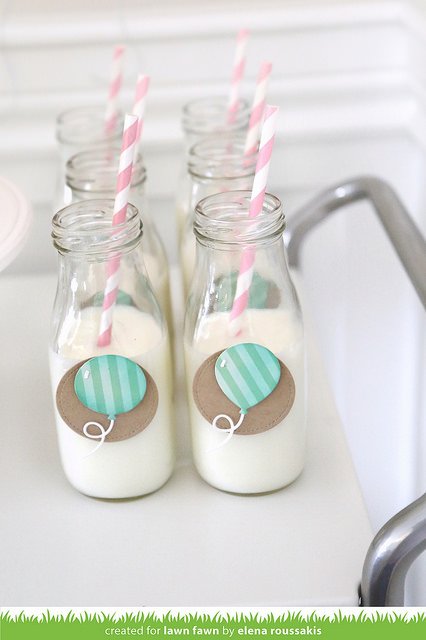
I just adore these cute milk bottles! The inking on the edges of the balloon die cuts really makes them have extra dimension, too!


Thank you so much for sharing this awesome party idea, Elena! You rock!
Thank you so much for visiting!
Have an amazing day,

Lawn Fawn Video {2.26.15} a window thanks card

True Stamp is coming up soon! Woohoo!
You can used the code GOLD for $30 off registration until the end of February!
Check it out here:
http://www.truestamp2015.com/lawnfawn

__________________________________________________

Today we have an awesome video from our friend Lizzy! She shows us how to make a super cute window thank you card with Gleeful Gardens and our new Scripty Thanks Wood Veneer!

You can watch the video here or on our YouTube channel!


Thank you so much for watching!   

IMG_3061
Thank you so much for sharing this super sweet card with us, Lizzy! You are the best!

Thank you so much for visiting!
Have an amazing day,

A fun watercolor tutorial by Karin!

Our friend Karin put together an awesome watercolor tutorial! We are so excited to show it to you! Let’s check it out in her own words below!

Hi Everyone!
Karin here to inspire you to use your watercolors to create some fast, and easy cards!
A lot of people think watercolor is a difficult media and, even though I paint quite a lot, I totally agree (-: – but it doesn’t have to be difficult. I’ll show how easy it is to create a landscape scene that I think will be appreciated by the receiver no matter what age or gender.

I start out by wetting my watercolor paper – if you use a 140 lb paper there is no need to stretch it, but if your paper is thinner than that you might want to tape it to a cardboard before you start to prevent it from bulging while you’re painting.

When the paper is still wet I  add the sky/cloud colors so they spread on the wet paper and create realistic looking clouds; I like Ultramarine mixed with a little bit of Paynes grey or burnt sienna for this. I let that dry completely  before I go on with the next step.

Then I simply paint stripes of different colors to create mountains, hills, fields and grass, making sure I use cool colors for the mountains and hills and warmer colors for the grass and fields that are closer. This is an easy way to create distance in a painting and especially important in a simple scene like this where there isn’t much else to guide the eye.

I used mixes of ultamarine and viridian for the distant hills and then raw sienna, burnt sienna and burnt umber for the fields and grass. For the very darks I mix ultramarine with burnt umber. You can of course choose any colors you like but try to stick to a limited number of colors – that way it is easier to create harmony in your painting.

I then spatter some darker colors (ultramarine mixed with burnt umber)  to the bottom to create a bit of texture.  Make sure you protect the rest of the painting with a piece of scrap paper before doing this!

You can of course also use stamps to create leaves or plants, just make sure your painting is completely dry before you do this.

When I’m happy with my painting it is time to “frame” it. I used Lawn Fawn’s wonderful Stitched Rectangles for this. I put a smaller die inside a larger one and use washi tape to keep them in place like that when I die cut them.

I then adhere my little painting to a card base, stamp a sentiment underneath and then adhere the frame using foam adhesive.

Thank you so much for sharing this awesome tutorial, Karin! I can’t wait to try some fun watercolor backgrounds! You rock!

Thank you so much for visiting!
Have an amazing day,