Lawn Fawn Video {1.2.20} Mindy’s Friendship Reveal Wheel Card

Mindy created a fun wintry scene to make an interactive Reveal Wheel friendship card! You can watch her video tutorial below or click HERE to watch at our YouTube channel!

Thank you so much for watching!
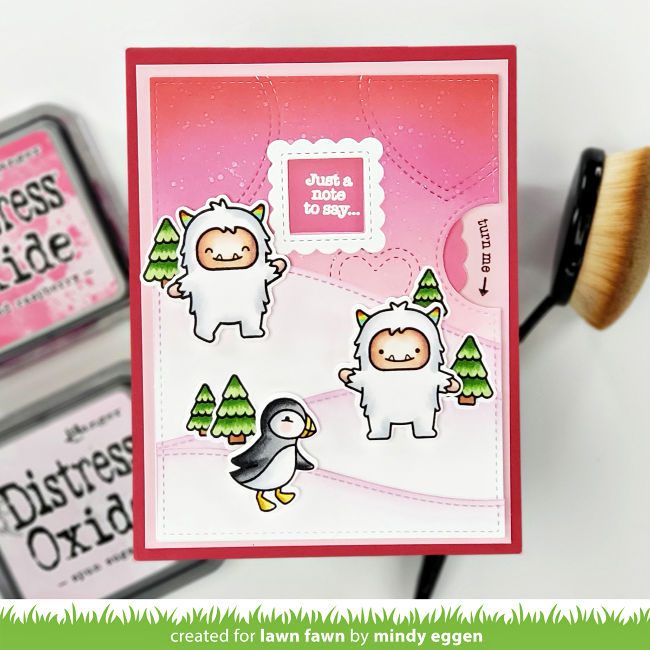
Mindy used the new Reveal Wheel Square Window Add-On set along with some sentiments from Love Poems to send a sweet friendship message!
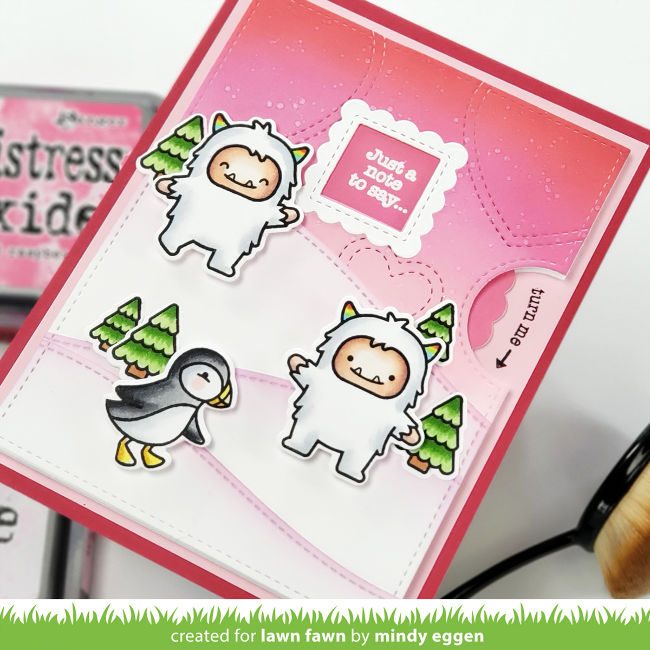
Just Stitching Hearts creates texture and fun pattern on the ink blended background! Mindy included a cute puffin and some yetis with rainbow colored horns for a totally whimsical design!
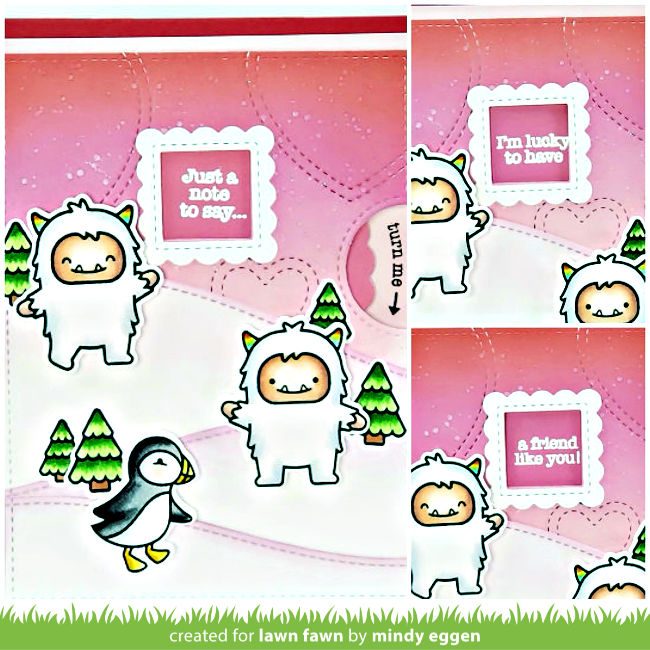
Stamping the Love Poems sentiments to fit the window perfectly is a snap with the new Reveal Wheel Templates: Square!

Thank you for sharing this super adorable card with us, Mindy!

Supplies:

Thanks for visiting!
Have an amazing day!

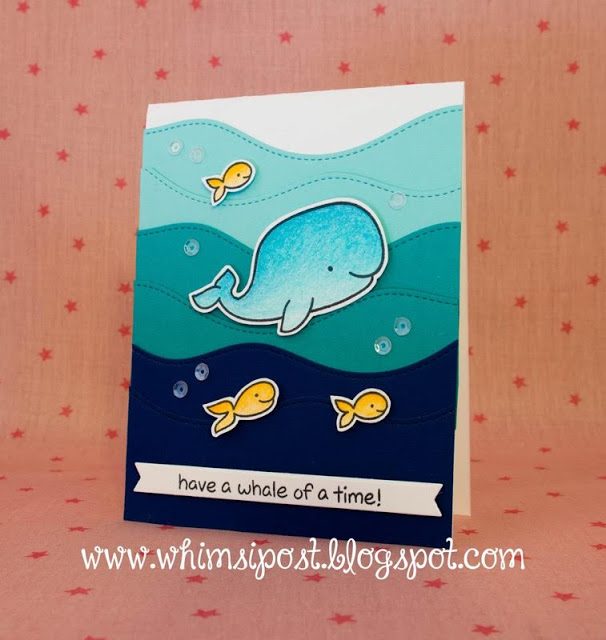
A Whale of a Cute Card by Elise!

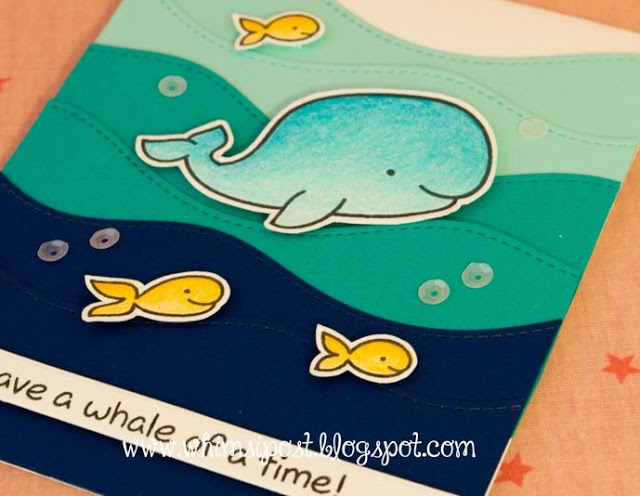
Elise joins us today to share a super fun and clever card using Critters in the Sea and some awesome colors of Lawn Fawndamentals Cardstock!

 I love how Elise created the look of ocean waves by die cutting Mermaid, Peacock and Blue Jay cardstock with the Stitched Hillside Borders Lawn Cuts dies! And the sequins as bubbles is such a cute detail!

Thank you so much for sharing this adorable card with us today, Elise!

Thank you so much for visiting!
Have an amazing day,

Penguin Cookie Holders with Elena!

Psssst… Guess what? We might just have something fun planned for Black Friday. Keep an eye out late tomorrow night! 🙂
________________ 

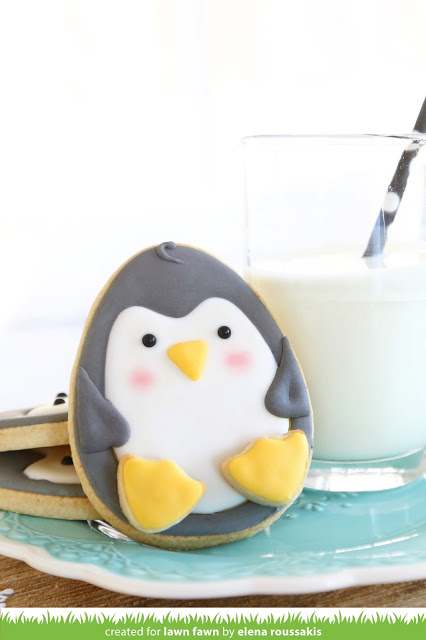
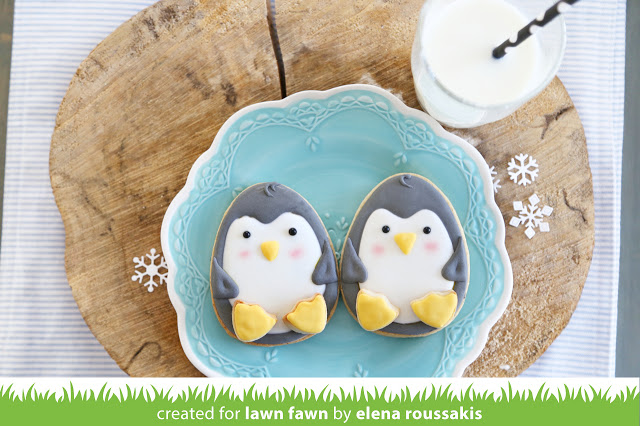
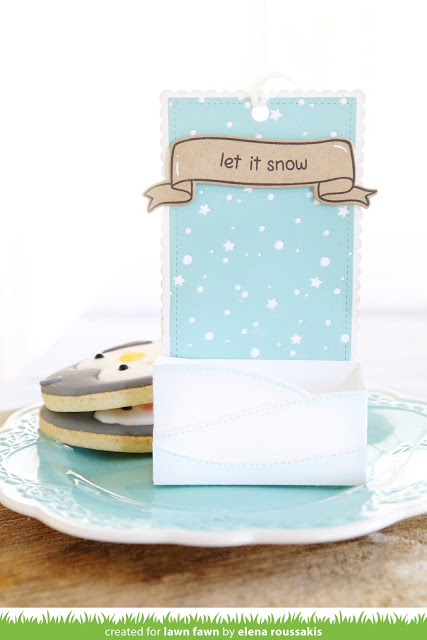
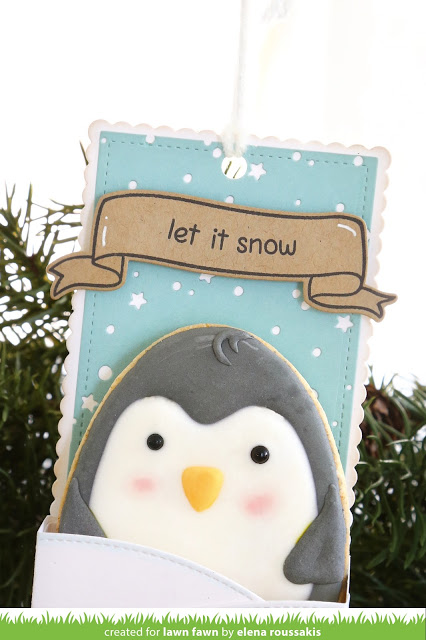
Elena shares a cute cookie holder project! This is an adorable way to present a fun cookie gift or a cute way use cookies as decorations!

These penguin cookies are just too cute with their sweet rosy cheeks! 

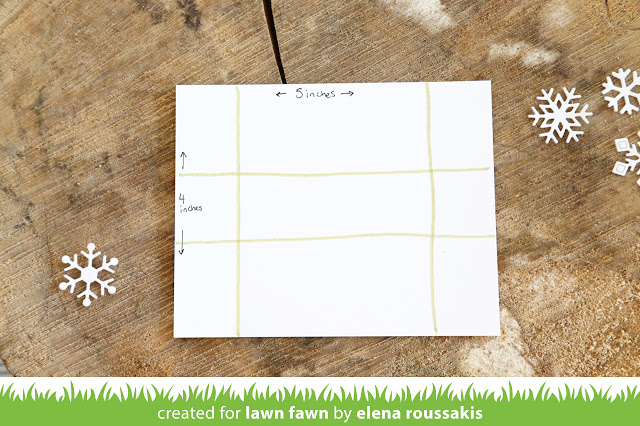
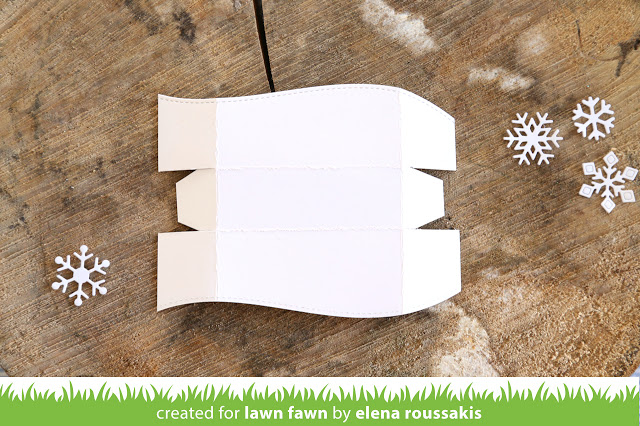
  Here’s a quick tutorial for making cookie holders for your decorated cookies.

 Cut your cardstock to dimensions shown in photo and score at highlighted lines. (For this example; score at 1″ on short sides, 1 1/2″ on long sides)

 Then, on the longer edges, use the snowdrift die (from Stitched Hillside Borders) to cut the top and bottom. Cut as shown in photo (you may need to cut down the middle flap depending on the angle of your snowdrift. Assemble the box and adhere it to the backing.

For the backing piece, Snowy Backdrop adds the pretty snow and star design while Bannerific and a sentiment from Critters in the Arctic pull the snowy theme together!

 
Thank you so much for this adorable project idea, Elena! We just love your awesome holiday inspiration!

Thank you so much for visiting!
Have an amazing day,