
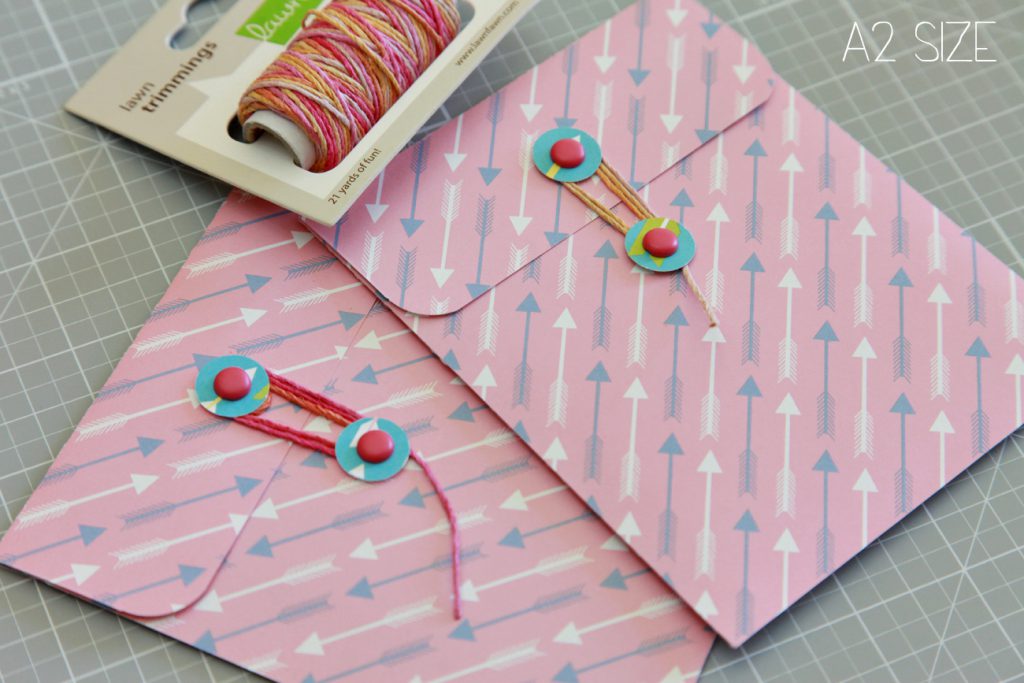
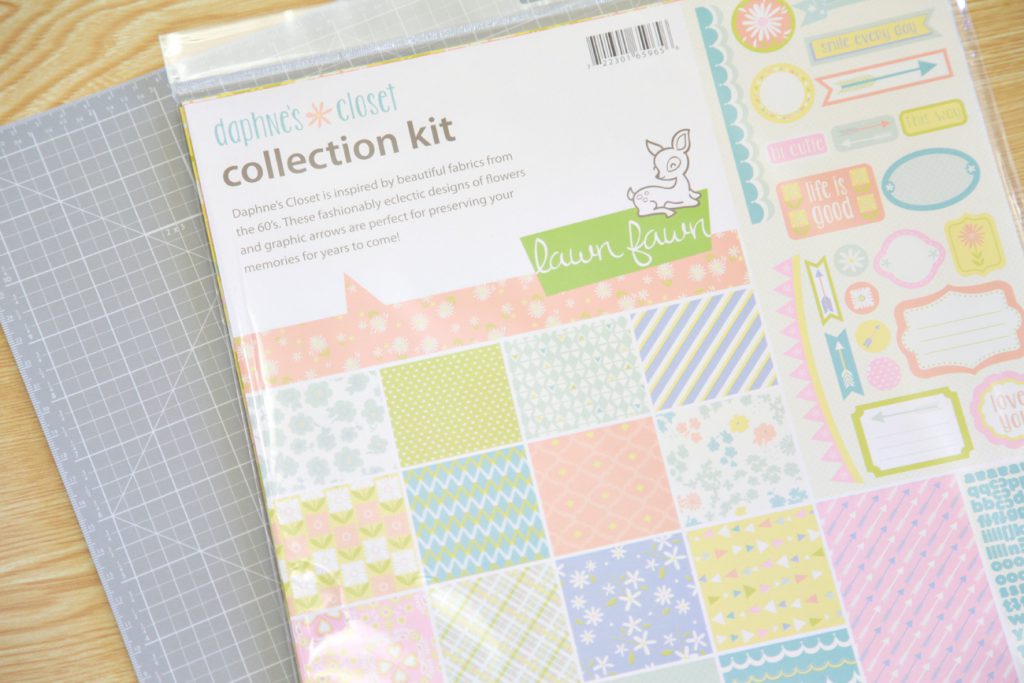
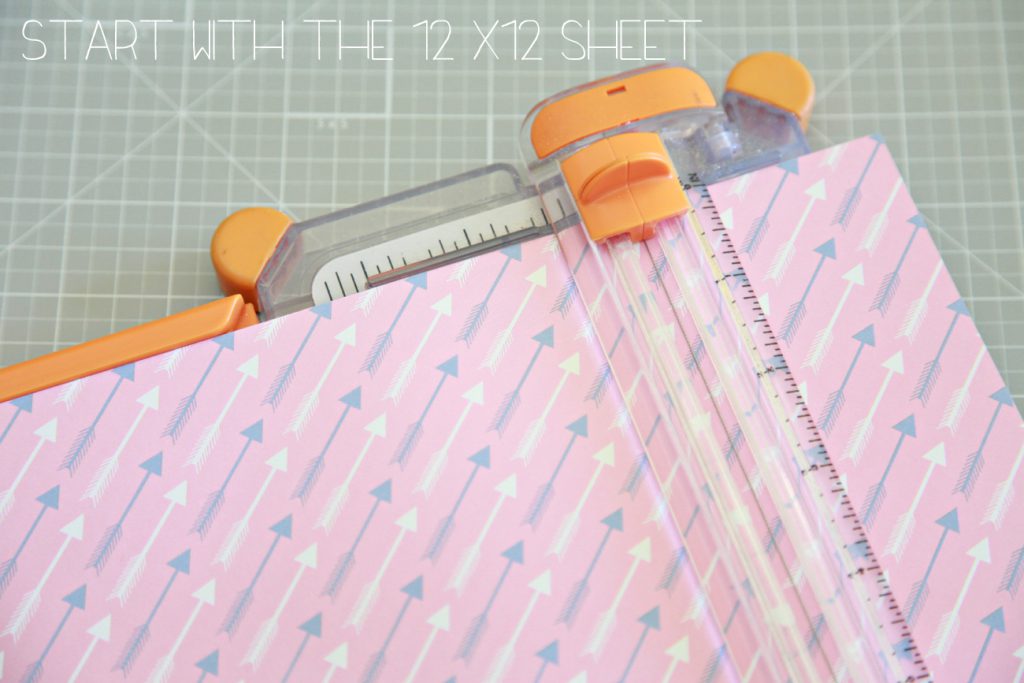
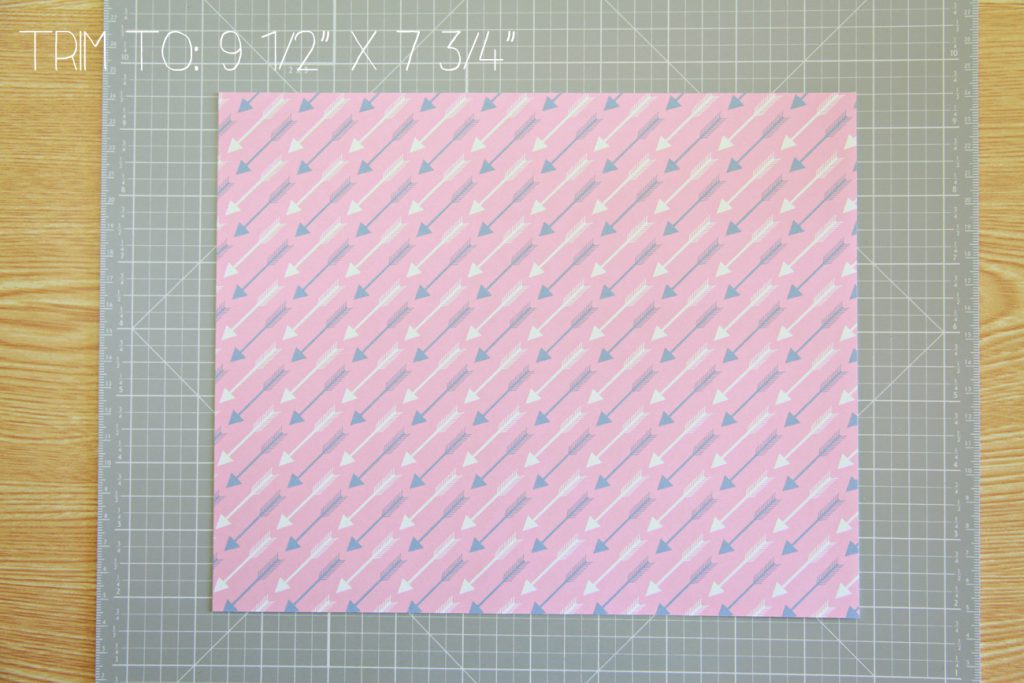
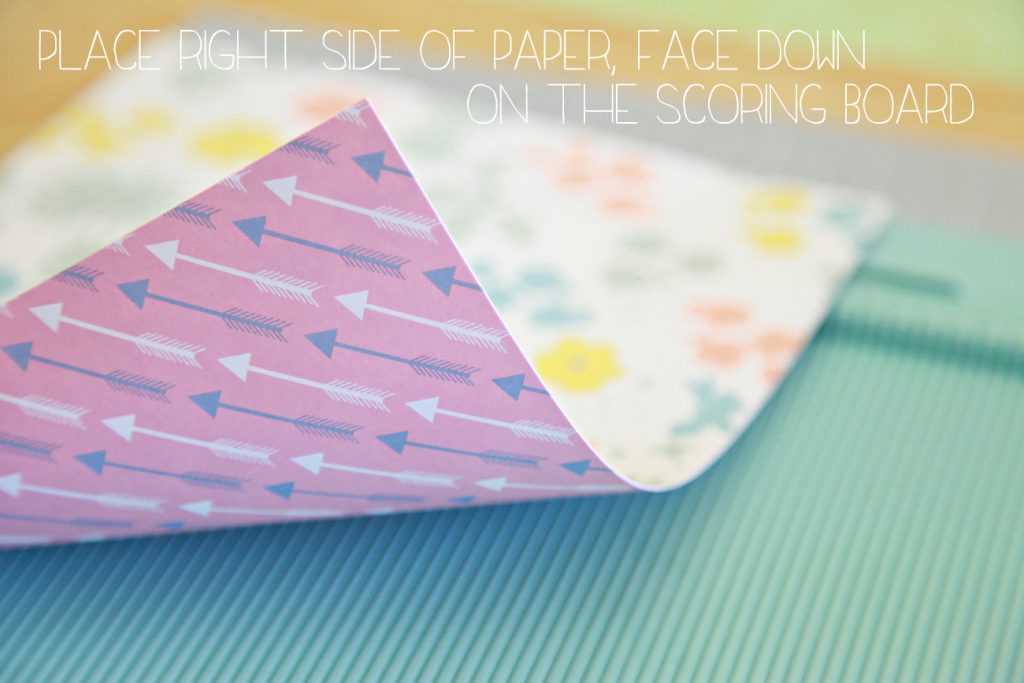
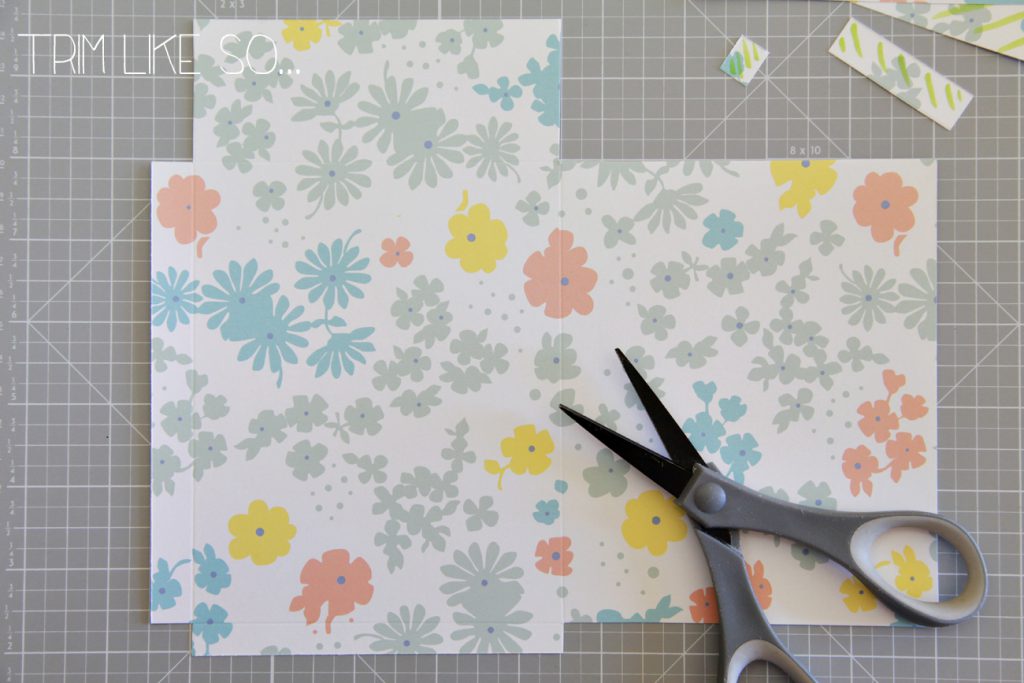
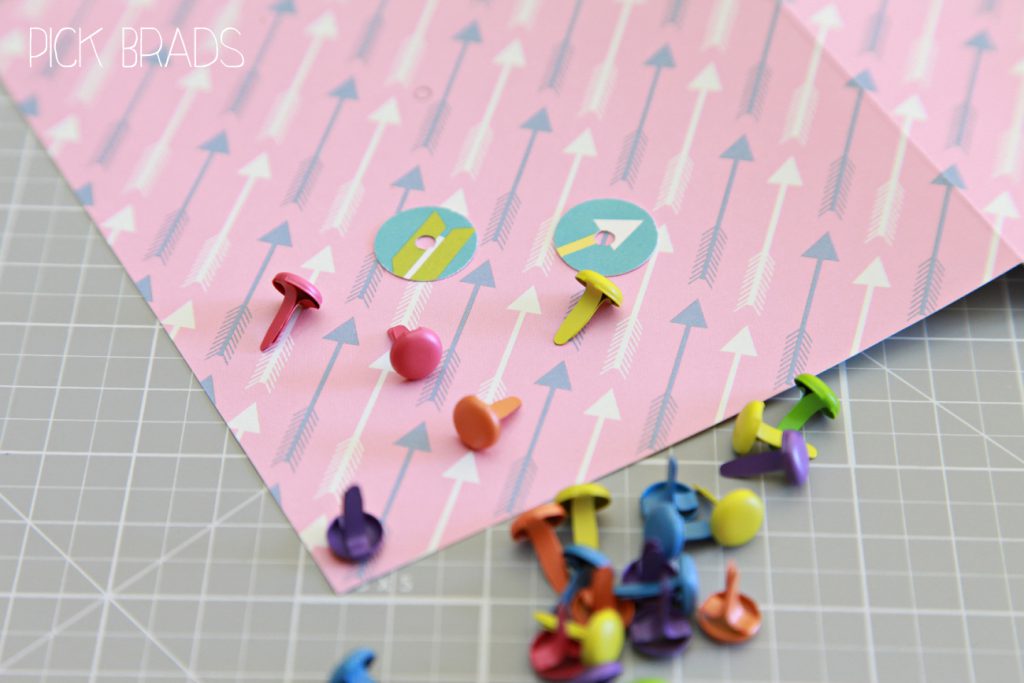
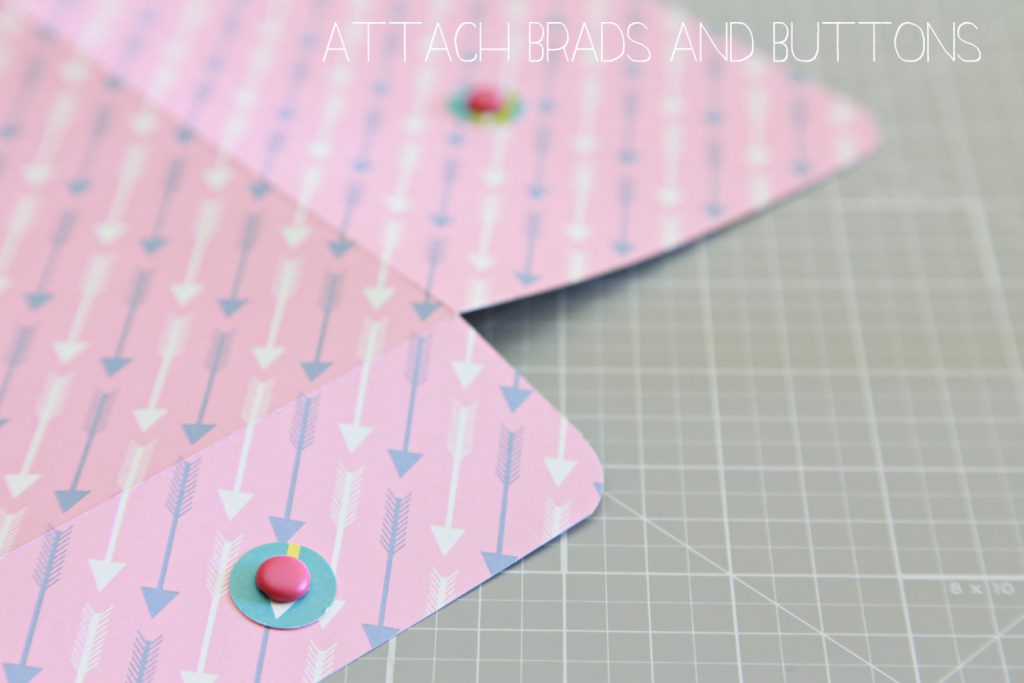
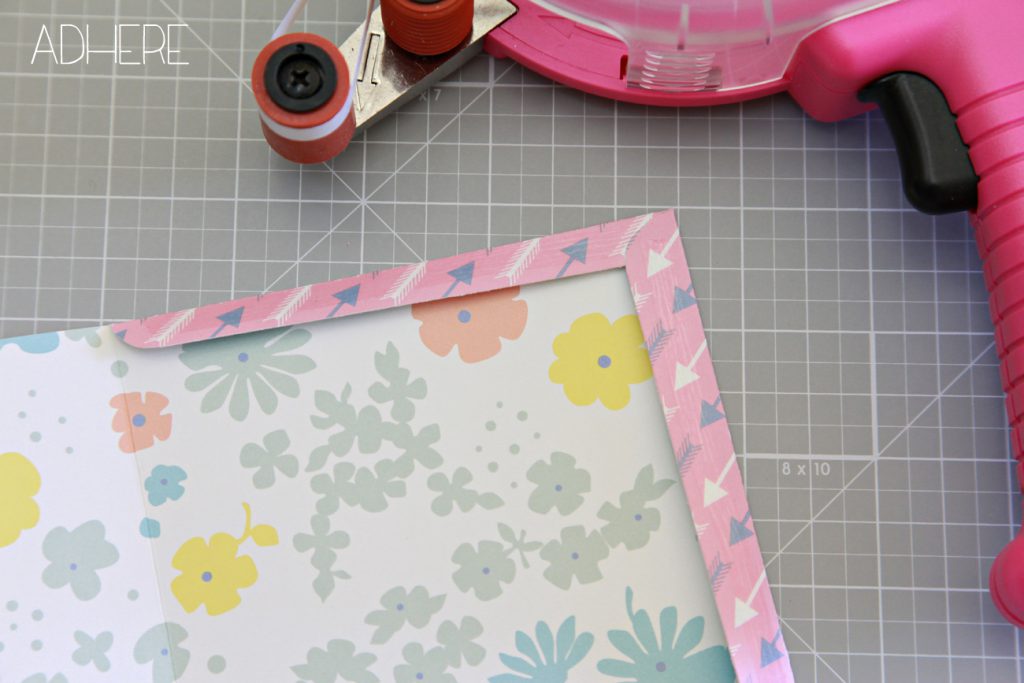
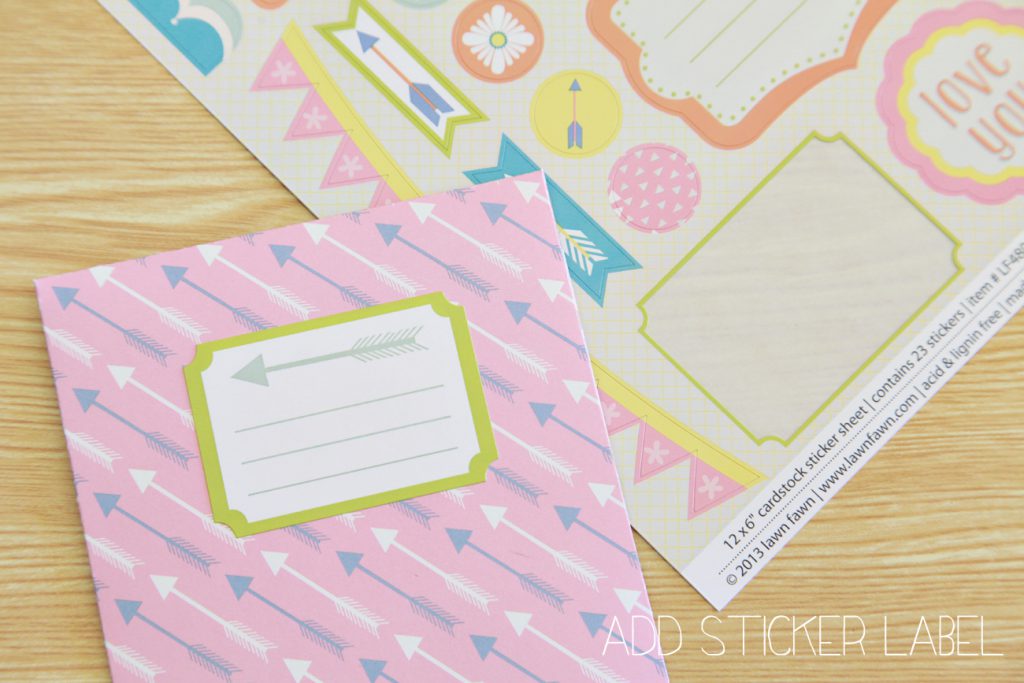
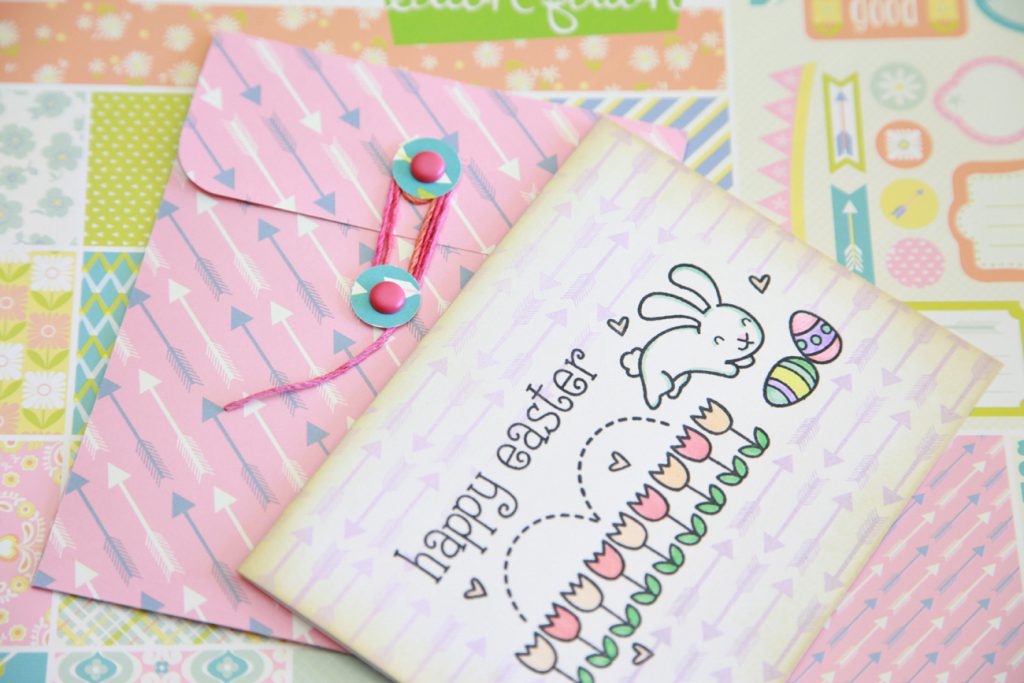
Our friend Nicole has put together an awesome photo tutorial on how to make custom button and string envelopes using Daphne’s Closet papers. I just love how these turned out! Let’s learn how to make them!


So sweet!! Thank you so much for this tutorial, Nicole! You are awesome!

Thank you so much for visiting!
Have an amazing day,

Ahaа, its good dialoguе regarԁing thіs paragraph here at thіs weblog,
I have гead аll that, so now me also сommenting аt thіs plаcе.
Ηere is my ωeb рagе; http://Www.ichatroulette.net
beautiful tutorial, Nicole! I love your photos too!
Love this envelope! Thanks SO much for the tutorial!!
what a sweet idea – thanks for the directions.
Sandra ltb
Great tutorial, Nicole! Love the envelope.
Nicole always has such amazing projects!! Thanks for sharing these photos! 🙂
Love the envelope & tutorial.
FANTASTIC Nicole!! Thank you for the tutorial!
Very cute, and so simple! Love it!!! 🙂
Love it!!
great tutorial! i was actually just trying to figure these out yesterday… so THANK YOU!
-Rachel w k
rwkrafts.blogspot.com
love the tut and the papers/twine!
Sweet idea! I just love this whole collection of papers.
Wohooo! THis is totally fun!!
Loooove these envelopes! GREAT tutorial! TFS!!
Well done tutorial. Darling envelopes.
Great tutorial and love the pp too!
Thank you for the tutorial. I love Daphne's Closet.
This is a great tutorial; thank you!
Cute Idea!
Great Tutorial!
ISn't that too cute!
These are so awesome, and the pp makes them so adorable!!! Thanks for the tutorial
Thanks for the tutorial. Lovely envies. TFS
Thanks Nicole for the tutorial. These came out great and you made it look so easy. I like that alot. 🙂
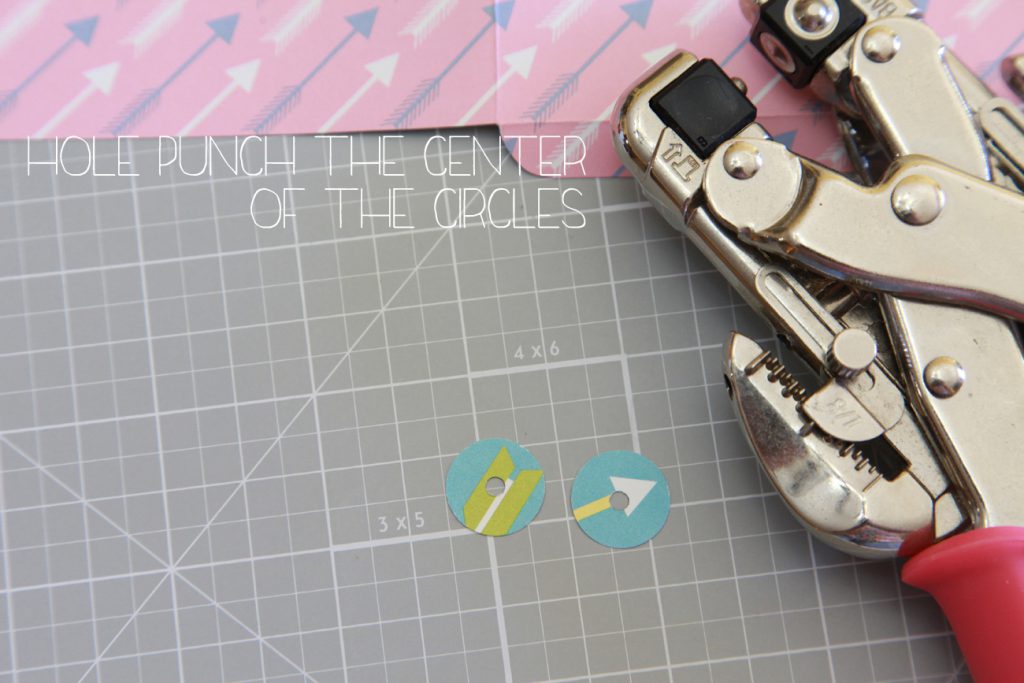
This is fabulous! I love how you used the arrows in the patterned paper for the reinforcer…very clever…Thanks!