We invite you to join us for Fawny Holiday Week starting on Monday, November 16th! Our Design Teams, Fawnies and some special guest designers will be sharing amazing holiday inspiration all week! We will have videos every day along with a daily giveaway! We can’t wait!
Happy Friday, friends! We are so excited to have Tammy back for a holiday-themed 1 Stamp, 3 Ways feature!
Hi friends! I’m so excited to be back with another 1 Stamp, 3 Ways feature! Since the holidays are upon us, this month we are featuring one of my favorite sets, A Creature was Stirring.

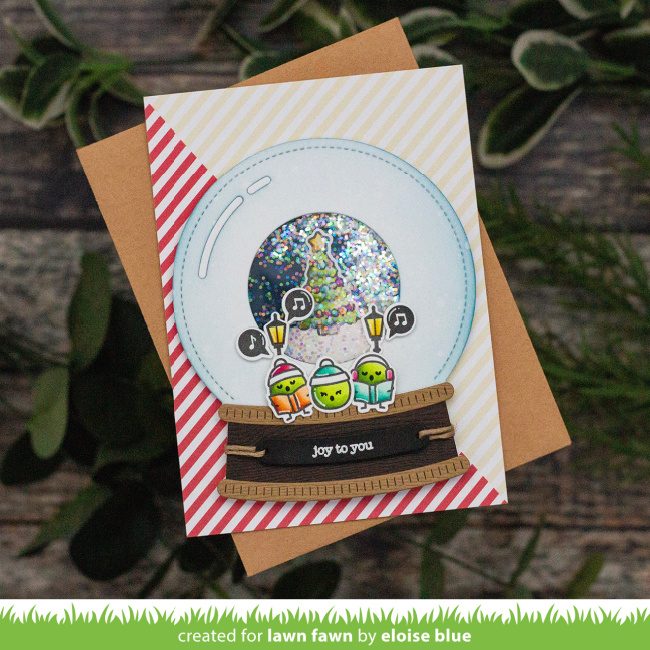
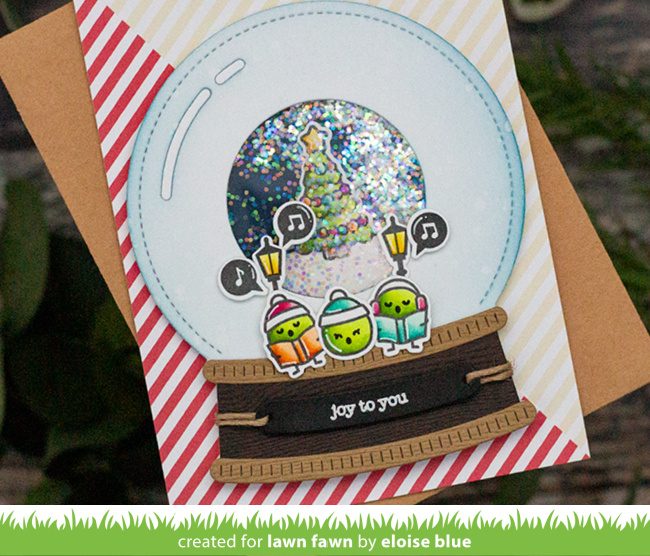
Peppermint Magic Iris Card
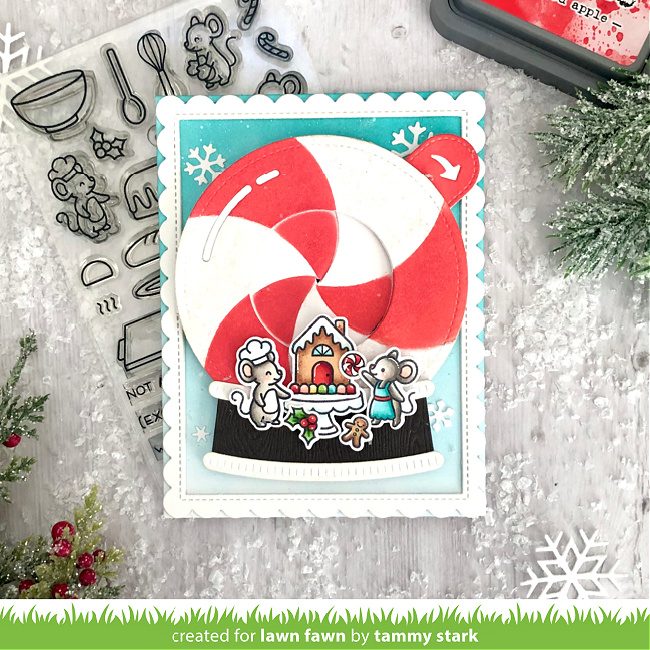
To create this fun Peppermint Snow Globe card, I began by cutting an A2 rectangle from Bristol smooth cardstock using the Large Stitched Rectangle Stackables. I ink blended the background with Peacock Feathers and Tumbled Glass Distress Oxide inks. Next, I added some white die cut Mini Snowflakes , framed it with a Stitched Scalloped Rectangle Frame, and attached it to an A2 white card base.
I stamped, colored with Copic markers, and die cut images from the following sets:
A Creature Was Stirring/ Coordinating Dies
Sweet Christmas/ Coordinating Dies
Shutter Card Holiday Sayings
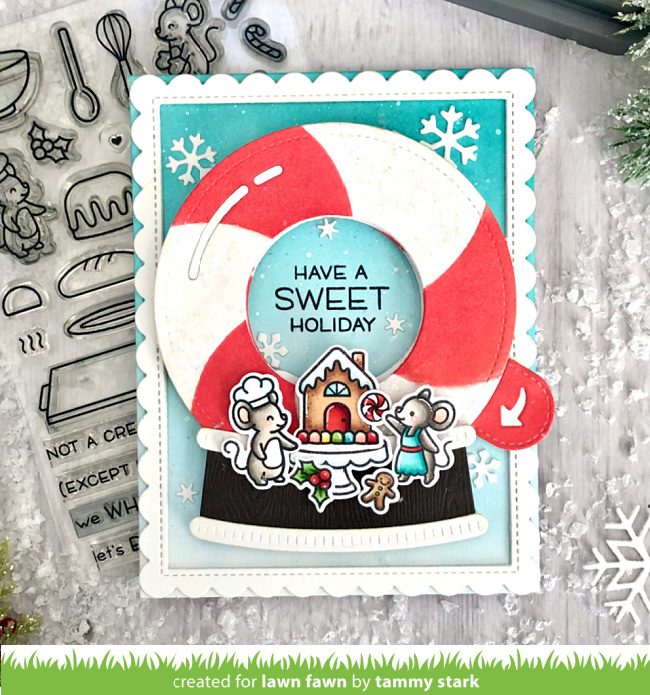
Next, I began constructing the Magic Iris Snow Globe. First, I created the basic Magic Iris, using Bristol smooth cardstock, I ink blended to create the peppermint. Next, from Bristol cardstock, I cut the Magic Iris Snow Globe Add-On.
To create the Peppermint Swirl, I attached the snow globe on top of the Magic Iris with it closed. I then taped off sections by following the curves of the of the inner part (or sausages), and ink blended with Festive Berries and Candied Apple Distress Oxide inks. I added some chunky clear glitter to the white areas to give it some sparkle.
Once my peppermint was created, I cut the base of the snow globe from dark brown Woodgrain Cardstock. I stamped the sentiment from Shutter Card Holiday Sayings in Jet Black Ink onto the background, then attached the Snow Globe to my card, using foam tape on the bottom.
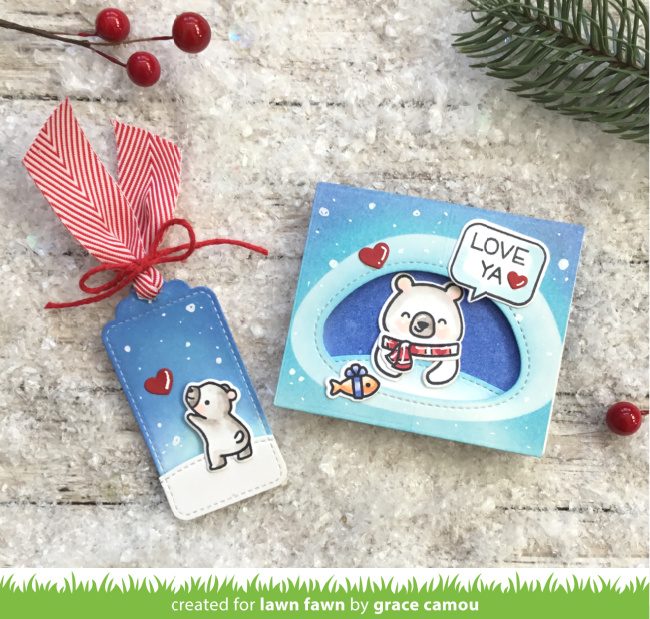
Whisk Favor and Gift Tags
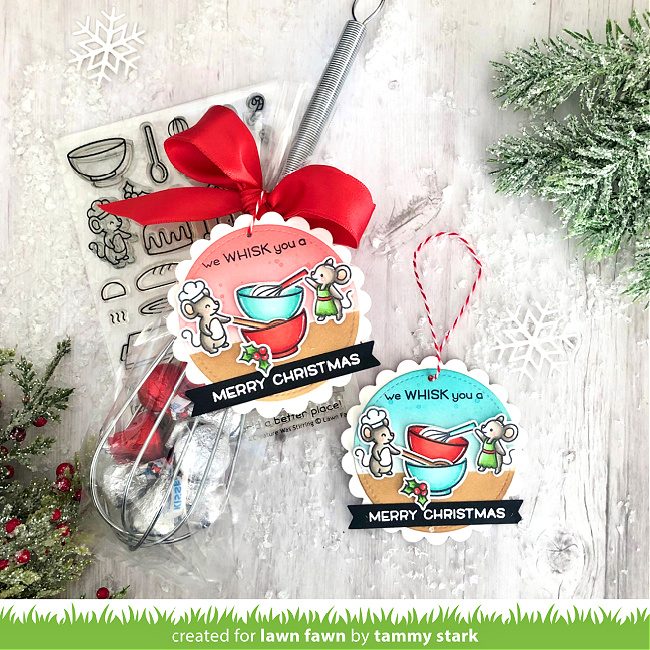
These fun whisks, filled with Hershey kisses, are a perfect and inexpensive gift to give to neighbors, teachers, mail carriers, etc. this holiday season.
To begin, I cut white scalloped circles using the Scalloped Circle Stackables as my tag base. Next, using the Outside In Stitched Circle Stackables, I cut circles from Bristol smooth cardstock. I then ink blended 3 /4 of the circles with Spun Sugar, Worn Lipstick, and Festive Berries for one, and Tumbled Glass and Peacock Feathers for the other. I masked off the ink blended portion of the circles, and blended the bottom of the tags with Gathered Twigs Distress Oxide ink, then inked the edges with Vintage Photo to darken them a bit.
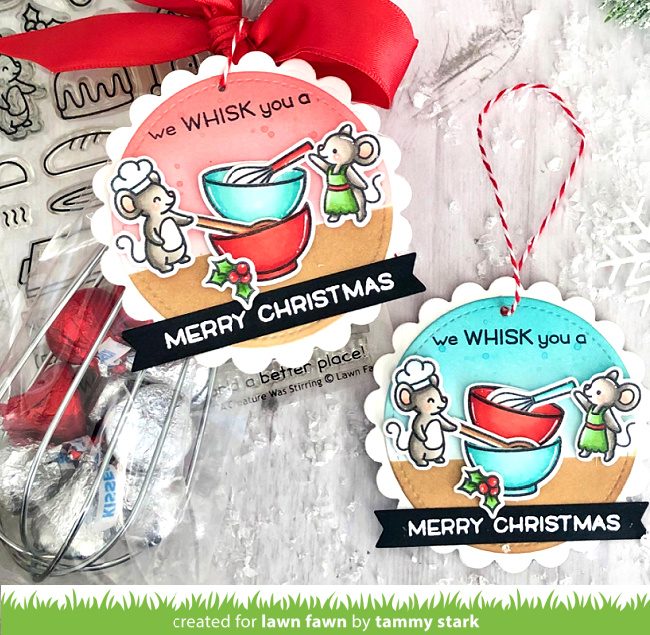
Next, I stamped, colored with Copic markers, and die cut the images from A Creature Was Stirring/ Coordinating Dies. I stamped the sentiment from A Creature Was Stirring across the top of my tag in Jet Black Ink. Once dry, I attached the inked circle to the white scalloped circle and arranged the stamped images onto the tag. I stamped the Merry Christmas sentiment from Holiday Helpers in clear embossing ink onto Black Licorice cardstock, heat embossed it with White Embossing Powder, and die cut it with the Everyday Sentiment Banners. Next, I punched a hole and added some Peppermint Single Cord. To complete the whisk favors, I filled a 10 inch whisk with Hershey kisses, put it into a clear cello bag, tied it up with red wired ribbon, and tied on my completed tag.
Cookies Slimline Card
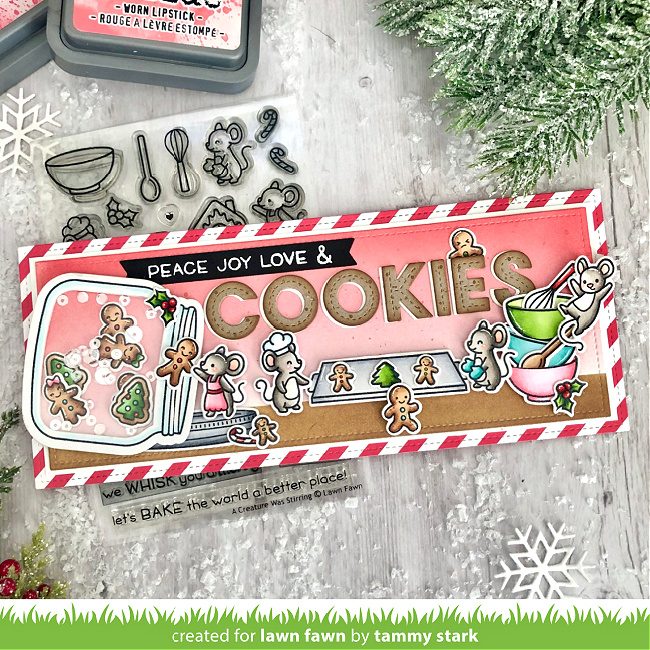
For my slimline card, I began by cutting the Let It Shine – Red Sprinkle ‘N Shine paper using the Large Slimline with Sliders die. Next, using the smaller slimline die, I cut a piece of Bristol smooth cardstock and blended ¾ of the panel with Spun Sugar, Worn Lipstick, and Festive Berries Distress Oxide inks. The bottom potion was blended with Gathered Twigs and Vintage Photo, attached to a white mat, then onto the striped paper.
I stamped, colored with Copic markers, and die cut images from the following sets:
A Creature Was Stirring/ Coordinating Dies
Tiny Gingerbread/ Coordinating Dies
How You Bean /Coordinating Dies/ Shaker Add-On
Really High Five/ Coordinating Dies
Next, I created the cookie jar shaker, using the How You Bean? Stamp set and the Shaker Add-On. It is filled with gingerbread cookies from Tiny Gingerbread and some clear sequins for sparkle! And next, I arranged all the stamped images and shaker onto my card, attaching them with foam tape for dimension. For the sentiment, I stamped it with clear embossing ink onto Black Licorice cardstock, heat embossed it with White Embossing Powder, and used Everyday Sentiment Banners to cut it out.
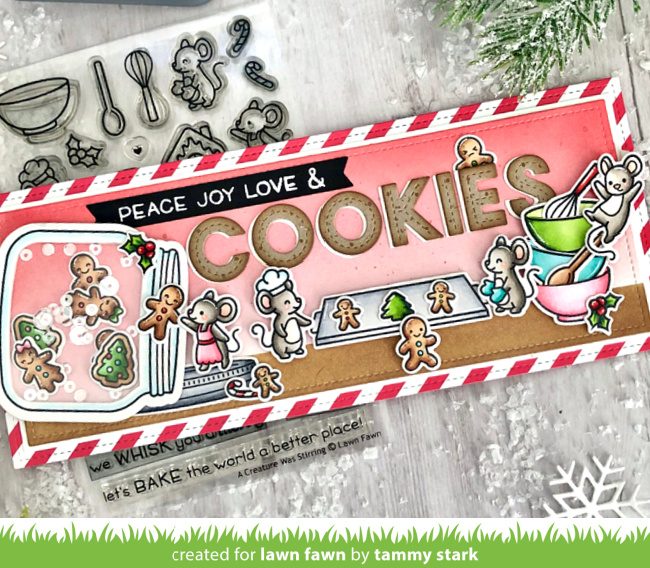
As a finishing touch, I created the large “COOKIES” sentiment using Oliver’s Stitched ABCs die cut from Kraft Cardstock. To give the letters some dimension, I inked the edges with Vintage Photo ink and then splattered them with watered down ink to give them the appearance of cookies. Finally, I layered the cookie letters onto white die cut letters, slightly offset, before attaching them to my card.
Thanks so much for joining us today for 1 Stamp, 3 Ways! We would love to hear what sets you would like to see featured in the upcoming months. Please leave your suggestions in the comments below!
Big Hugs,
Tammy
Thank you so much, Tammy! This amazing set of cards with A Creature Was Stirring has totally inspired me!
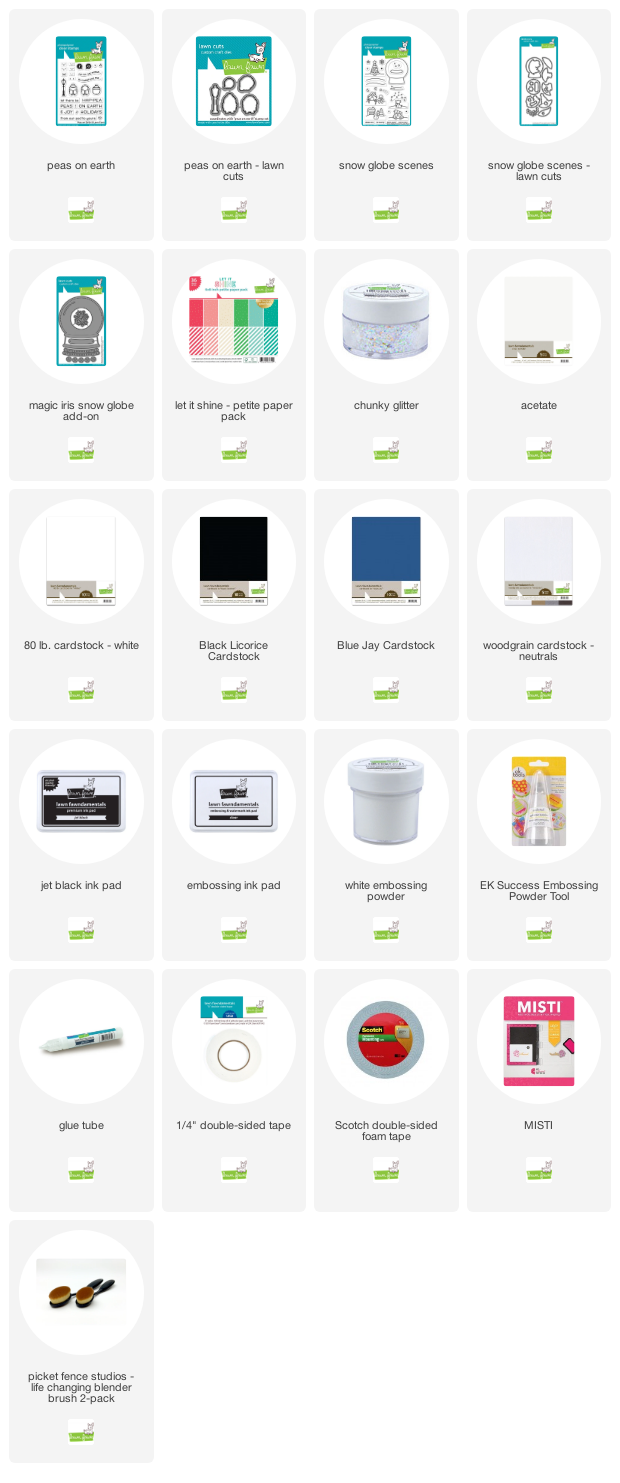
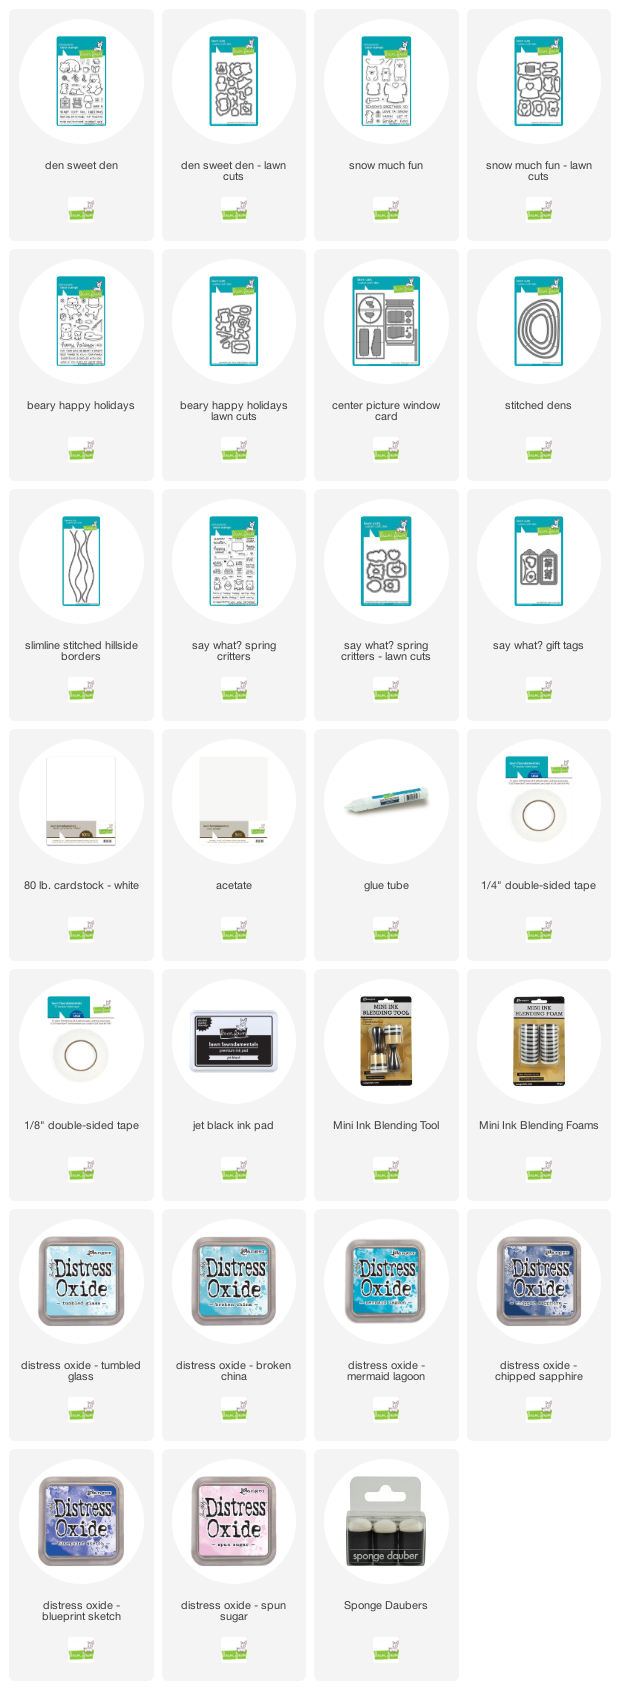
Supplies:

Thanks for visiting!
Have an amazing day