There’s another free virtual class this Friday! Get all the details HERE, then join Kelly Marie and Jenn this Friday, January 9th at 1:00pm PT. We have a lot of fun planned in our next Create with Us with A Mole Lot of Love on YouTube LIVE!

Lots of Heart Week is coming January 11 – 17! All next week we will feature love-themed inspiration by our talented team of designers, with videos and daily giveaways! I know you will be inspired to create and send lots of love to your family and friends! We hope you will join us!
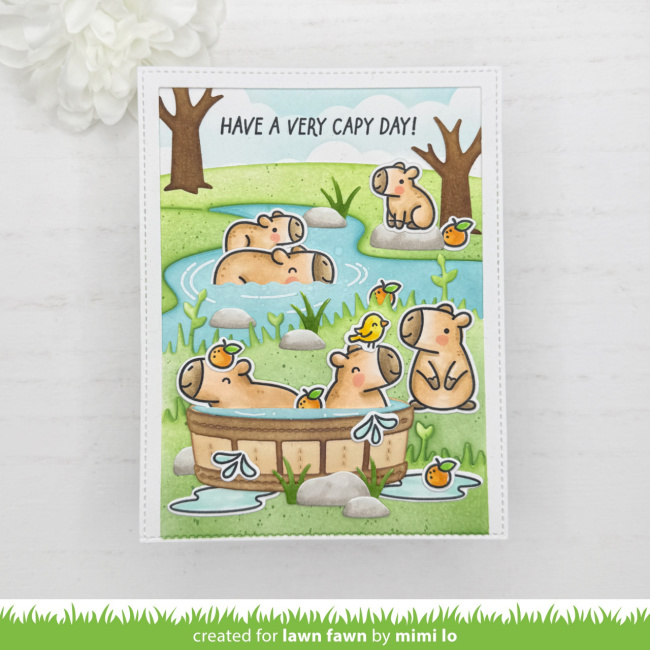
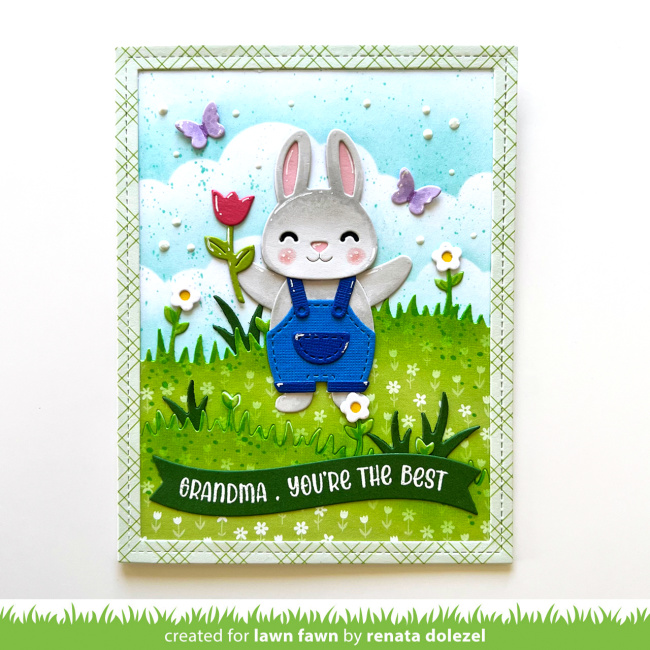
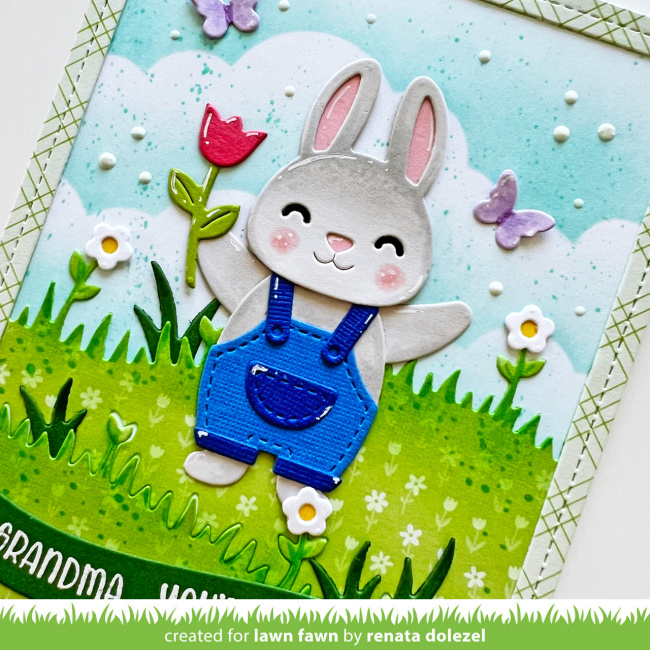
Mimi created the cutest interactive card featuring the critters of A Mole Lot of Love! She used Let’s Toast Pull-Tab Add-On to pop one of the moles up from the ground in this adorable garden scene!
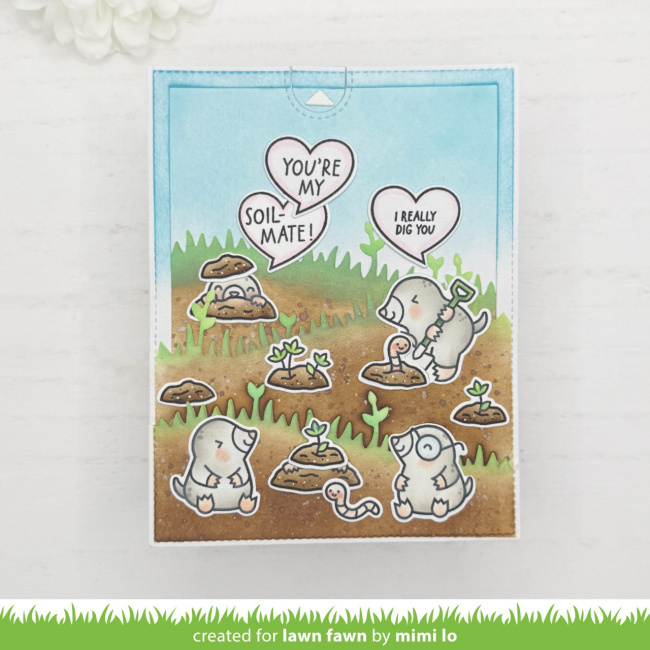
Mimi altered the Meadow Backdrop: Portrait to create this clever interactive scene. By combining two backdrops she made more layers and was able to conceal the image that the pull tab reveals!
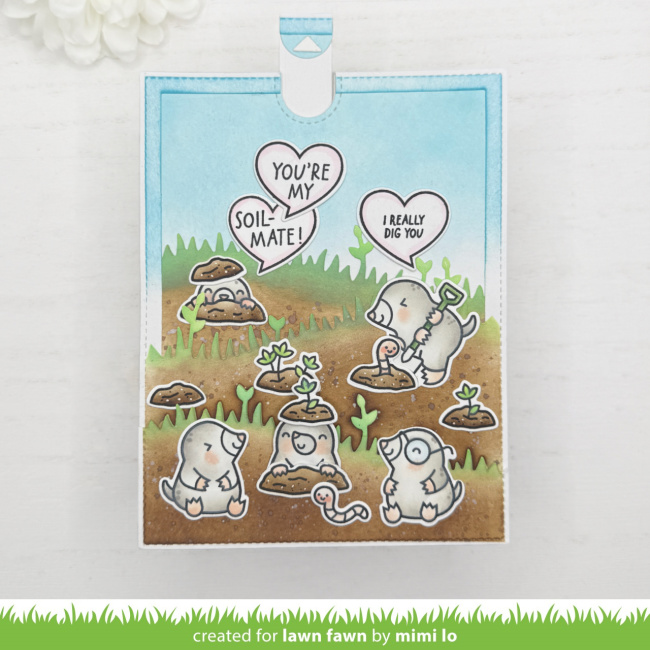
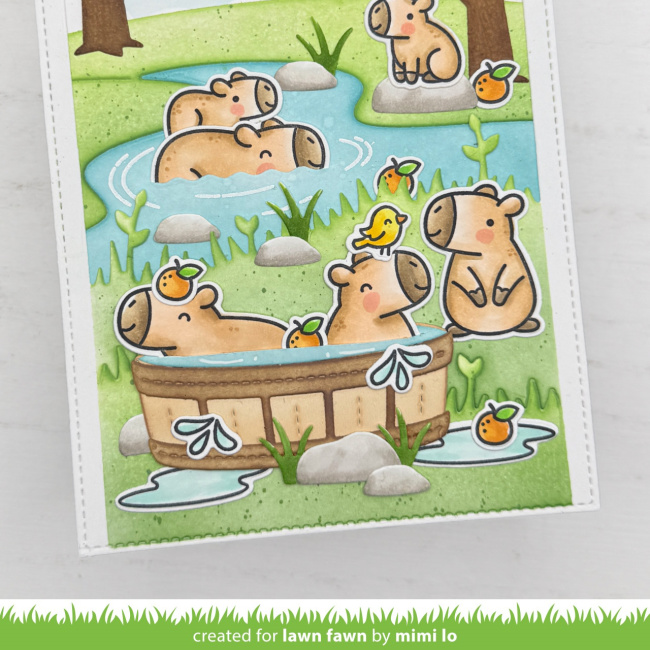
When you pull the tab, one of the moles pops up with a patch of dirt on his head, it’s just so cute!
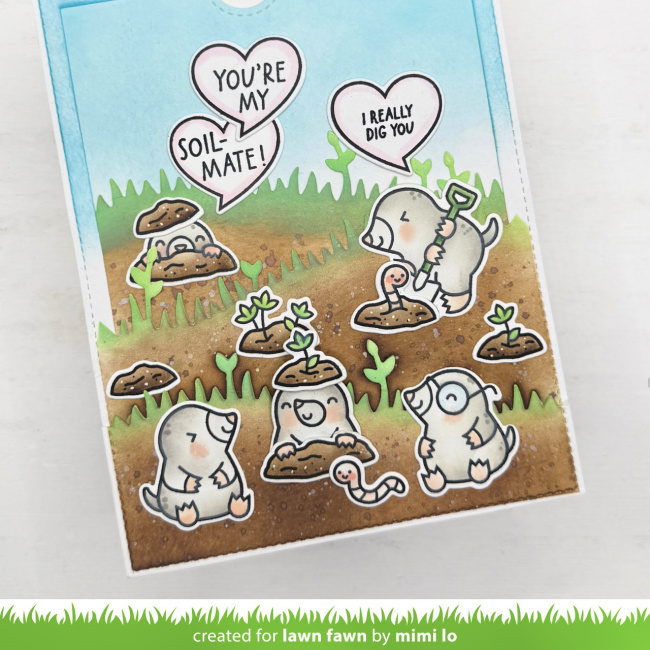
Mimi colored all the images from A Mole Lot of Love using the coordinating Coloring Stencils!
Here are Mimi’s directions to recreate her fun design:
- Die cut 1 full Meadow Backdrop: Portrait, then die cut one more Meadow Backdrop: Portrait, trimming off the TWO bottom meadow parts separately.
- Mask all the outer stitched areas and ink blend the grass and dirt with Distress Oxide ink in Walnut Stain, Ground Espresso and Cracked Pistachio.
- Die cut 2 Large Stitched Rectangle Stackables, one for the sky background and one for the back panel of card. Ink the sky background using Salty Ocean Distress Oxide ink.
- Then adhere one of the extra meadow panels behind the full meadow backdrop to create a three-layered meadow and adhere the sky background behind that.
- With the second bottom meadow die, make a horizontal slit with a craft knife for the mole to pop up.
- Slide the front facing mole image through the slit, making sure it moves up/down smoothly.
- Then assemble and adhere the mole image onto the Let’s Toast Pull-Tab Add-On mechanism, sliding the image through the slit. Adhere the remaining meadow layer, matching it to the meadow backdrop, to hide this image. Pull the tab up to make sure the mole moves up and down freely.
- And then use foam strips to adhere to the back panel.
- Stamp the image with the mole in the dirt and mask the mole part. Colored and die-cut the dirt with the hands and adhere it a little below the slit. Double check with the pull tab to make sure that the mole is “popping up” from the dirt and add a small dirt patch on top of the mole’s head.
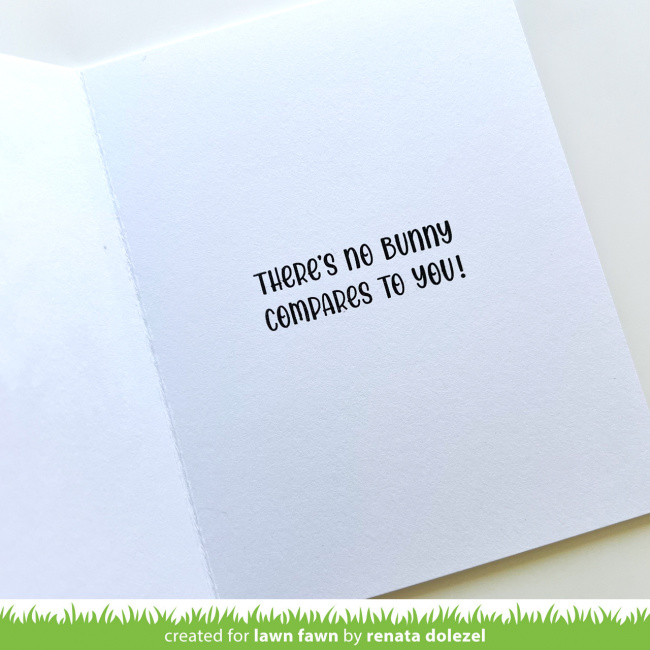
- Finish the card with more images/sentiments from the set and pull the tab to see the cute mole “pop-up” from the dirt!
Thank you so much for crafting this cute and clever pull-tab card, Mimi! It’s so much fun!
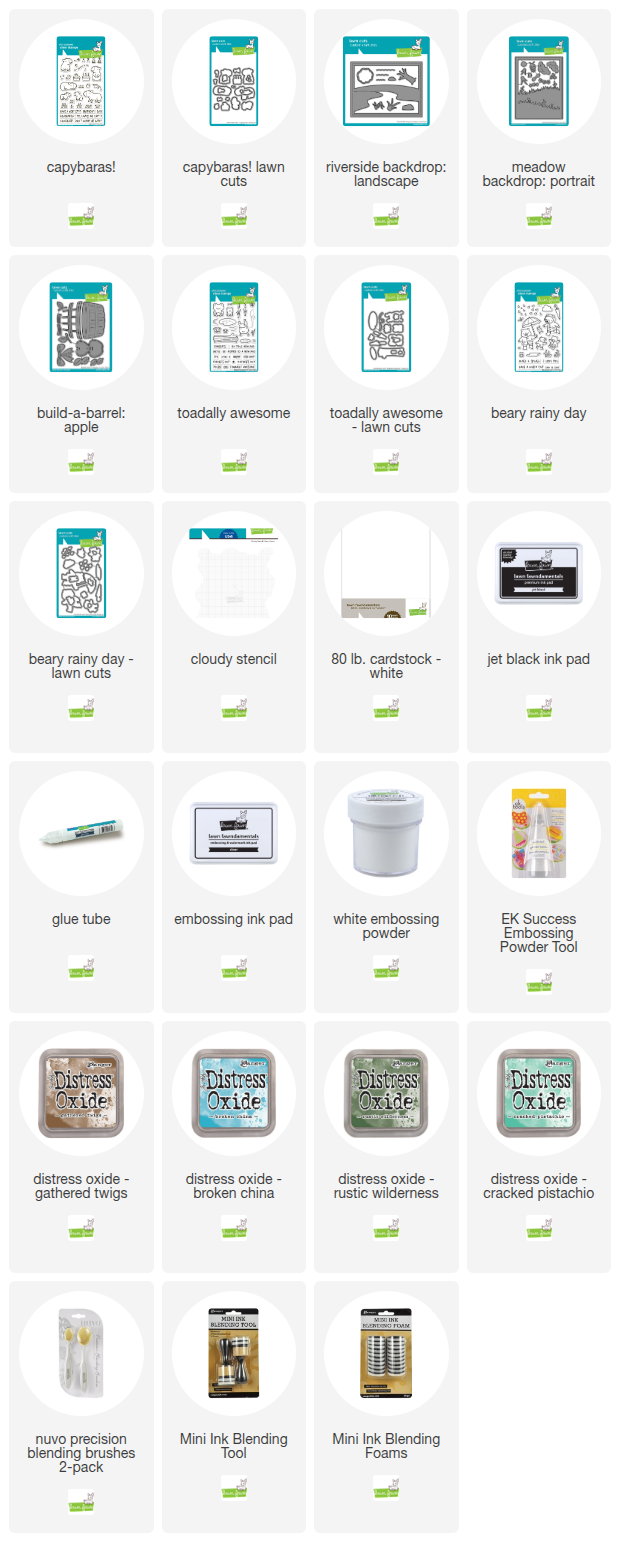
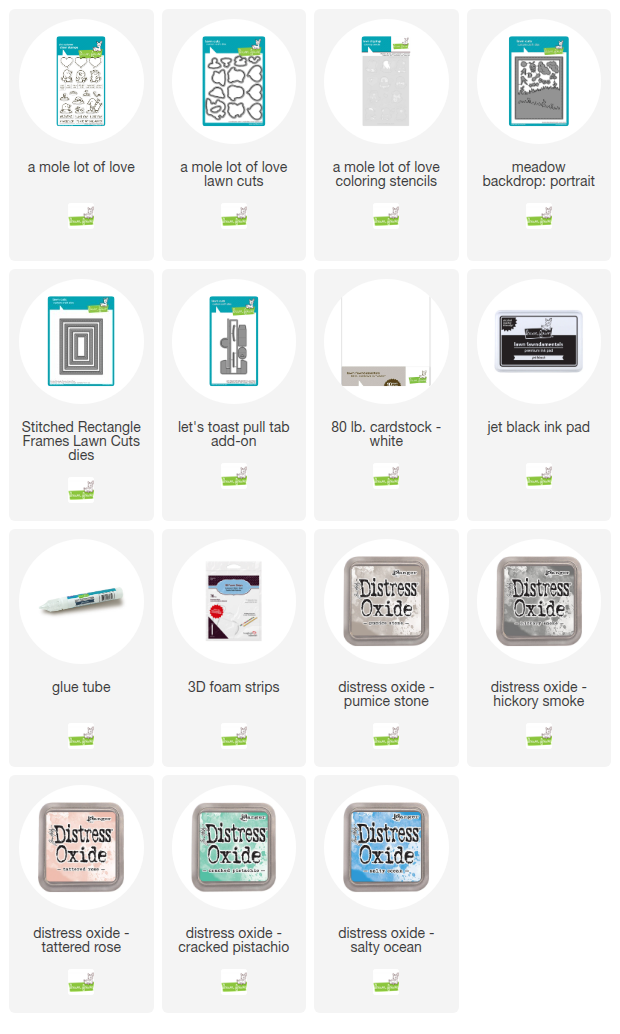
Supplies:
Thanks so much for visiting, have an amazing day!