Jenn’s Stenciled Rainbow Clover Cards

Jenn is back with another awesome project to inspire you! This time she created gorgeous rainbow cards with Clover Background Stencils!

Jenn’s rainbow inking with Clover Background Stencils is just so amazing! On one card she left it plain, then on the other she added splatters for even more fun! To get the great blend of colors Jenn inked with both regular Distress Ink and Distress Oxide Ink in Wilted Violet, Picked Raspberry, Mustard Seed and Peacock Feathers.

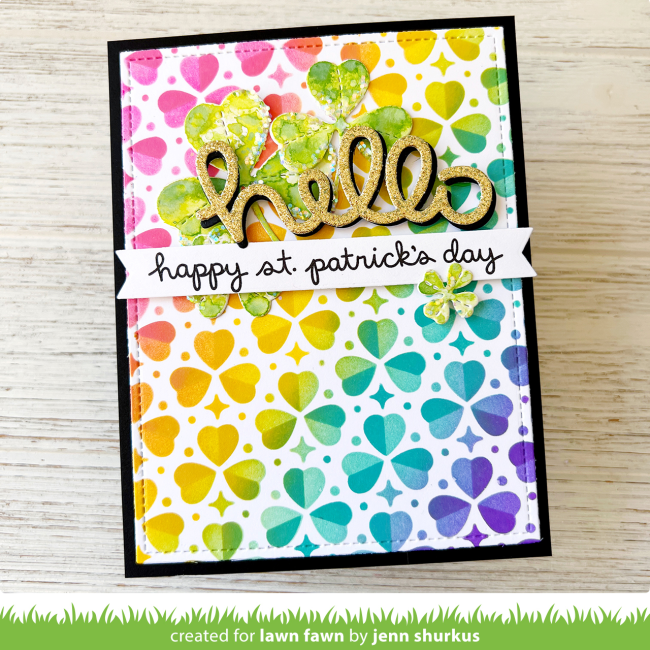
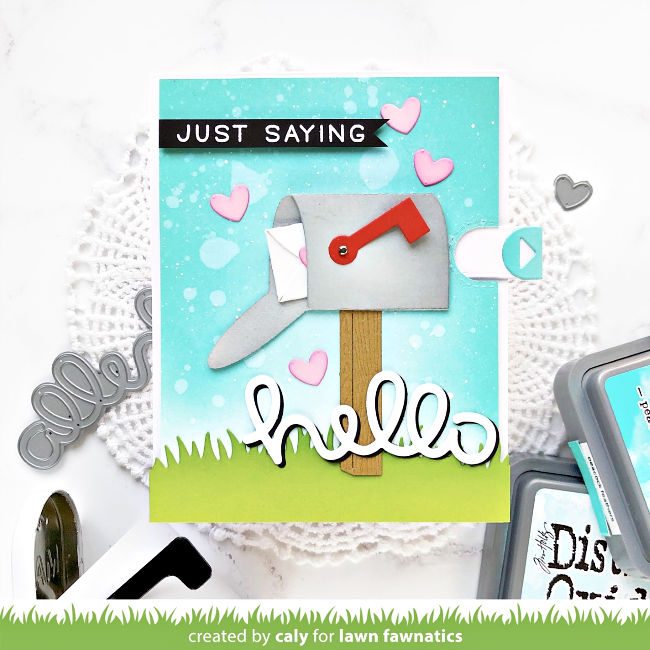
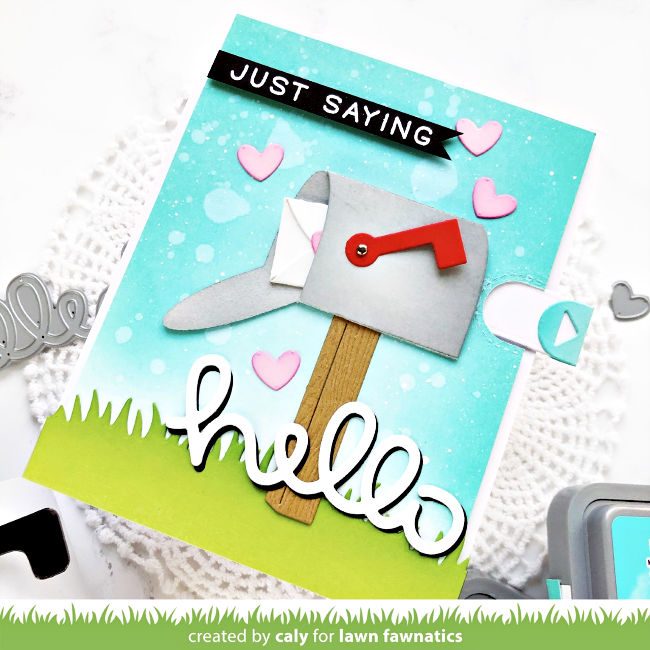
She inked up Lucky Clovers dies and layered them behind Scripty Hello! Then she finished this card with a sentiment from Celebration Scripty Sentiments!

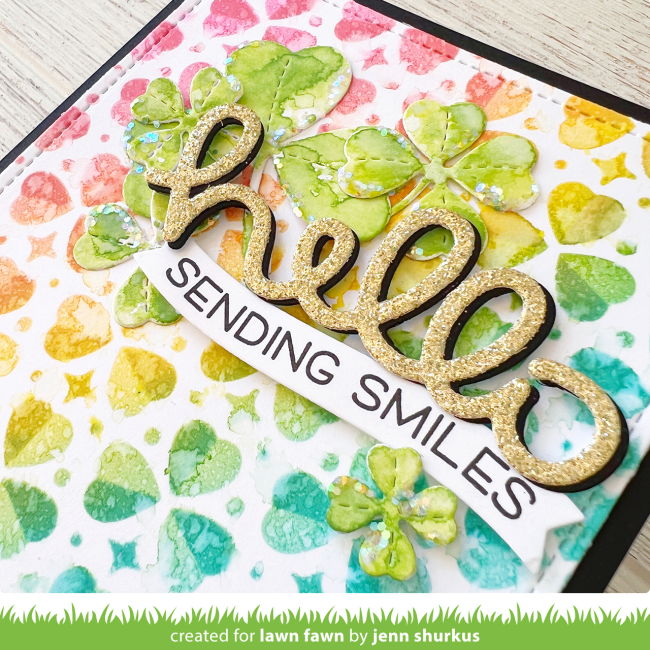
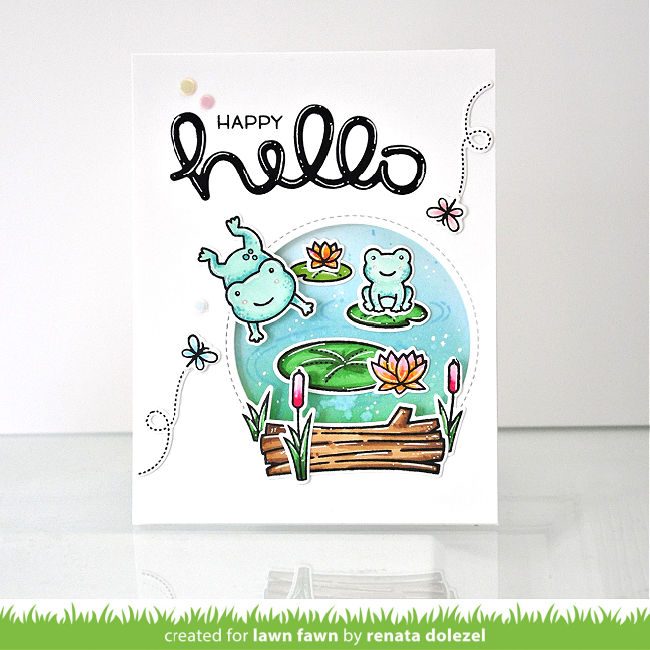
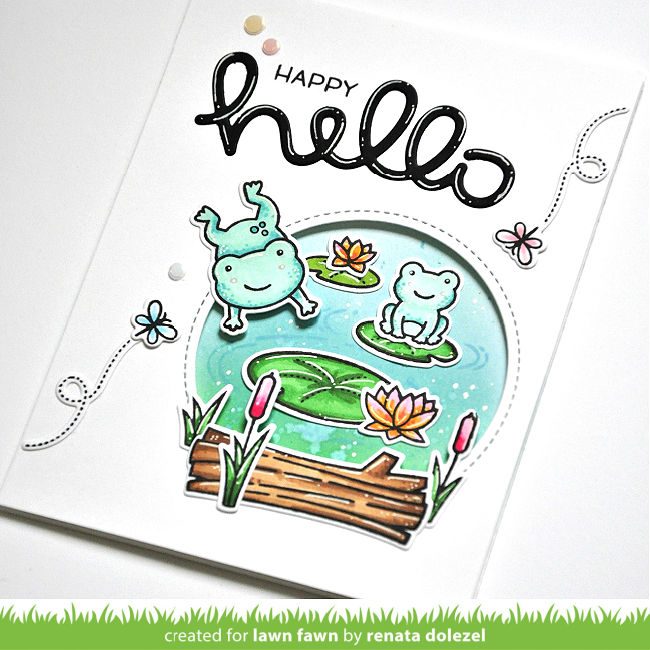
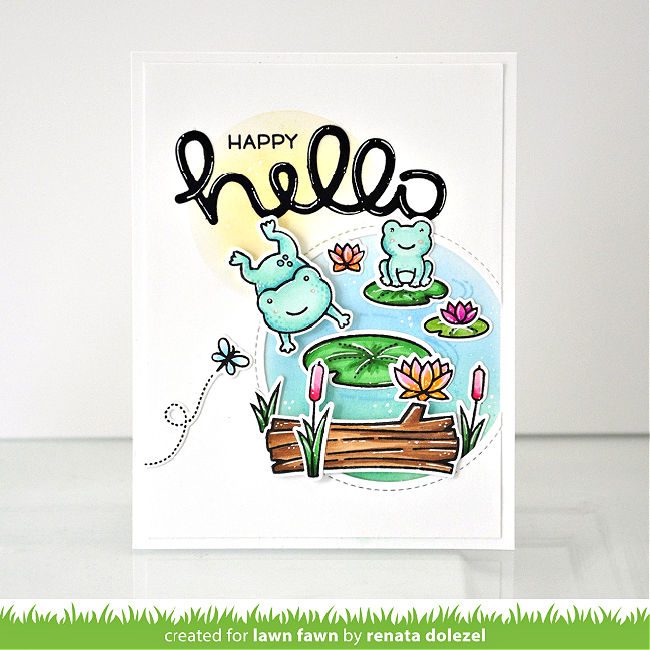
I love how she layered several Scripty Hello die cuts in Black Licorice cardstock to give dimension to the gold glitter die cut on top! She finished the card with a sweet sentiment on a Simple Wavy Banner and a bit of Chunky Glitter!

Thanks so much Jenn, for this brilliant inspiration!

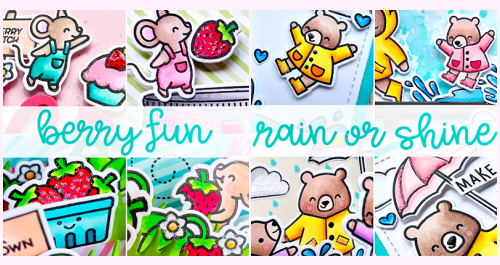
Jenn has a couple of new online classes coming up next month! Check out her new classes for Spring: Berry Fun and Rain or Shine, click HERE.
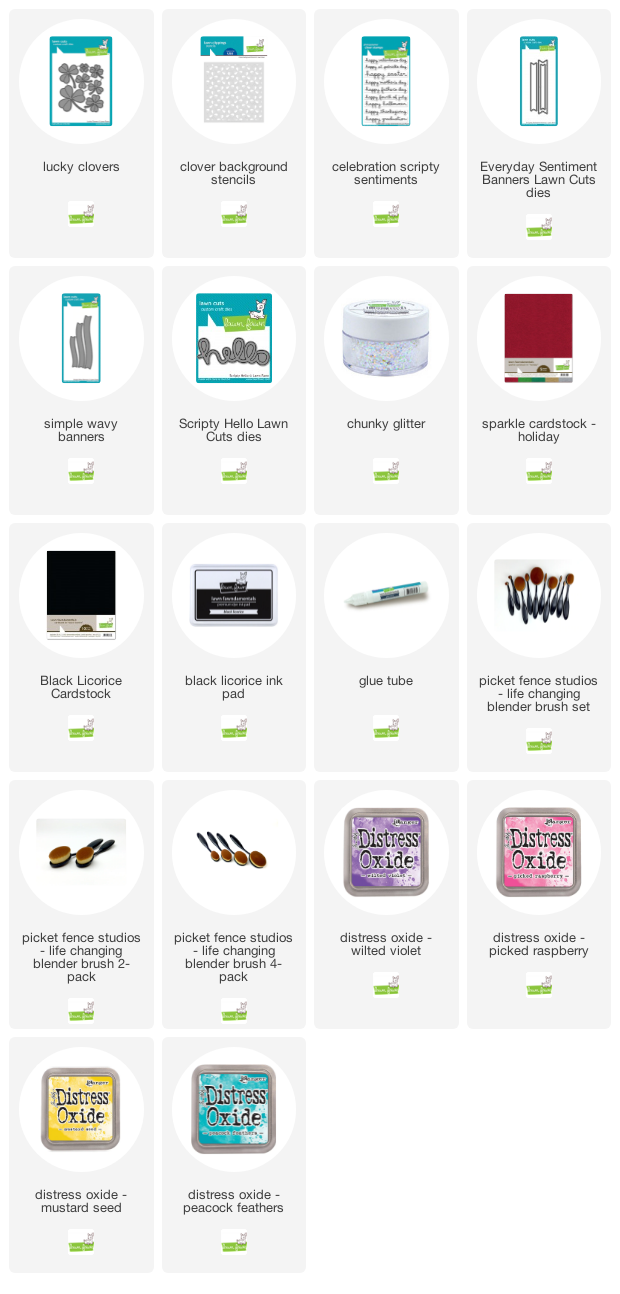


Supplies:

Thanks so much for visiting!
Have an amazing day!

Renata’s Beautiful Card Designs + Cards for Kindness

Our friends at Scrapbook.com have launched a global initiative to share encouraging and uplifting cards with those who need them most! There is something so genuine about a beautifully handmade card with a sweet message! If you would like to participate with other cardmakers to share “cards for kindness” please click HERE for all the details.


Renata joins us today to share two cards from one design for sending a happy hello! Cards for Kindness is looking for cardmakers to send them multiple cards (at least 10) that they will send to hospitals, shelters, retirement homes and more to bring a smiles. Adding a little variation to a single design is a great way to create lots of unique cards! Be sure to check out the Cards for Kindness page for more details.

Renata’s beautifully simple design features a window made with an Outside In Stitched Circle. She cut the circle from a panel, then used it to trace the circle on the card front. Renata used Distress Oxide inks to add color to the “pond”! Then she added the top panel using either foam tape or tape runner. Finally she arranged her Toadally Awesome scene inside and outside of the window!

The cheery greeting combines Scripty Hello and happy! You can find a “happy” word in many of our sets, Renata used the one in Oh Gnome.

For this variation, Renata simply masked a circle and lightly ink blended with Dried Marigold Distress Oxide ink inside. It looks like the sun is shining on this happy scene!

Thank you so much for sharing your beautiful cards with us today, Renata! I’m sure they will inspire lots of happy cardmaking!

Supplies:

Thanks for visiting!
Have an amazing day!

Caly’s Mostly Dies Pull Tab Card!

We would like to introduce Caly Person as a new Lawn Fawn blog contributor! We are so happy that she will be sharing her amazing inspiration with us! Let’s let her tell you about this beautiful interactive card!

Hi Friends! This is Caly, and I’m so excited to be here today! I’m sharing a pull-tab card made using the Happy Mail die set. The grass is die-cut from Simple Grassy Hillsides. Aside from the sentiment, everything is die-cut! Sometimes, the most fun cards are made with only dies!

I started by die-cutting the pieces in various colors of cardstock (brown Woodgrain, Chili Pepper, Ballet Slippers, Cilantro, and Fog). To add dimension, I also ink-blended the pieces with a darker color of Distress Oxide Ink (Mowed Lawn, Hickory Smoke, and Worn Lipstick).

I ink-blended my background using Distress Oxide ink in Peacock Feathers, Tumbled Glass, and Cracked Pistachio. I figured out the placement of my mailbox before die-cutting the Let’s Toast Pull Tab Add-on so that my envelope can slide in and out of the mailbox. I even added a brad so that the mailbox flag could move up and down. I had to die-cut the pull tab slit inside my mailbox before adhering it in place and attaching the mechanism and other die-cut elements.

My sentiment is stamped and embossed using the Simply Sentiments stamp set. I cut a fishtail after trimming my sentiment. I also die-cut the Scripty Hello from both black and white cardstock to create a drop shadow to help the word stand out more. The last thing I did was adhere the extra pink hearts all over.

Thank you so much for sharing with us today, Caly! I love this fantastic, mostly die cut card design!

Supplies:

Thanks for visiting!
Have an amazing day!