Mimi’s Halloween Card with Book Collection and Build-A-Cauldron


Today is the big day! Join Kelly and Jenn for Create with Us: Sweet Spiders and have a fun time of crafting and chatting! You will find all the information you need to join in the fun at the Create with Us page, HERE. See you TODAY at 4:00PM PT / 7:00PM ET on YouTube Live!


Mimi joins us today with an amazing design for Halloween! She combined Build-A-Cauldron with Book Collection to create a “spell-cial” card!
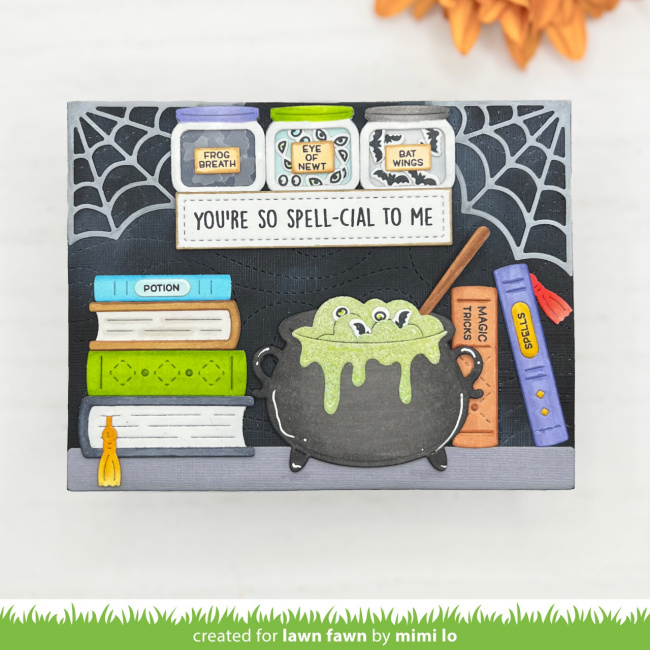

Mimi’s spooky scene features some fun and clever details along with the new Build-A-Cauldron and Book Collection! She started with Stitched Windy Backdrop cut from black canvas textured cardstock. She added some blended white pigment ink to add to the texture. You could use Lawn Fawn Yeti ink or Distress Oxide ink Picket Fence. Then she cut a piece of gray canvas cardstock for the ground. And finished the background by adding vellum Cute Cobwebs to the upper corners.

And then she prepped the Book Collection, cutting the books from white cardstock. She colored them with Copic markers and stamped spooky book titles from Purrfectly Wicked.
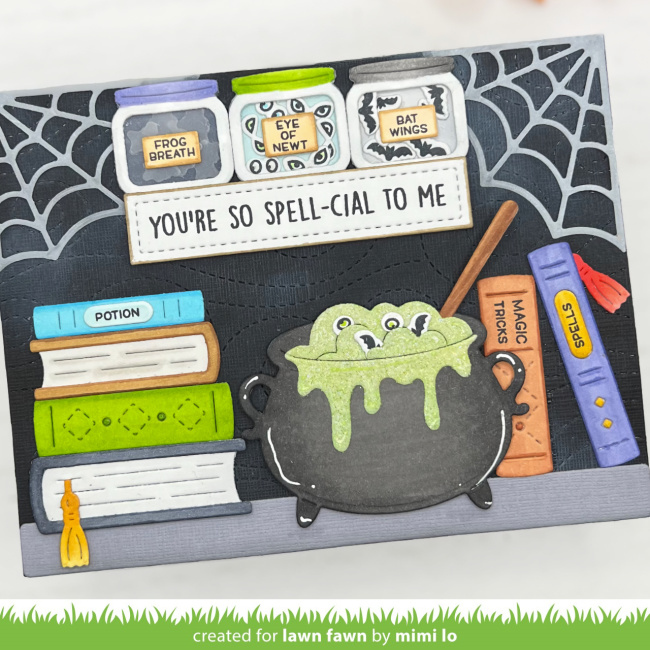

To create the bubbling potion in the cauldron, Mimi started with Pixie Dust Sparkle cardstock. She inked it with Twisted Citron Distress Oxide ink, so perfect for a spooky potion. Then she tucked in some of the bats and eye of newt from Tiny Halloween. Mimi used the stitched rectangle found in the Magic Picture Changer Oven Add-On as the shelf/sentiment strip. So clever!

She created the jars using the paint jar from Art Supplies, coloring the lids to match the books. Then she used the tab die from Magic Iris Camera Pull-Tab Add-On to make a window. She backed the jars with another solid piece and added acetate to the window piece. Then she filled the labeled jars with eye of newt and bat wings. To create “frog breath” she used the coordinating die for the sparkle from Tiny Fairy Tale, cutting it from vellum. Then Mimi used additional stamps from Purrfectly Wicked to label the jars.

I love this clever card so much, Mimi! Thank you for the spooky inspiration!

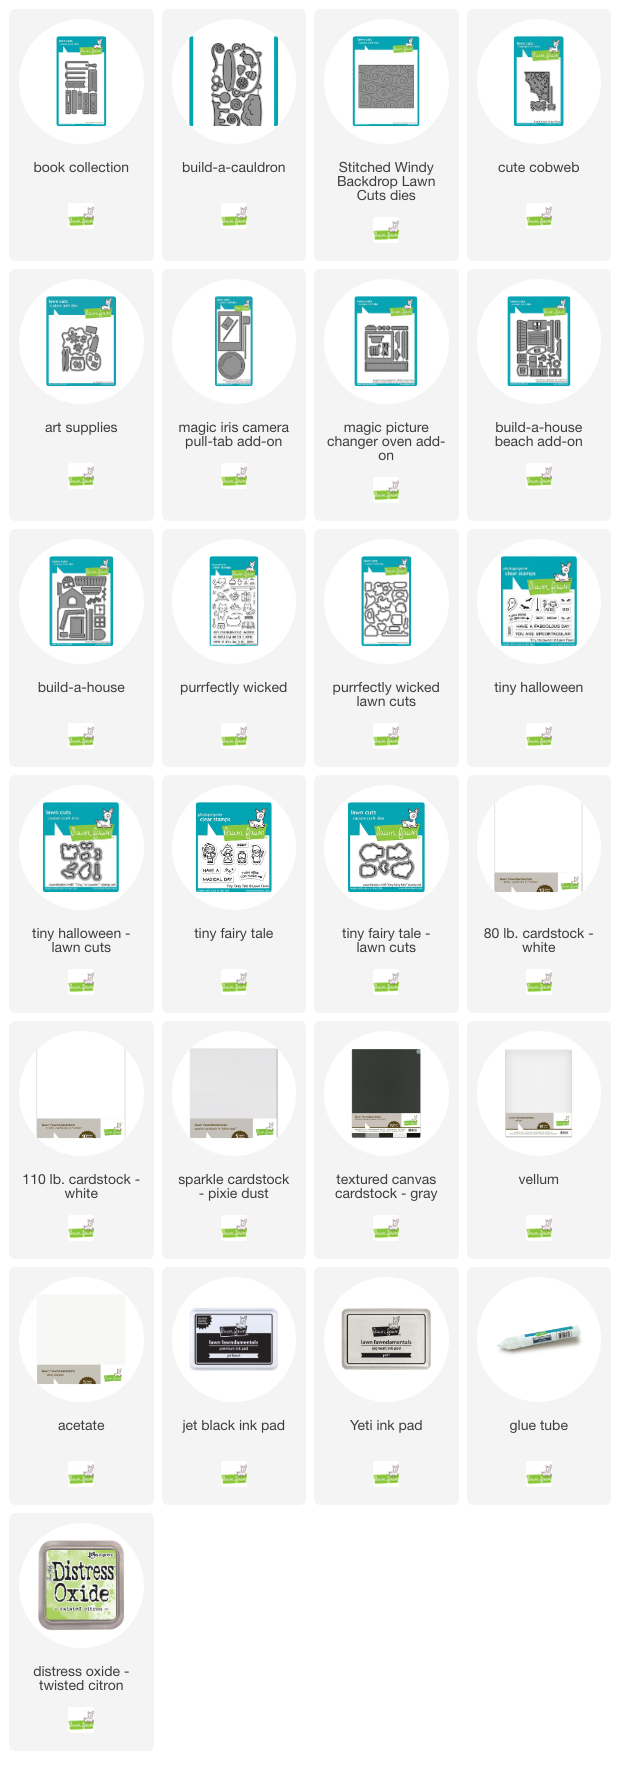
Supplies:
Thanks so much for visiting, have an amazing day!

Jessica’s Fangtastic Halloween Card

Jessica created an amazing last Halloween card before the trick or treating commences tomorrow!


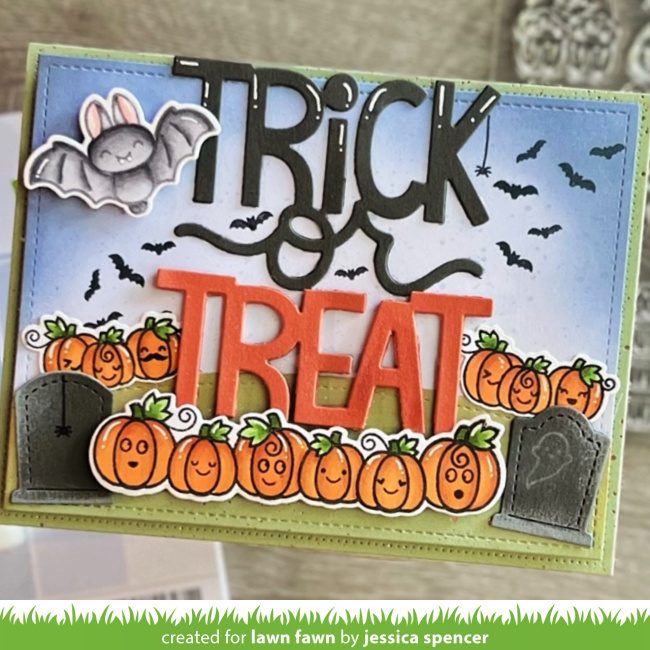
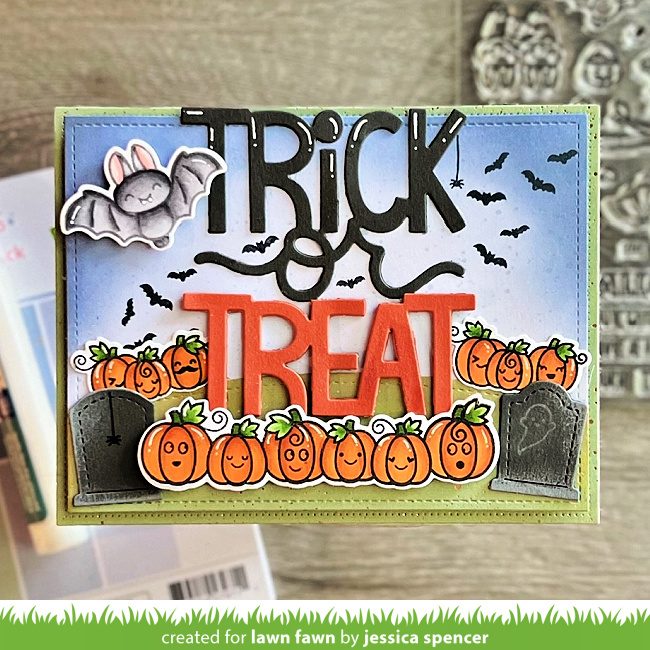
Jessica started her remarkable design by inking an Outside In Stitched Rectangle panel with Stormy Sky Distress Oxide ink. She added a Simple Stitched Hillside Border to ground the scene before attaching Giant Trick or Treat. She switched up the look of the giant die cut by cutting it again from Canned Pumpkin cardstock to cover the letters of “treat”. So clever!


Then she filled out the scene with a Fangtastic Friends bat and pumpkins from Simply Celebrate Fall and Hay There Hayrides. She found those funny faces in the Thanks a Bushel set. And then she added fun details with Tiny Halloween adding flying bats, spiders and a cute ghost on the Spooky Forest Backdrop headstone.


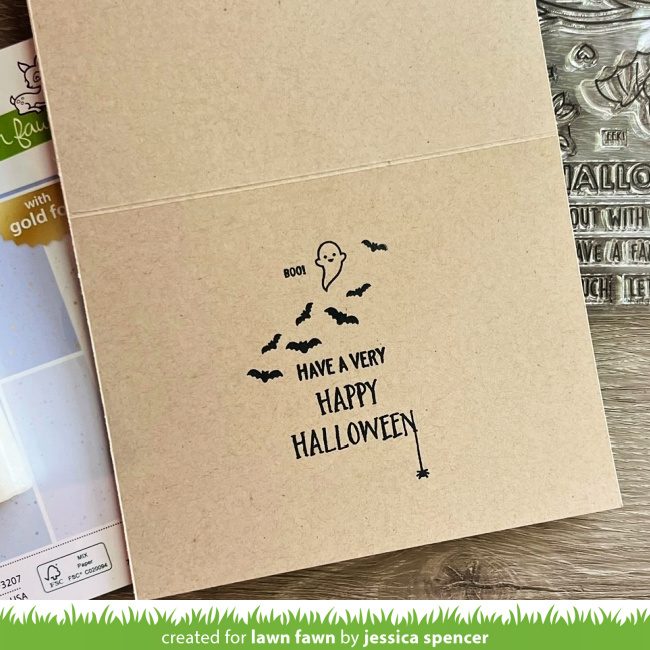
On the inside of the card, Jessica stamped a sentiment from Pick of the Patch with more Tiny Halloween images!

Thank you so much for sharing this “fangtastic” Halloween card, Jessica! It’s the perfect last spooky card of the season!

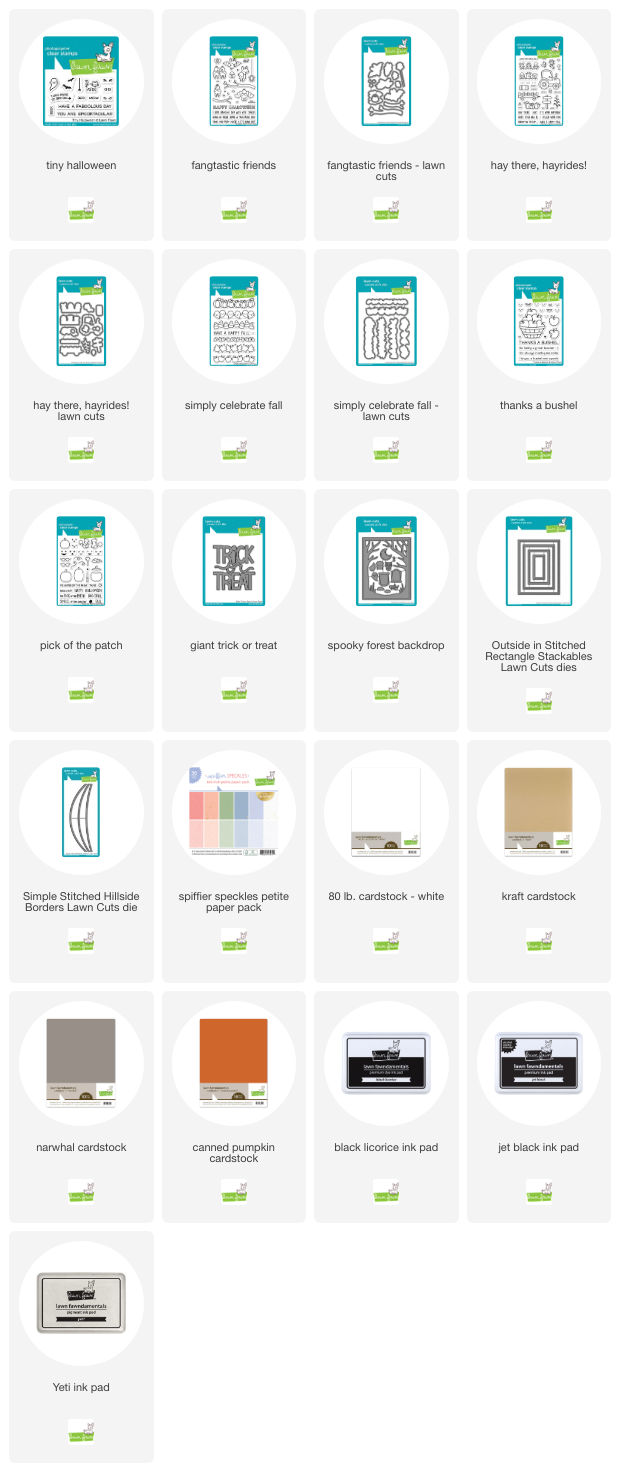
Supplies:

Thanks so much for visiting, have an amazing day!
Lawn Fawn Video {10.5.23} Marine’s Monochromatic Halloween Ta-Da! Diorama!


No Tricks! Treat yourself to 15% off everything at lawnfawn.com with code TREATS23! Click HERE to shop.

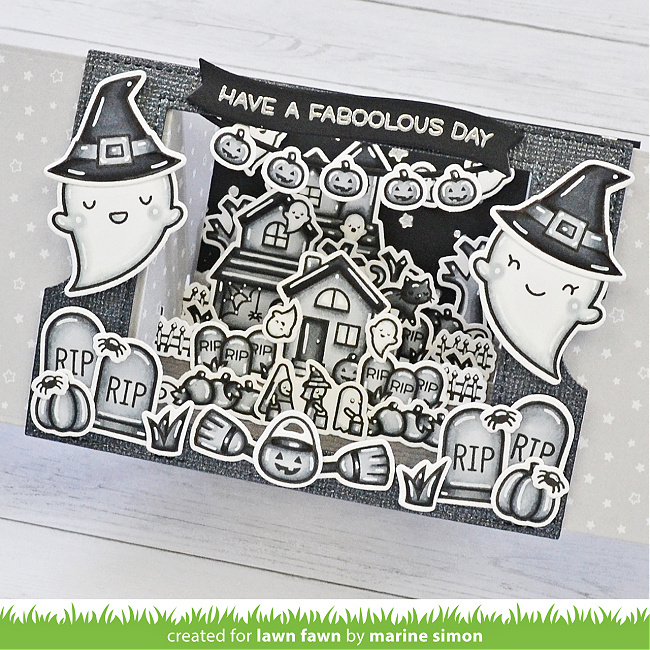
Marine is back with another fantastic monochromatic project to inspire you! She created a Halloween themed Ta-Da! Diorama! with the most amazing Spooky Village scene inside! You can watch the video tutorial below or click HERE to watch at our YouTube channel.


Thanks so much for watching, I hope it inspired you!


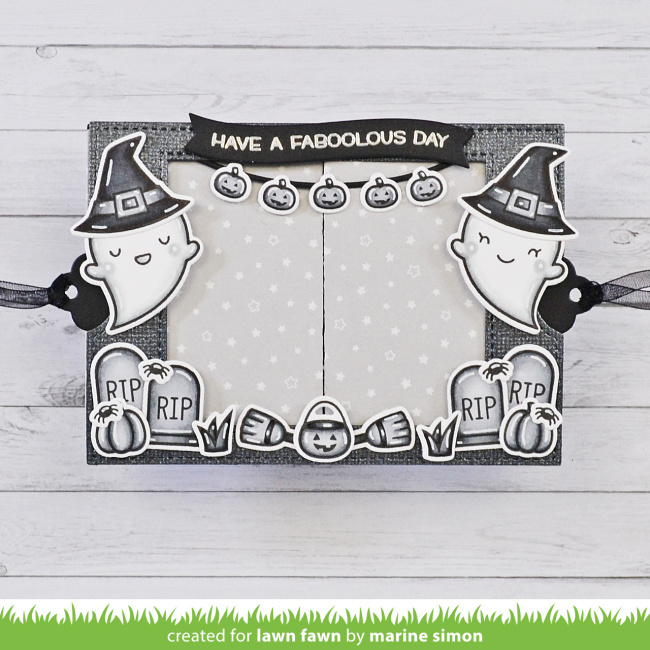
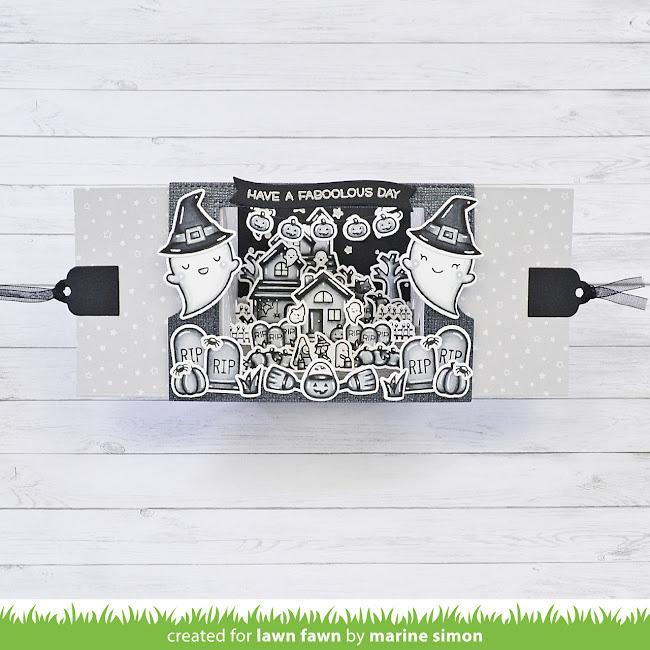
The front of this amazing Ta-Da! Diorama! hints at the fun Halloween scene on the inside! Marine used images from Booyah, Spooktacular and Tiny Halloween! She cut the pieces for the diorama from black shimmer cardstock and Let it Shine Starry Skies 6×6 paper. For the background piece she used black cardstock which she hot foiled with the Starry Skies Background Hot Foil Plate and silver foil.


When the diorama is opened, the scene inside is revealed! Marine colored all the tiny Spooky Village images is shades of gray for an awesome monochromatic scene! I love that she added a fun pumpkin banner to the top of the window, that is so clever!


Marine takes her design a step further by adding the tab from Double Slider Surprise more fun in opening the Ta-Da Diorama!

Oh wow, this is so amazing, Marine! Thank you so much for inspiring us today!

Supplies:

Thanks so much for visiting, have an amazing day!