Karin’s Secret Garden Window Lantern


Join us for our next Create with Us Live this Wednesday July 12th! We can’t wait to talk all things crafty while making cards with new Summer 2023 sets! Make plans to join Kelly Marie and Jenn, it will be so much fun! Kelly may even drop some clues about the upcoming Fall & Winter Release. You will find all the details to craft along with us, HEREPlease join us July 12th at 5:00PM PT / 8:00PM ET on YouTube Live!

Karin is with us today to share another beautiful craft project! This time she created a lovely lantern table decoration featuring Secret Garden Window.


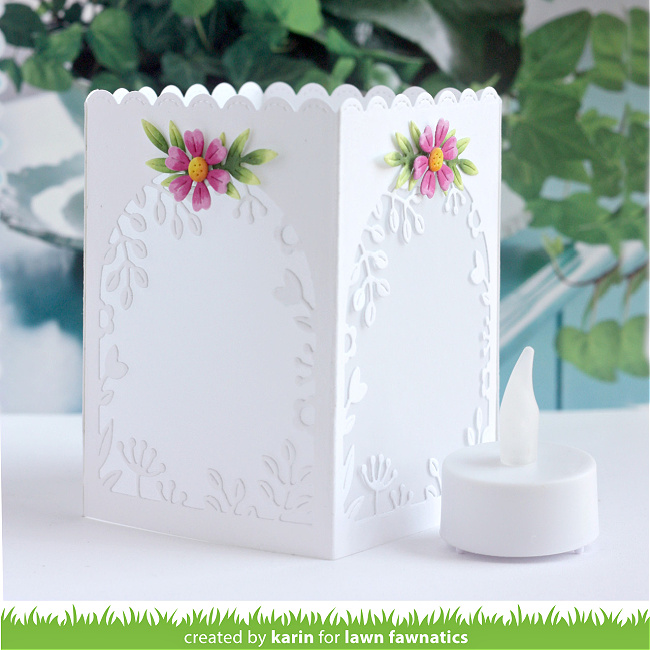
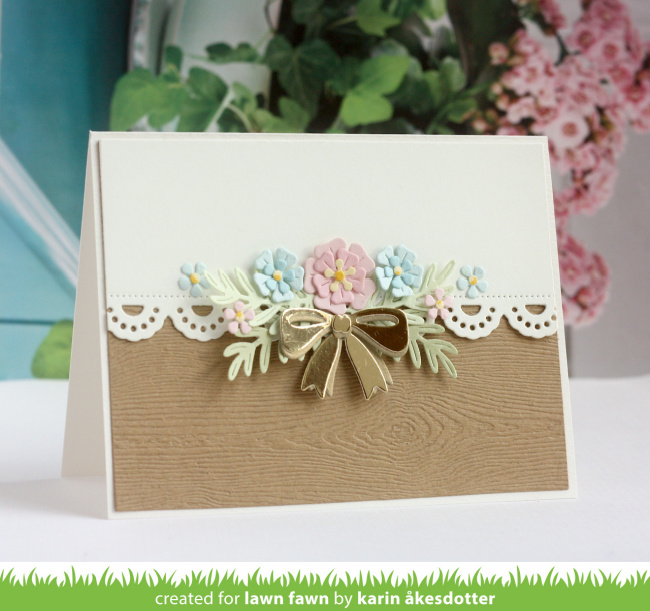
The lantern comes together so quickly with just three die sets: Secret Garden Window, Stitched Scalloped Borders to add detail to the top edge and Spring Flowers Backdrop for pretty floral detail. Place a battery-powered votive inside to light it up.


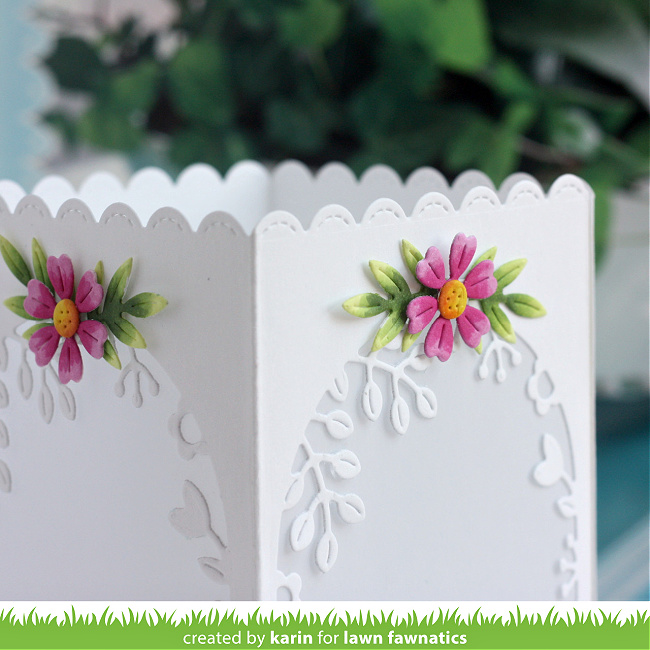
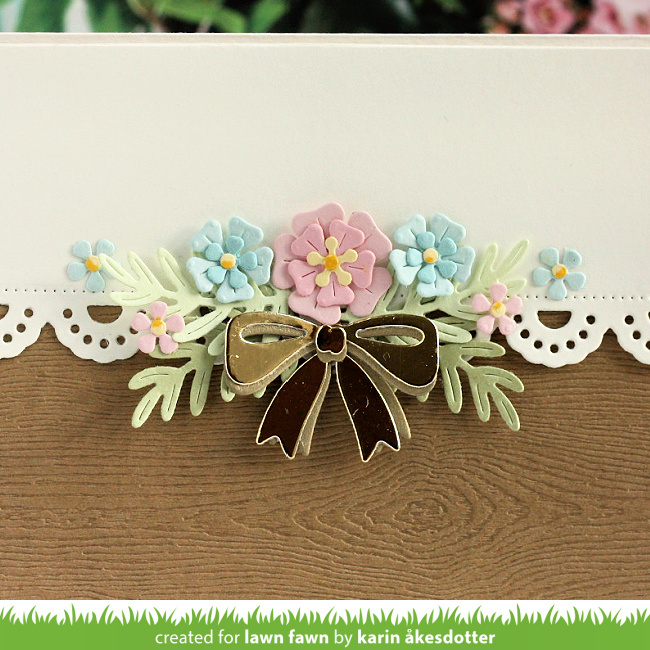
The flower detail is so delicate and pretty!


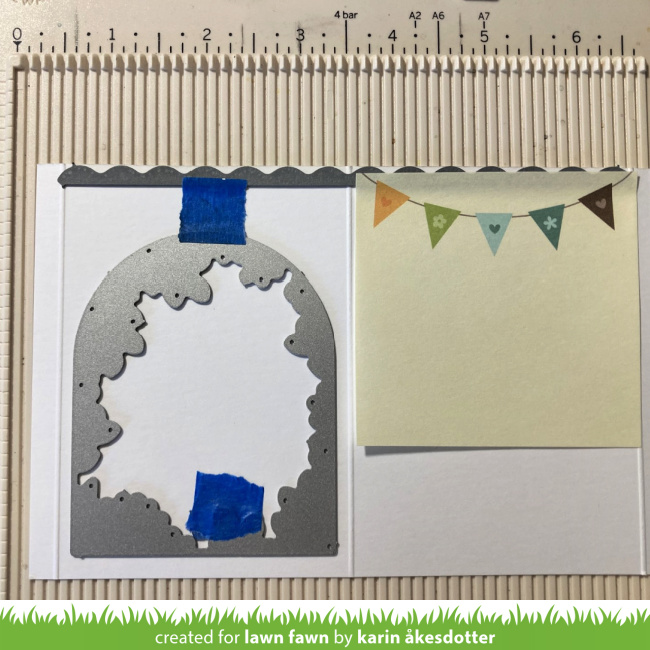
Karin started by cutting two white cardstock panels 6 1/4 x 4 1/4. Then she scored each panel at 1/4″ and 3 1/4″ on the long side. Next, she die-cut the scalloped border on the top and cut the flower window twice on each panel.


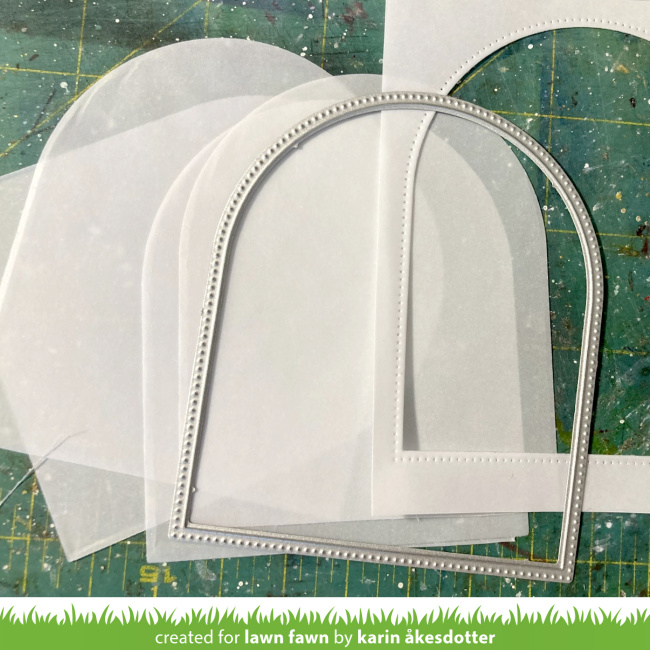
She used the arched die from Secret Garden Window to cut four vellum pieces which she attached behind the garden windows. Then she used double-sided tape to attach the panels together to make the four-sided lantern.

Karin cut flowers and leaves from Spring Flowers Backdrop and colored them with Copic markers. Then she attached them to the floral windows with glue dots.


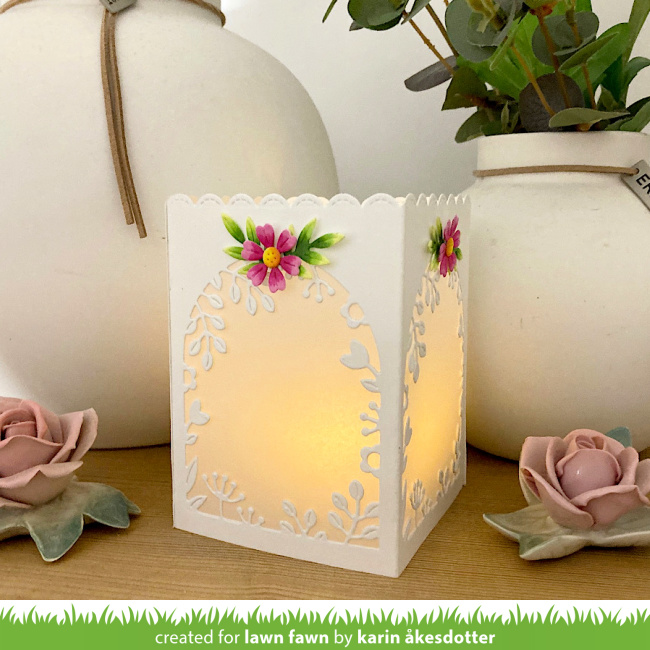
Set the lantern on a table with a battery-powered votive. The diffused light from the vellum is so pretty!


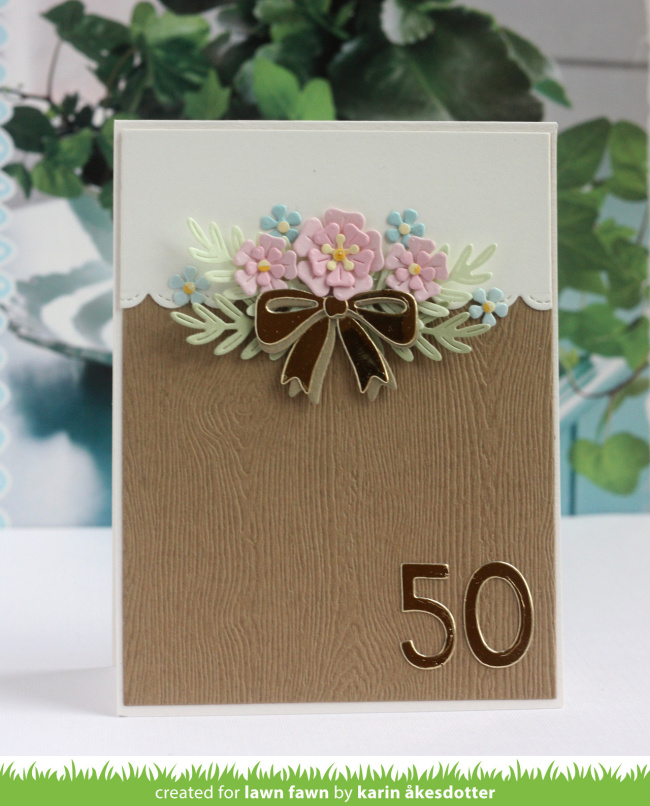
It makes a pretty decoration for a party or a special dinner!

Thank you for inspiring us today, Karin! Your lantern design is so beautiful!
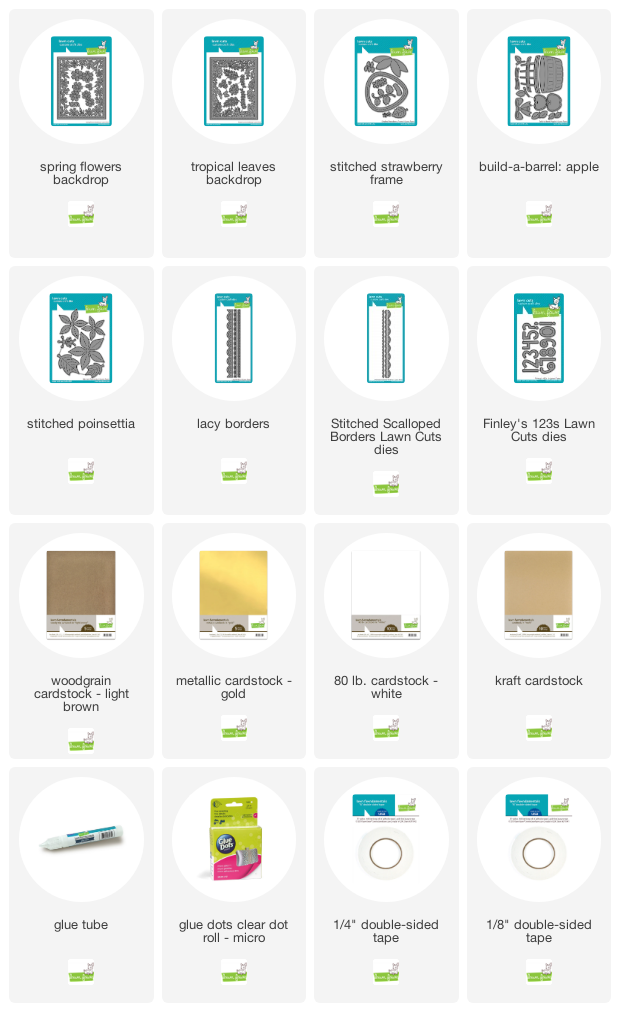
Supplies:

Thanks so much for visiting, have an amazing day!

Karin’s Beautiful Card Design for All Occasions

Karin joins us today with a beautifully versatile card design that’s perfect for lots of occasions. She combined florals from a bunch of Lawn Cuts sets to create lovely arrangements. She suggests making multiples to have on hand as occasions come up. Just add a sentiment and it’s ready to go!

Karin’s design starts with a backdrop of Woodgrain cardstock. Then she cut a pretty Lacy Border as an overlay. Next, she combined flowers from Spring Flowers Backdrop, Stitched Strawberry Frame, Tropical Leaves Backdrop, and Stitched Poinsettia arranging them in a pretty design.

She used soft pastel colors for the flowers. Then she added the bow from Build-A-Barrel Apple in shiny gold metallic cardstock.

Another fun suggestion is to die cut numbers for a birthday card. Here, Karin added shiny gold numbers from Finley’s 123s. For this portrait card, she used a pretty Stitched Scalloped Border.

I love this beautiful card design, Karin! Thank you so much for this lovely inspiration!

Supplies:

Thanks so much for visiting, have an amazing day!

Happy Wedding Cards with Mendi!

We are so happy to have Mendi Yoshikawa back today as our guest blogger! She will be sharing two beautiful Happy Wedding cards with you. Take it away, Mendi!

Hello there!  It’s Mendi here today with a couple of wedding cards perfect for summer weddings!  I love all things cutesy so weddings can be tough in that department, but Lawn Fawn has managed to capture all the cute wedding details perfectly.  

For my first card I created my background using two of the heart images from the stamp set creating a subtle tone-on-tone effect.  When I saw these fun wedding bells, my mind immediately thought of how cute they would be paired with a swag.  I pulled out my Bannerific stamp set to pair with my sentiment, curving it to fit with the curve of the banner.  To complete the soft, sweet look I cut some scallops using the Stitched Scalloped Border dies.
Lawn Fawn Happy Wedding Card-Mendi1

My next card matches the first one, but adds some yellow and gray to the mix.  For my background, I repeated the knotted heart image by inking up just the heart and one side of the trail.  This enabled me to easily line-up and repeat the motif to create a pattern.  

I thought those two little yellow birds looked out of place on my card so I colored in another banner from the Bannerific set with yellow Copics to tie everything together.  Unfortunately none of the sentiments I wanted to use from the Happy Wedding set fit into my banner so I borrowed one from the Sophie’s Sentiments set instead.  

Lawn Fawn Happy Wedding Card-Mendi2

I had so much fun creating these–I hope I’ve inspired you to get inky today.  🙂

Thank you so much for sharing your beautiful wedding cards with us today, Mendi!

Check out her blog: Snippets of Mendi

Thank you so much for visiting!
Have an amazing day,