Mayra’s Tropical Build-A-Greenhouse Mother’s Day Card


Mayra added a gorgeous tropical spin to the Build-A-Greenhouse to create this amazing Mother’s Day card!


Mayra combined tropical Lawn Cuts sets, Tropical Leaves, Tropical Leaves Backdrop, Magic Iris Tropical Leaves Add-On and Happy Hibiscus to create this amazing design! She inked the die-cut pieces with Lawn Fawn ink in Jalapeño, Clover, Peachy Keen, Apricot and Wild Rose. She also used Distress Inks in Mustard Seed, Spiced Marmalade, Saltwater Taffy, Worn Lipstick and Picked Raspberry.

For the background, she layered a Quilted Backdrop on a Scalloped Rectangle. Then she added the arch from Secret Garden Window before layering on the Build-A-Greenhouse and tropical plants!


Mayra added the beautiful Happy Hibiscus and more Tropical Leaves around the greenhouse before adding the Mother’s Day greeting from Kanga-rrific. She stamped and white embossed the sentiment on a vellum banner.

I love your amazing tropical design, Mayra! Thank you so much for sharing your creativity!

Supplies:

Thanks so much for visiting, have an amazing day!

Lawn Fawn Video {12.26.23} Chari’s Celebration Platform Pop-Up


Save the Date! Our next Create with Us Live is on January 6th! We can’t wait to talk all things crafty while making cards with our new Porcu-pine for You sets! Make plans to join Kelly Marie and Jenn, it will be so much fun!

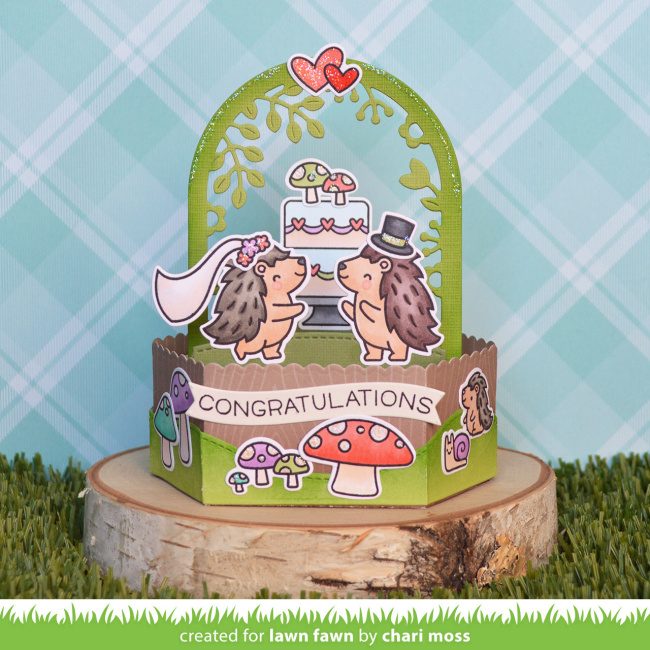
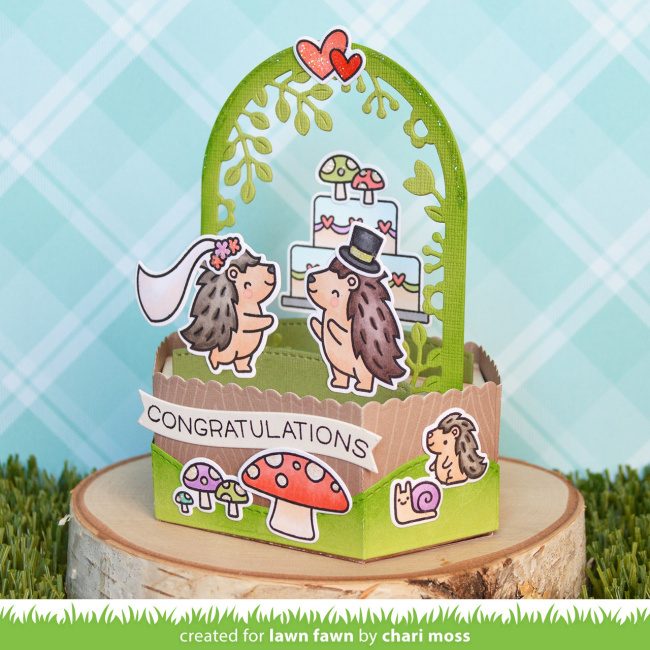
Chari is back to inspire you with another creative project! Her Platform Pop-Up card features Porcu-pine for You with a fun wedding theme! You can watch the video tutorial below or click HERE to watch at our YouTube channel.


Thank you so much for watching!


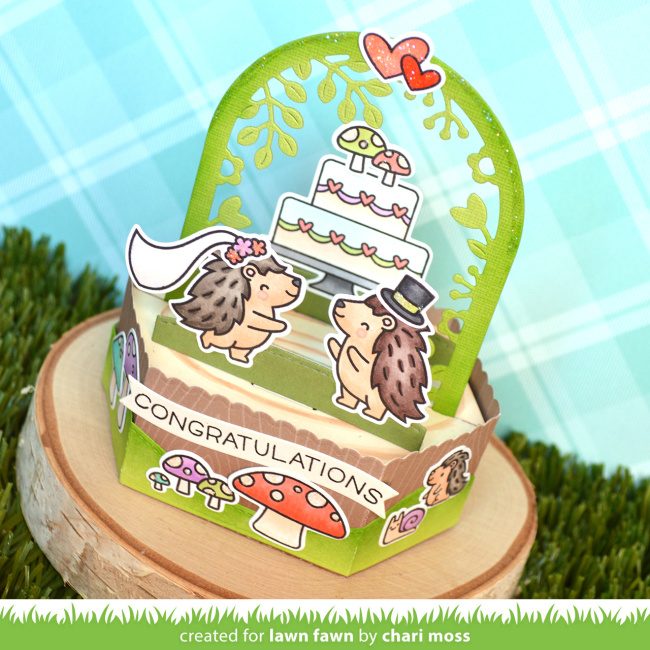
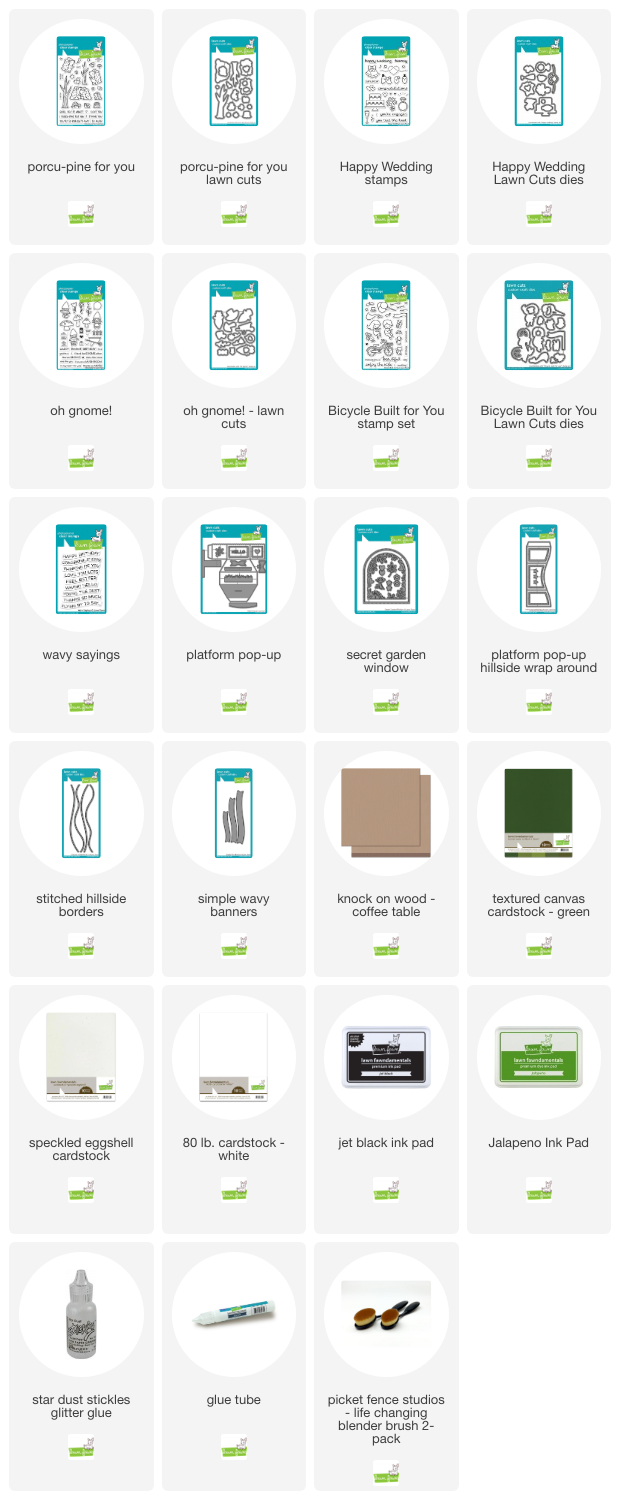
I love how Chari used the Secret Garden Window to create the look of an arbor for her wedding scene! The Porcu-pine for You pair is ready for the big day with a veil and top hat from Bicycle Built for You! The wedding cake is from Happy Wedding, and she filled the woodland forest scene with extra mushrooms from Oh Gnome!


Chari got so creative, making the Platform Pop-Up a tree stump using Coffee Table patterned paper! She even colored the inside platform to look like the rings of a tree, so clever!


You can alter this design to celebrate so many occasions! Swap out the wedding images for Elephant Parade to welcome a new baby or fill the scene with the Yappy Birthday dogs to celebrate a special birthday! What other dies could you use as a backdrop for your scene? Let us know in the comments.

Thank you so much, Chari for this absolutely adorable inspiration!

Supplies:

Thanks so much for visiting, have an amazing day!

Karin’s Secret Garden Window Lantern


Join us for our next Create with Us Live this Wednesday July 12th! We can’t wait to talk all things crafty while making cards with new Summer 2023 sets! Make plans to join Kelly Marie and Jenn, it will be so much fun! Kelly may even drop some clues about the upcoming Fall & Winter Release. You will find all the details to craft along with us, HEREPlease join us July 12th at 5:00PM PT / 8:00PM ET on YouTube Live!

Karin is with us today to share another beautiful craft project! This time she created a lovely lantern table decoration featuring Secret Garden Window.


The lantern comes together so quickly with just three die sets: Secret Garden Window, Stitched Scalloped Borders to add detail to the top edge and Spring Flowers Backdrop for pretty floral detail. Place a battery-powered votive inside to light it up.


The flower detail is so delicate and pretty!


Karin started by cutting two white cardstock panels 6 1/4 x 4 1/4. Then she scored each panel at 1/4″ and 3 1/4″ on the long side. Next, she die-cut the scalloped border on the top and cut the flower window twice on each panel.


She used the arched die from Secret Garden Window to cut four vellum pieces which she attached behind the garden windows. Then she used double-sided tape to attach the panels together to make the four-sided lantern.

Karin cut flowers and leaves from Spring Flowers Backdrop and colored them with Copic markers. Then she attached them to the floral windows with glue dots.


Set the lantern on a table with a battery-powered votive. The diffused light from the vellum is so pretty!


It makes a pretty decoration for a party or a special dinner!

Thank you for inspiring us today, Karin! Your lantern design is so beautiful!

Supplies:

Thanks so much for visiting, have an amazing day!