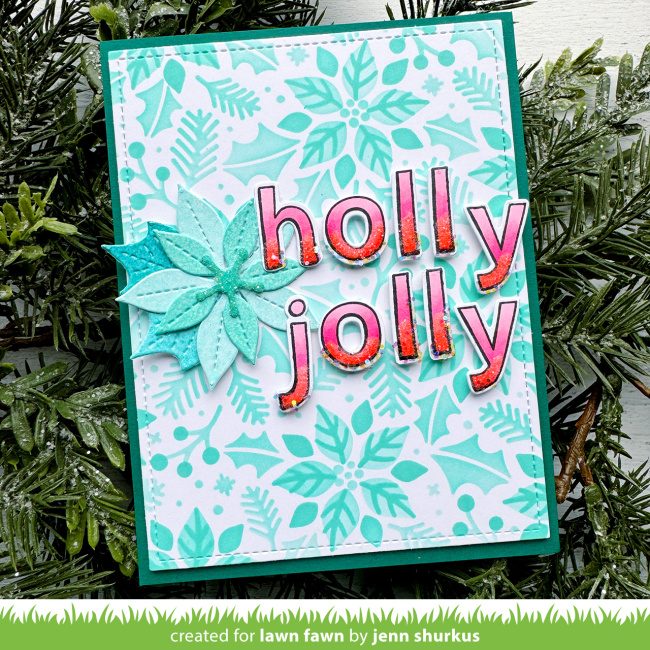
Joy has inked up an amazing holiday card with dies and stenciling! She combined Stitched Poinsettia with Snowflake Background Stencils and the result is a stunning design! You can watch the video below or click HERE to watch at our YouTube channel.
Thank you so much for watching!

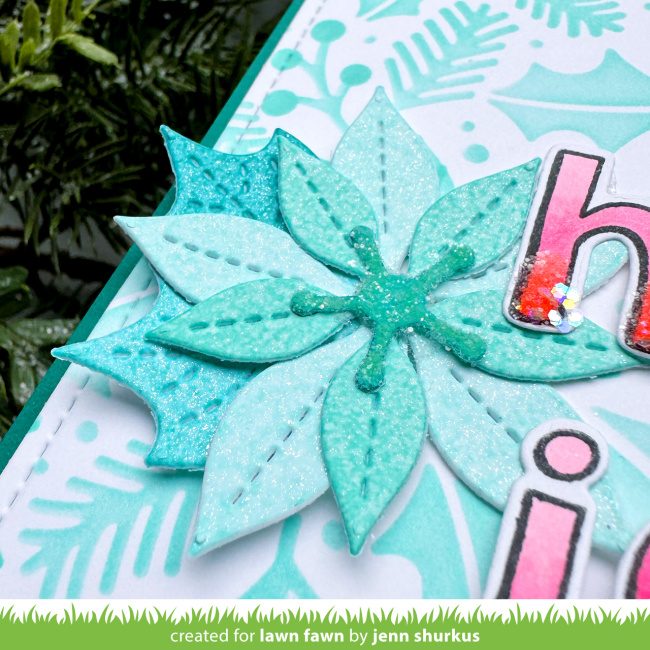
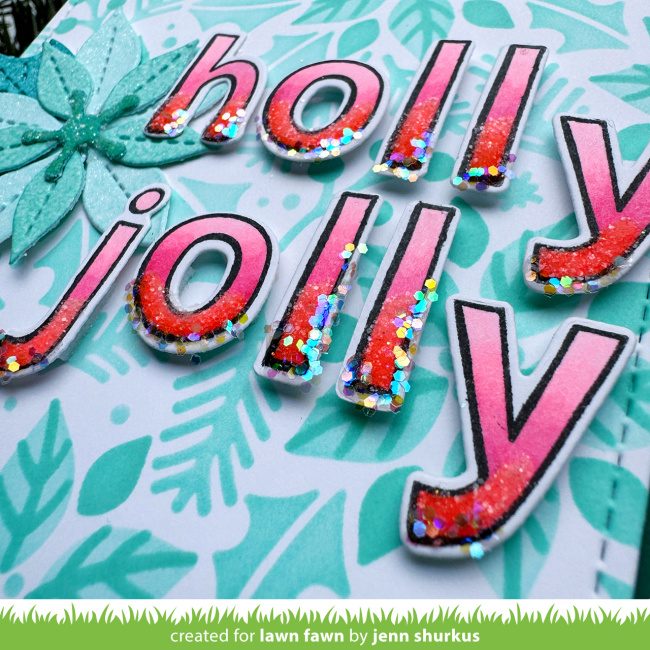
Joy started with ink-blending the background and then using Snowflake Background Stencils she added glittery Fairy Dust stencil paste snowflakes. While the background dried, she inked and assembled the pretty Stitched Poinsettia flowers. She arranged them on a Stitched Scalloped Circle Frame and then added the Oliver’s Stitched ABCs greeting.

I love the addition of the Fairy Dust Stencil Paste on the petals and leaves! It’s such a great detail and looks like glittery frost!
Thank you so much for sharing your gorgeous card with us today, Joy!
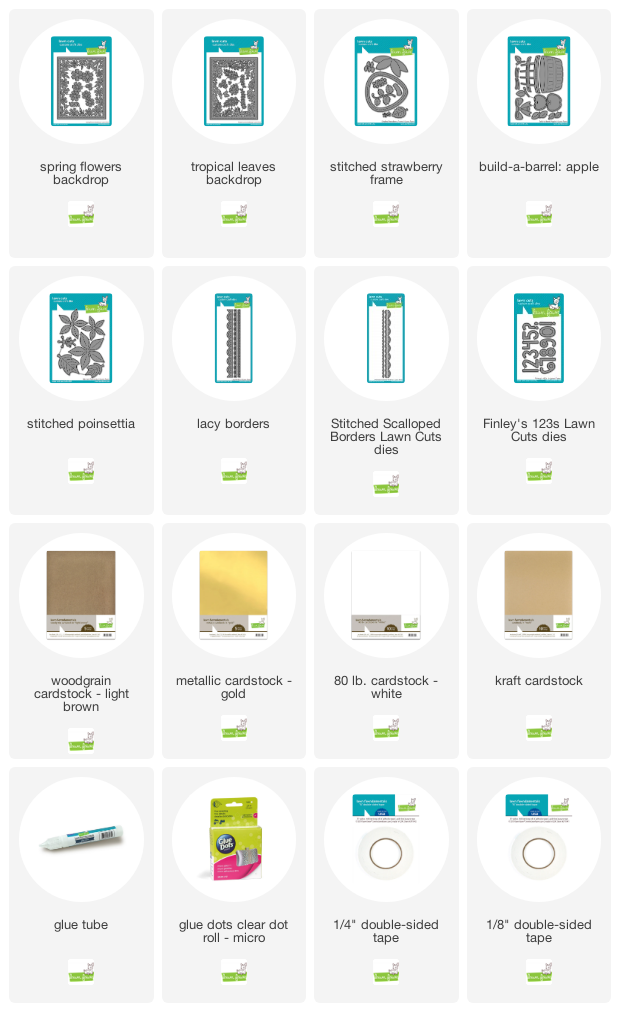
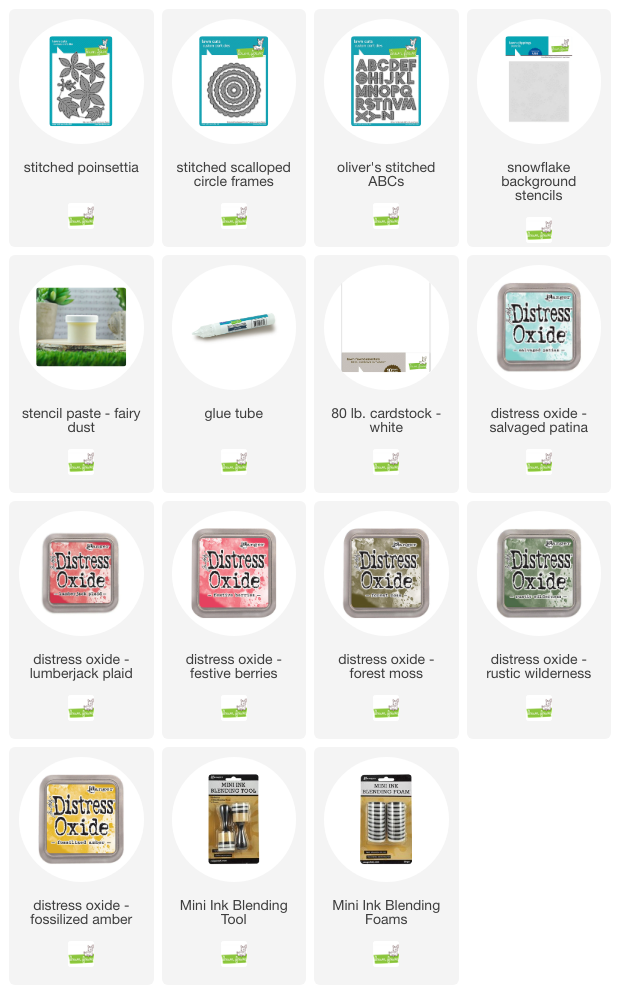
Supplies:
Thanks so much for visiting, have an amazing day!