Colorful Cards with Mendi!

We are so happy to welcome Mendi back with another great guest-blogger post!

Hello there! It’s Mendi here today with some colorful cards perfect for the back to school season.


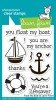
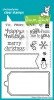
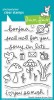
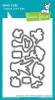
My first card features the adorable Color My World set.  I can’t fully express how excited I was to finally get my hands on this little set.  I decided to stamp them repeatedly (13 times to be exact) and to color them to my heart’s content. They were really fun to color and since I didn’t happen to buy the matching die, I discovered they are also pretty easy to cut out as well.

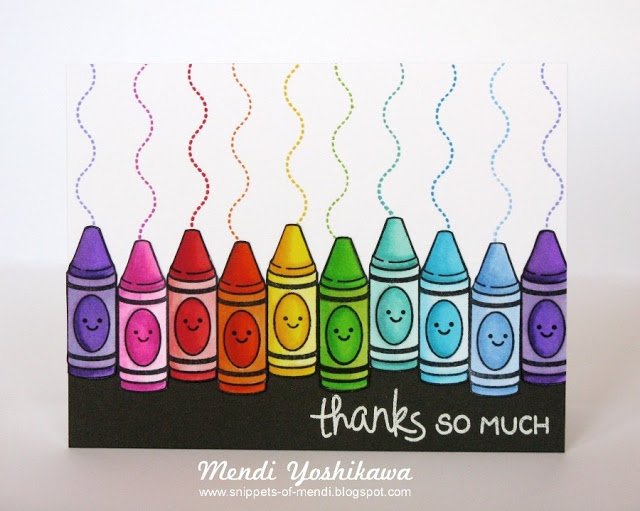
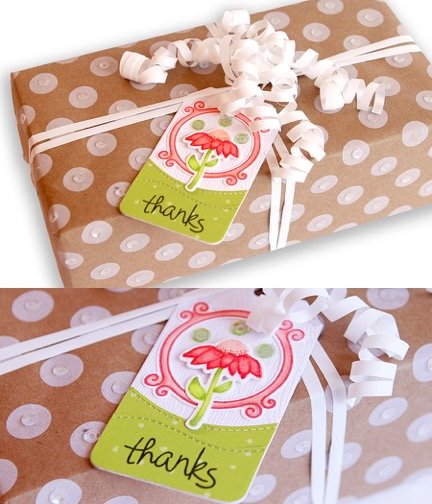
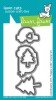
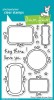
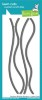
I thought crayons would make a great thank you card for teachers so I borrowed a sentiment from the Thank You Tags set which I heat embossed with white powder. For the little lines above each crayon I found matching colors of ink and used the fun wavy stitched image from the Gnome Sweet Gnome set. Don’t these little guys just make you happy?


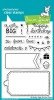
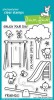
I couldn’t resist making a second card while I had the darling crayon image out so this time I paired it with the Schoolhouse Backdrops to add lines to both my yellow and white papers.

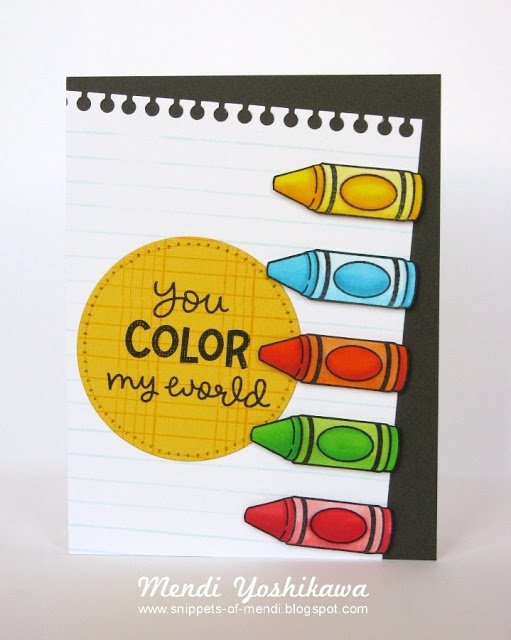
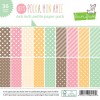
A little punched border along the top completed my theme. And the black chalkboard background? It’s a 12×12 paper called Joy from the Peace, Joy, Love collection. You can find it HERE on sale. I love when I can re-purpose Christmas papers like that!


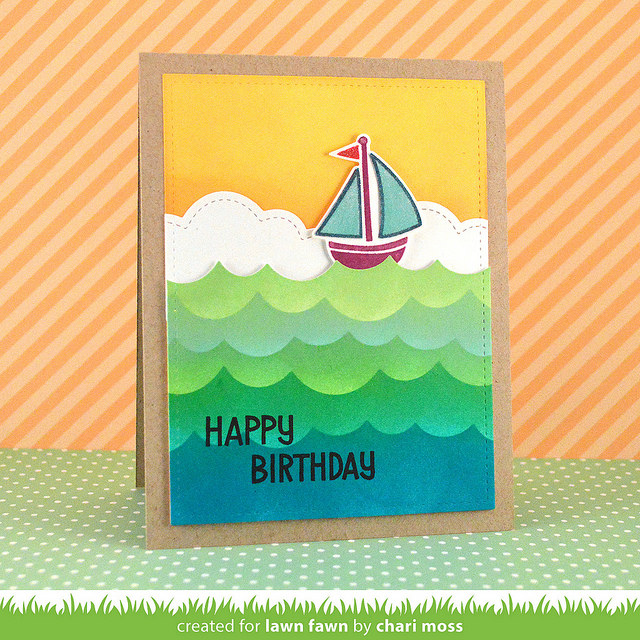
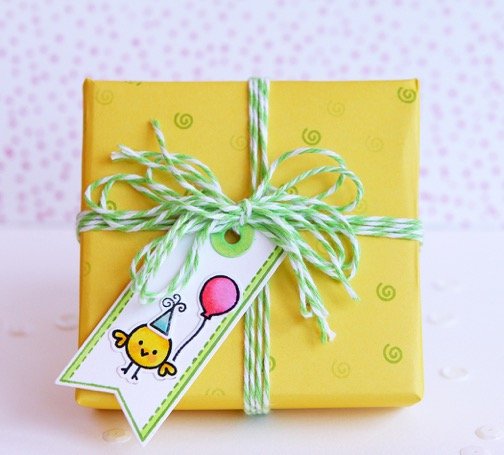
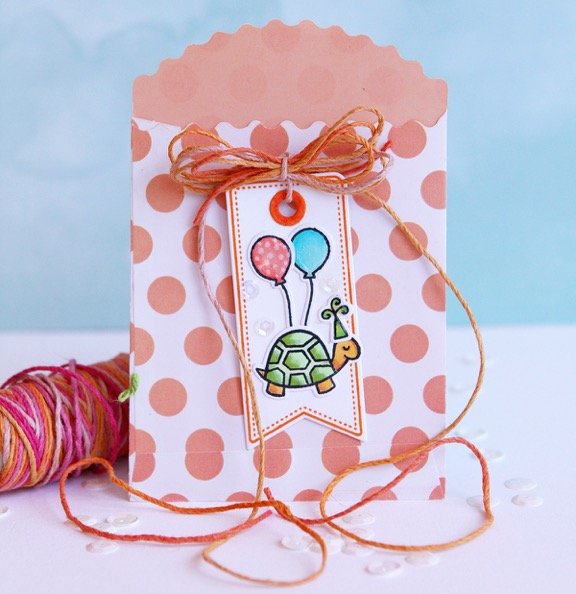
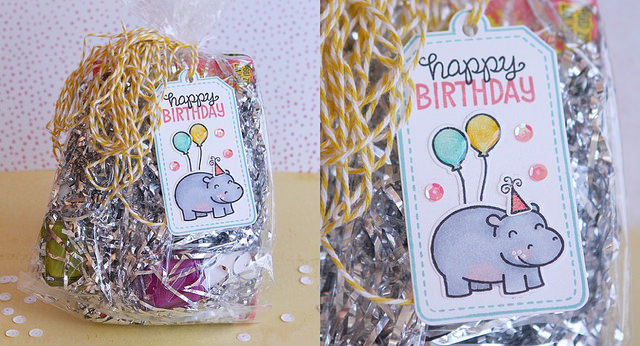
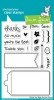
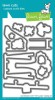
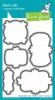
My last card uses some more favorites of mine; the new Puffy Cloud Borders and Party Animal. Aren’t they both completely irresistible?

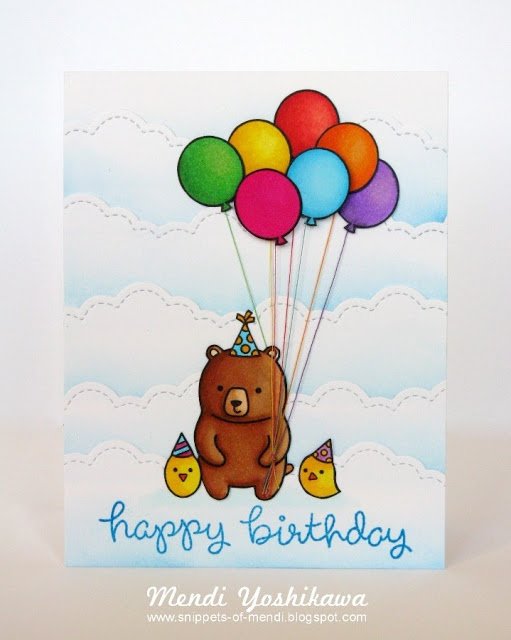
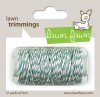
For my clouds I sponged on some pale blue pigment ink along the bottom of each 1.25″ high cloud border to make them stand out when stacked. I had originally planned to add a cardstock panel down the center to ground my little bear, but when I got done inking up the clouds, I hated to cover them up. For my balloons I taped pieces of coordinating thread to the back of each of them before adhering them to my card. I have tried to tie them onto the little balloon knot in the past, but this way is so much easier and I think just as cute.


I hope I have inspired you to pull out some bright colors and play along today. I would to thank Kelly Marie and the Lawn Fawn team for having me these past three months. It’s been a dream come true having an excuse to work with my favorite stamps some more.

Thank you so much for sharing these awesome cards with us, Mendi! We have loved having you as our guest blogger for last few months! 

Thank you so much for visiting!
Have an amazing day,

Lawn Fawn Intro: Fintastic Friends and New Ink Colors!

Hello and welcome to Lawn Fawn’s Summer 2015 Release and Inspiration Week! We are just so excited about this week! We are featuring 4 stamp sets and 5 dies! 
These products will be available on June 4th!  Until then we will have fun posts with design team projects and giveaways!

Today is our showcase of Fintastic Friends and our New Ink Colors: 
Lobster, Juice Box, Celery Stick, Peacock, and Fish Tank!

 The design team has made the most amazing samples!

We also have a little video on the bottom showcasing some fun ways of using this set!

Remember to click on the person’s name to see all of the details and leave these wonderful DT girls some comment love! 🙂

fintasticfriends_elenaroussakis
Elena created a sweet and charming little scene. I love the how she drew the fish food tumbling out of the container and into the fishbowl for the happy goldfish!

FintasticFriends_ChariMoss1
Pint-sized Patterns, Beachside papers look so cute with the colors of Chari‘s adorable goldfish bowl. I love how she used one of the Ocean Wave Borders to create the sentiment strip, so clever!

bestfishes_ink_nette
Lynnette‘s Fintastic Friends cards are so cute! I love this colorful fish bowl!

bestfishes_nette
I love the Let’s Polka Ocean Waves and how the Stitched Oval makes a fun window!

FintasticFriends_NicoleGavaldon
Nicole‘s gold fish in a little fish bowl is so cute! I love the background she created with Chevron Backdrops and our new ink!

MonAmie_MelissaMann1

MonAmie_MelissaMann3

MonAmie_MelissaMann2
Melissa‘s awesome layout uses machine stitching to tie all the fun elements together. I love how she layered the Let’s Polka, Mon Amie papers with the manilla tags and Wood Veneer Stars!

FintasticFriends_CristinaNuñez1

FintasticFriends_CristinaNuñez2
Yainea‘s water-filled fish tank is amazing! I love this fun alternative to a shaker card. Be sure to visit her post today to find out how she created her fish tank!

FintasticFriends_LatishaYoastWM
Latisha‘s card is just so cute! I love the pretty ombre stripes she created with our new ink colors: Peacock and Celery Stick!

NewInk_ChariMoss1
I love Chari‘s awesome ocean waves created by using our Ocean Wave Borders as a stencil with our new ink! Float My Boat looks right at home in this adorable scene!

 Now we have a little video showing Fintastic Friends in action! You can watch it here or at our YouTube channel!

Thanks so much for watching!

 Now we have a little video showing our new ink colors! You can watch it here or at our YouTube channel!

Thanks so much for watching!

I hope you have enjoyed this look at Fintastic Friends and our New Inks. Now it’s giveaway time! Leave us a comment telling us your favorite crafting color combo by June 3rd at 5:00pm EDT, and we will randomly pick one winner for this set! (If you already own this set and win, you can choose another set!)

Our products will be available tomorrow, June 4th, at 12:01am Eastern! Woohoo! Make sure to come back tomorrow to see all of the new products and our Inspiration Week winners!

Thank you so much for all of your excitement for our inspiration and release week! Your comments, tweets, facebook, instagram and YouTube messages mean so much to us! Every one puts a big smile on our faces! We think Lawn Fawn fans are the best in the world. We love you guys! 🙂

New Ink Pad colors – available June 4th
Fintastic Friends stamps and dies – available June 4th

Thank you so much for visiting!
Have an amazing day,

Gift Tags with Suzy!

We have a special treat for you today from our guest, Suzy! She has created a collection of gift tags that will make any gift package the cutest one in the bunch! We’ll let Suzy take it from here:

I love wrapping pretty presents, but I prefer my money to go to what’s on the inside rather than on the expensive gift cards. I was so excited when I recently discovered the Lawn Fawn Stamp sets and coordinating Tag, You’re It dies as I knew they would make perfect tags for all my gifts. I wanted to make a bunch in different colors and themes to have on have for future gifts.

Gift Tag collage


I started by stamping the tags in both sizes from the three tag stamp sets – Birthday Tags, Thank You Tags and Winter Gifts using my new Lawn Fawn inks. Once they were stamped, I die cut them with the two tag dies from Tag, You’re It.

photo 1
The next part was the most fun; decorating the tags! I used the three tag stamp sets but I also used many other Lawn Fawn stamp and die sets. Once they were all decorated I wrapped up some gifts!

photo 2
I attached sequins to each circle on the bag to dress it up a bit. I made this tag out of watercolor paper and painted it with Distress Inks. I used the Birthday Tags set for the tag edges, the banner and the sentiment. The larger cloud and heart balloon are from Hello Sunshine and the other cloud is from Into the Woods. The little hearts are from Happy Trails. I used Coral Lawn Trimmings as the balloon string and to tie the tag to the gift bag.

photo 3
I wrapped a small box in yellow paper and then stamped the little swirl design from the Birthday Tags set using Freshly Cut Grass ink. I tied the Lime Lawn Trimmings around the box twice and tied it in a bow on top. I stamped the smaller tag from the Winter Gifts set with the same ink before I die cut it. I used my favorite little bird from Let’s Play and the balloon and party hat from Year Two and Year Four stamp sets.

photo 4
I wanted to make a little bag for a gift certificate. I stamped the small stitched tag from the Thank You Tags set with Fake Tan ink. The turtle, balloon and party hat are from the Year Two and Year Four stamp sets. I finished it off with some Pink Lemonade cord tied in a bow.

photo 5
For this package, I used a clear bag with silver tinsel inside. I used the large tag die with the Birthday Tags stamp set and the Year Two and Year Four stamp sets. I stamped with Mermaid ink for the tag outline and Wild Rose and Black Licorice for the sentiment.
photo 6
I wrapped this package with Kraft paper with white polka dots. I glued a sequin to each polka dot. I die-cut the tag from embossed wood-grain card stock and didn’t use the tag stamps on it. I love how it looks so elegant without the stamping. I used the Stitched Hillside Borders for the green grass. I stamped the flower image with a very light pink ink so I could do no line Copic marker coloring.  I love how the pretty flower from Gleeful Gardens looks so classy without a border. I added it over a frame from Flirty Frames stamped with Wild Rose ink. The sentiment is from Thank You Tags.

I hope you enjoyed these gift tags! I love getting lots of use out of my stamps and dies and these sets will be used over and over!

Be sure to check out Suzy’s blog post HERE for lots more adorable tag ideas. You can also check out her Instagram account (suzyplant). Thank you so much, Suzy, for sharing your clever and adorable tags with us today!

Thank you so much for visiting!
Have an amazing day,