Lawn Fawn Video {7.25.17} + Marvy Week Day 2

It’s Day 2 of a wonderful week-long collaboration with our friends at Marvy Uchida! We will be sharing fabulous Design Team projects and videos using Marvy products! We hope you will be inspired!
Today Chari shares a video demonstrating how to add watercolor to a card using Color In Watercolor Twist pencils! You can watch the video here or at our YouTube channel.
Thanks so much for watching!

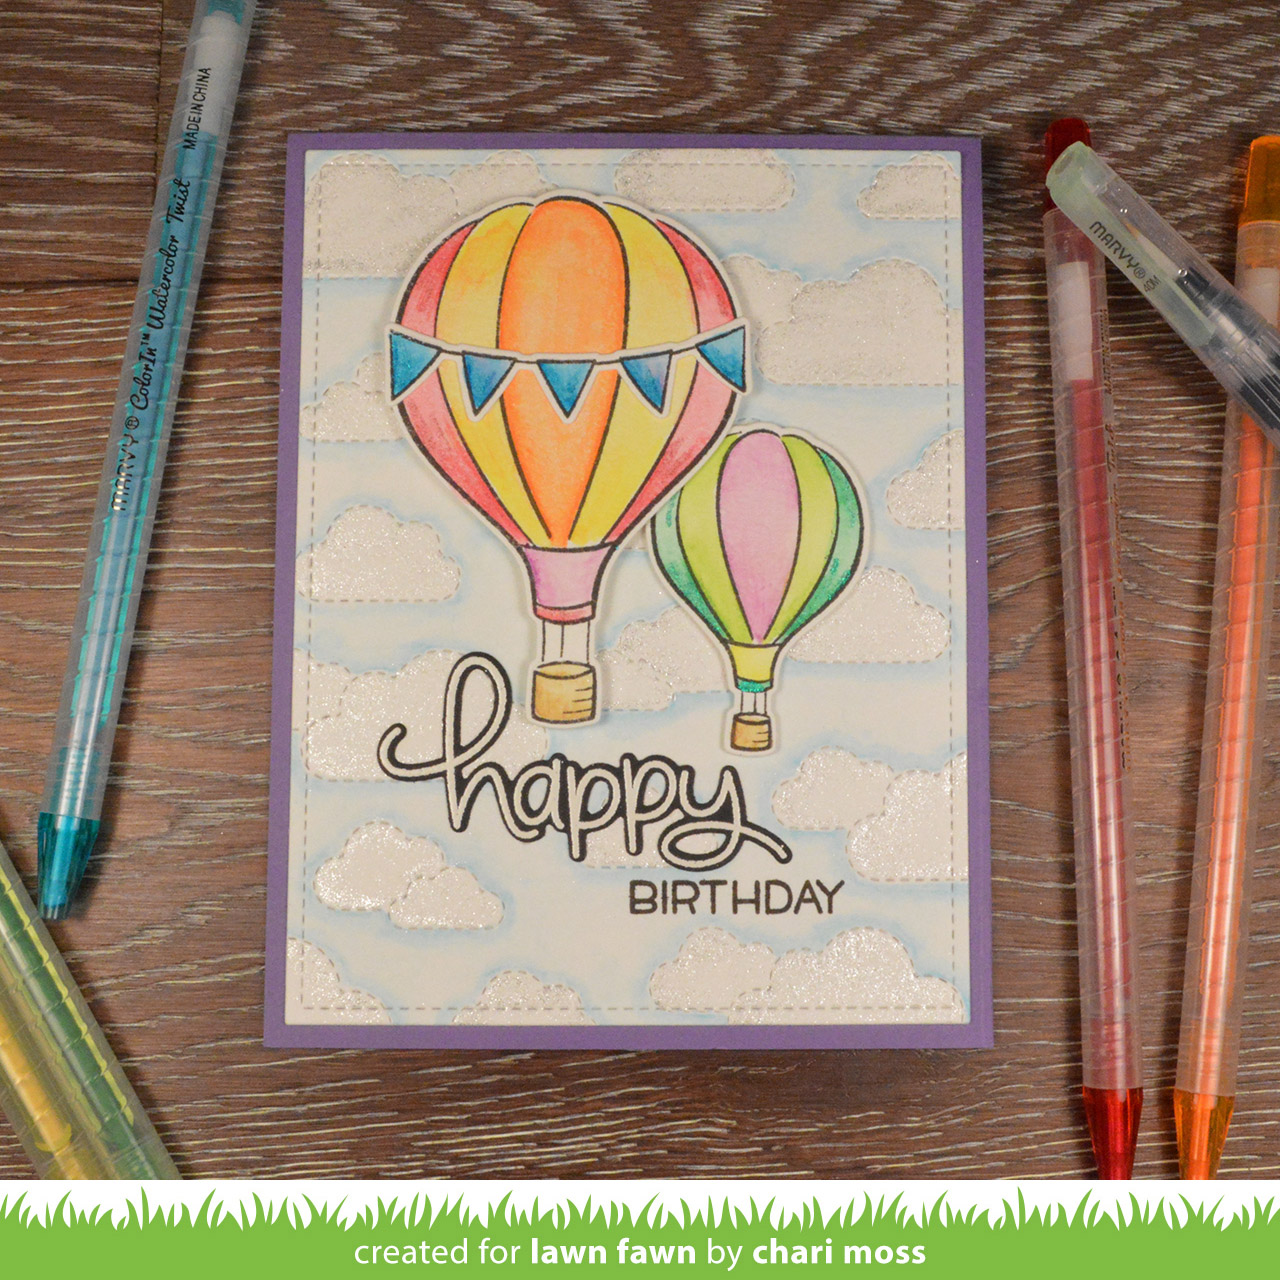
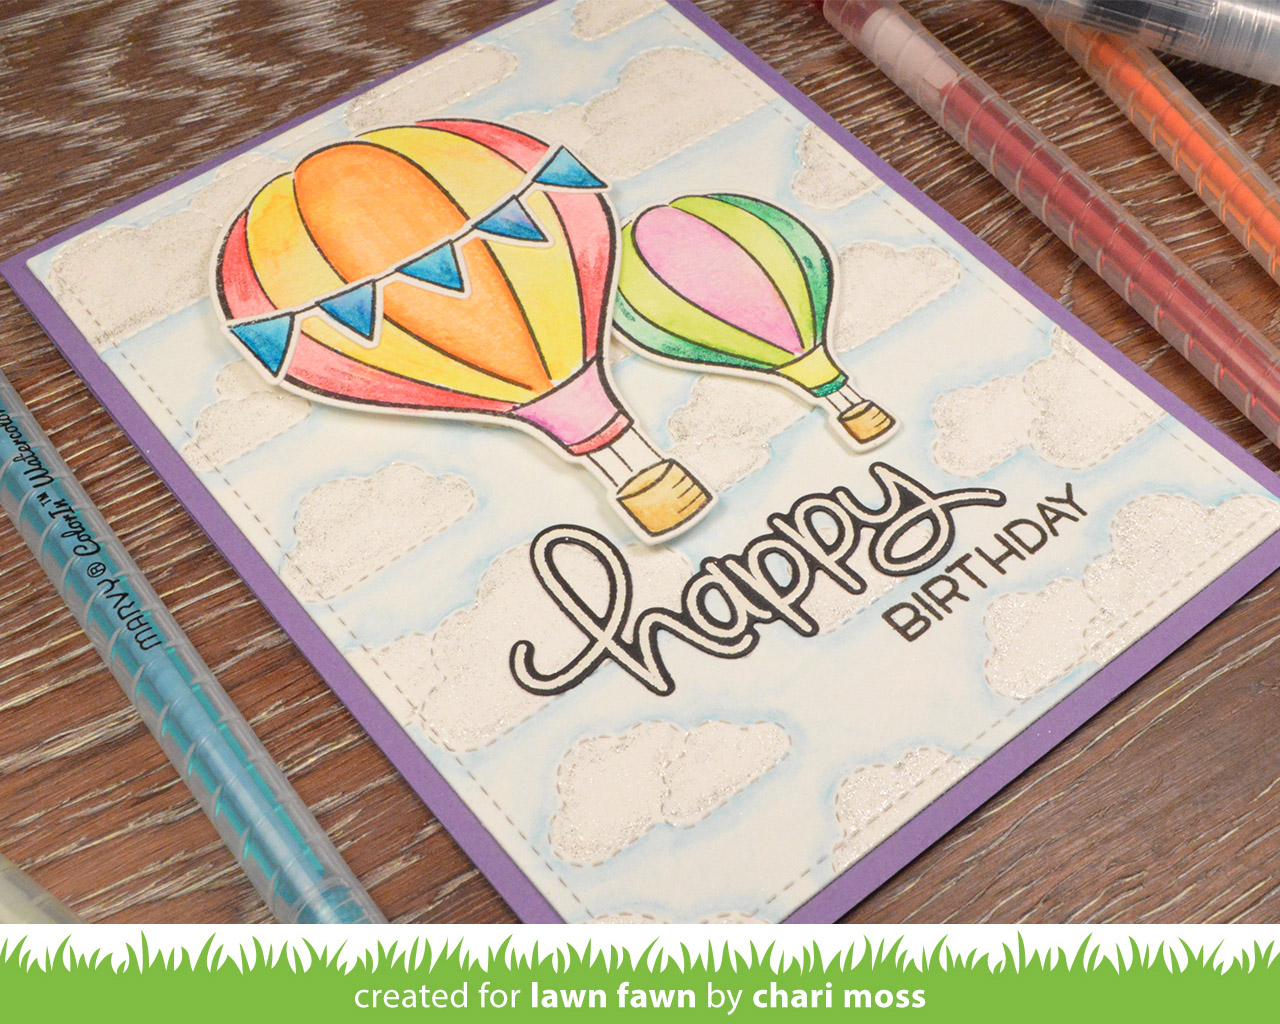
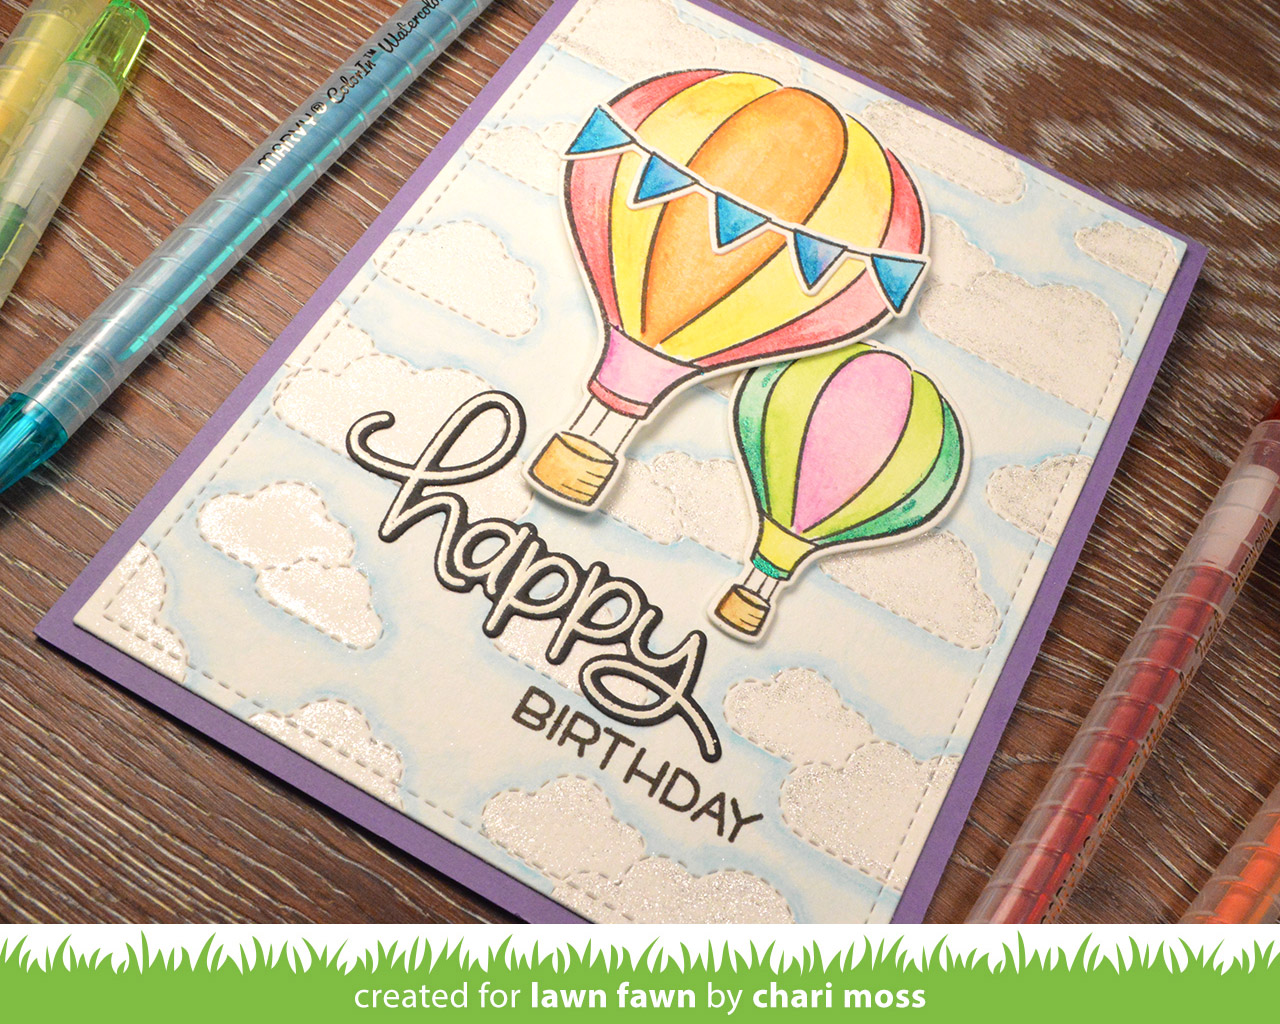
Chari‘s birthday card design is so beautiful! I love how she added glittery detail to the Stitched Clouds, and Blue Skies hot air balloons with the Deco Just Glitter Premium pens! 
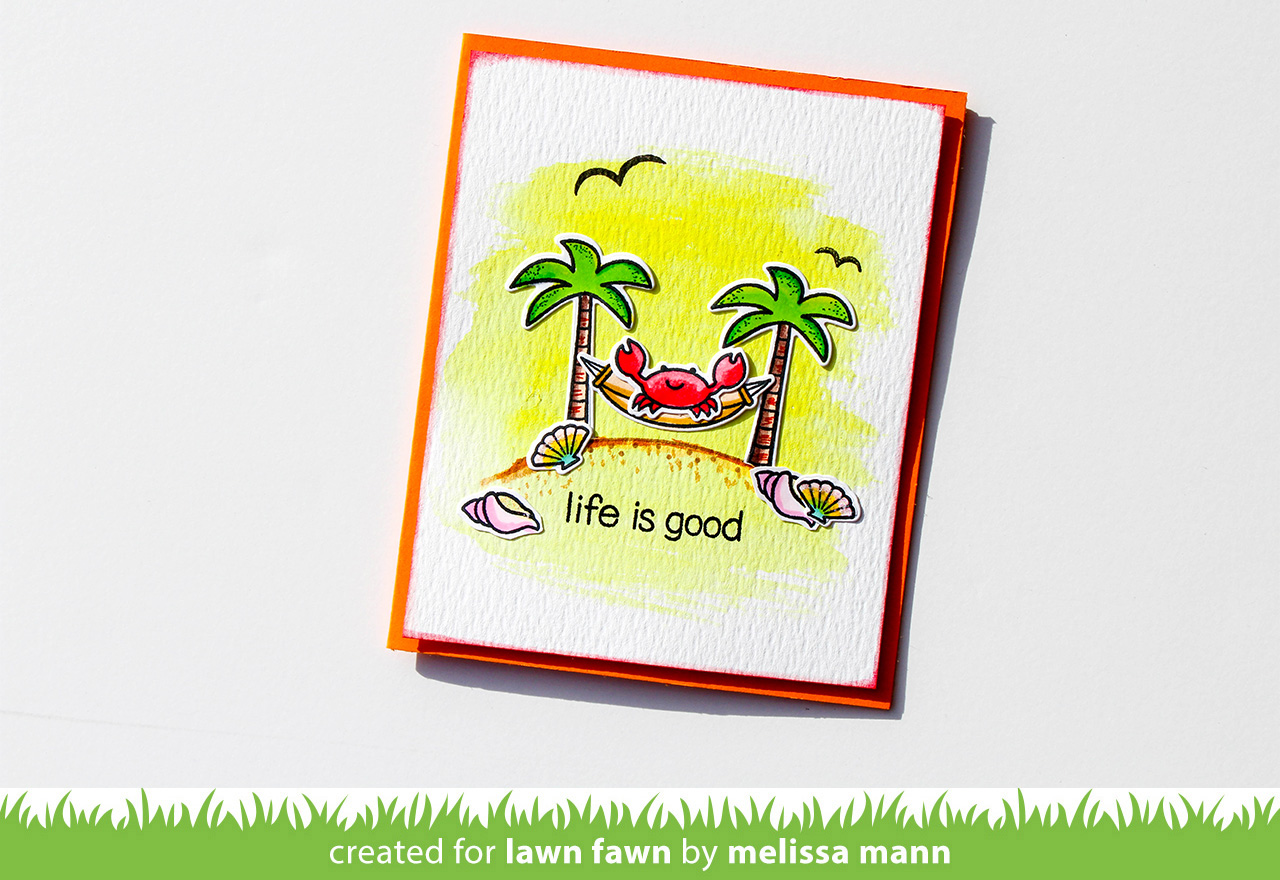
Melissa added bright color to her  awesome Life is Good card using Le Plume alcohol markers! I just love the sunny yellow backdrop!
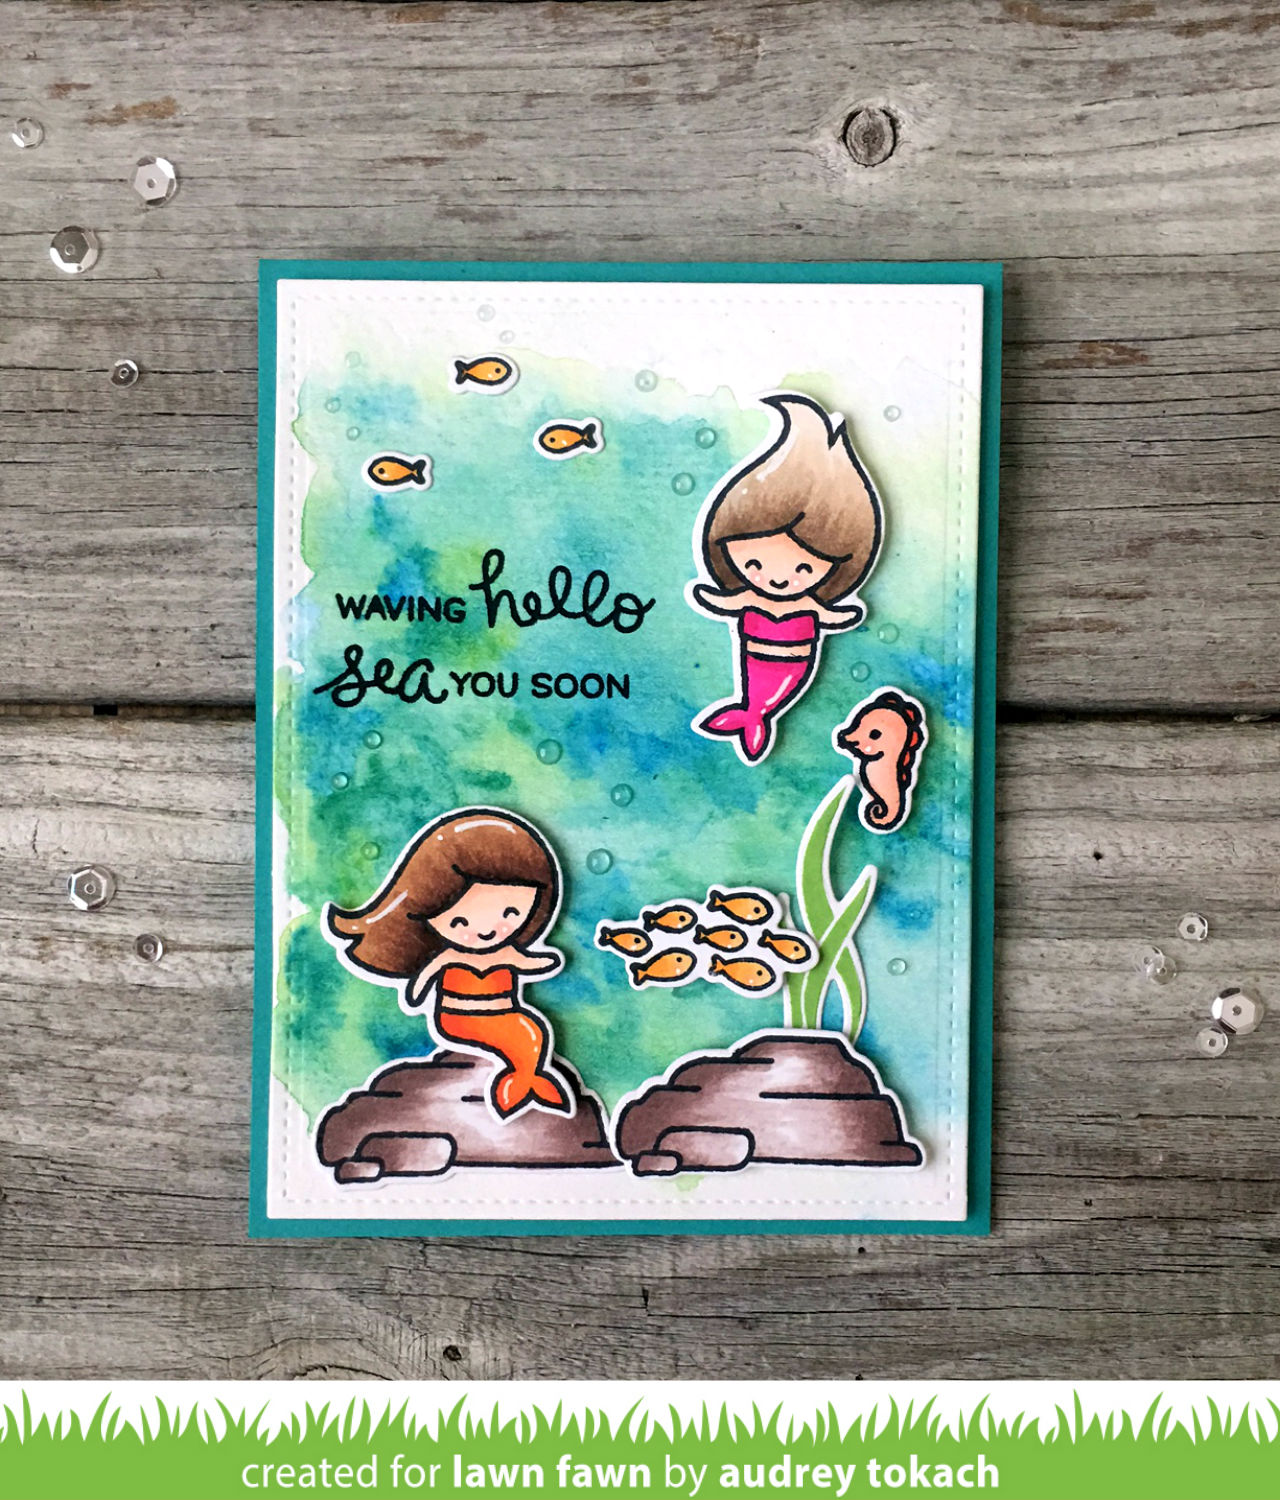
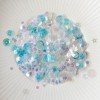
Audrey‘s super cute Mermaid for You card is beautifully water-colored using Color In Watercolor Twist pencils. She touched a wet paint brush to the pencil to load the color then painted on wet watercolor paper to create that fabulous ocean background!

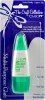
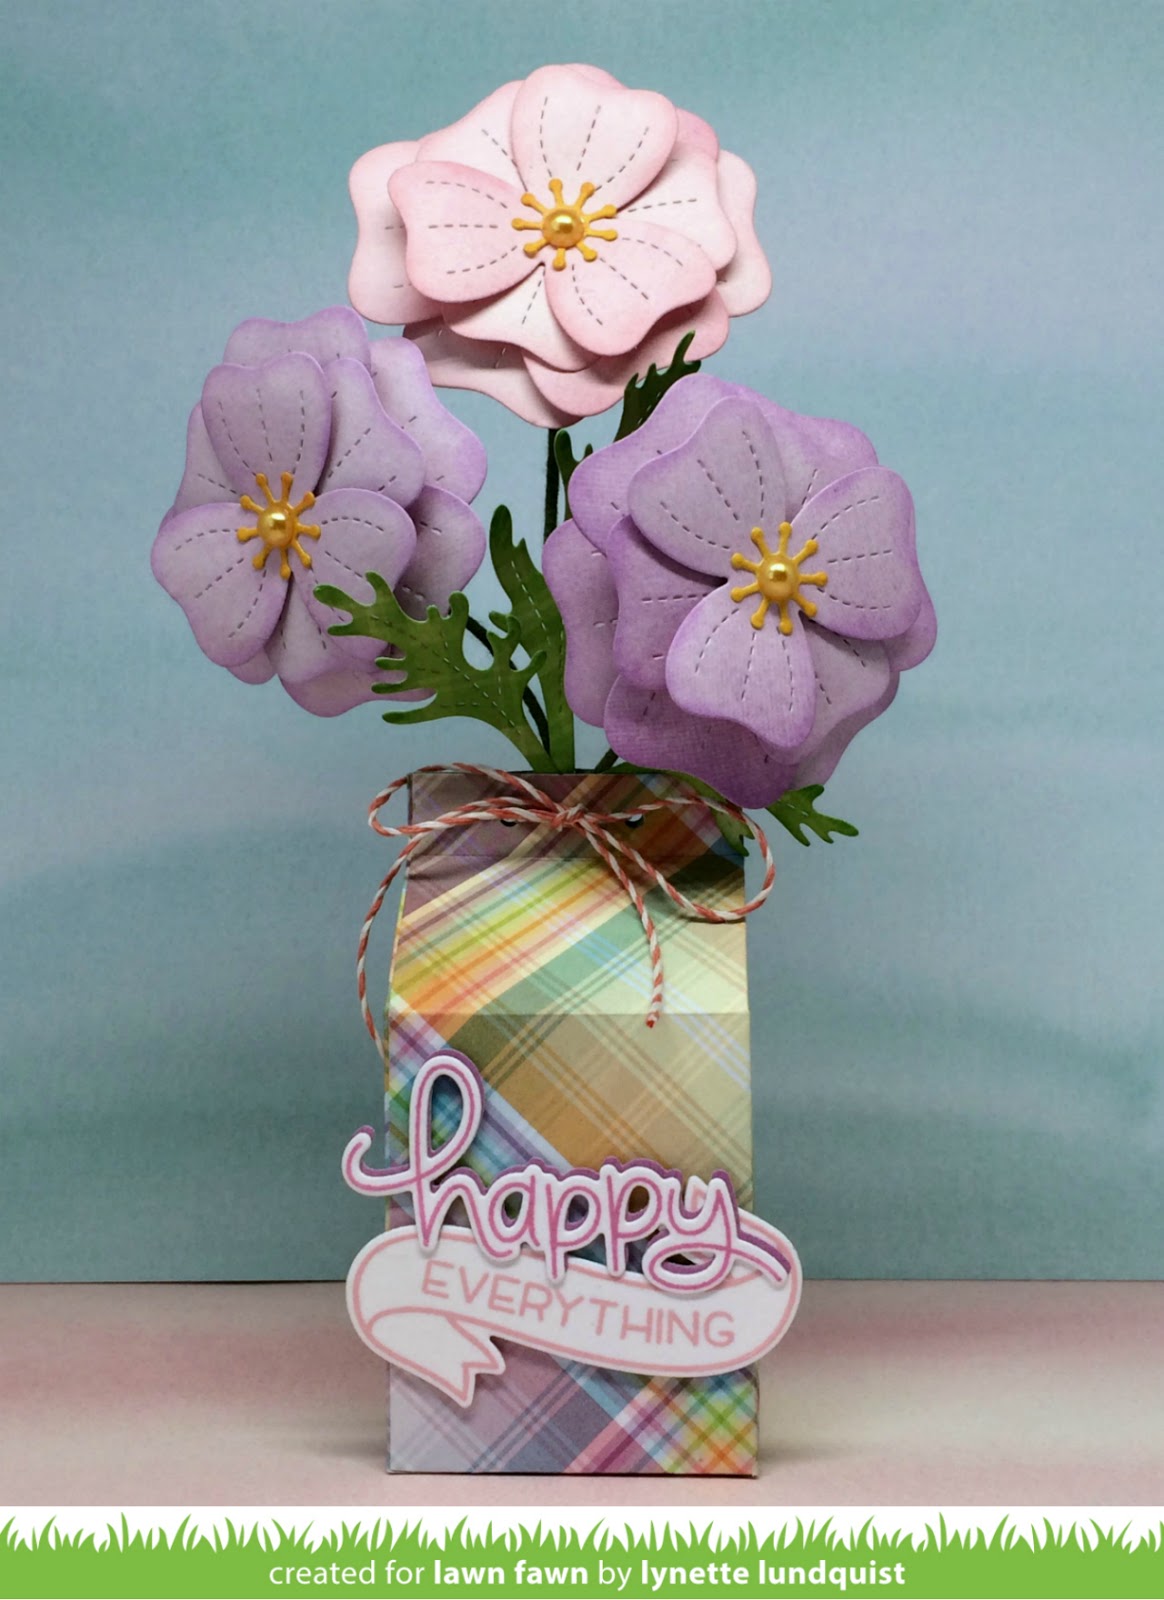
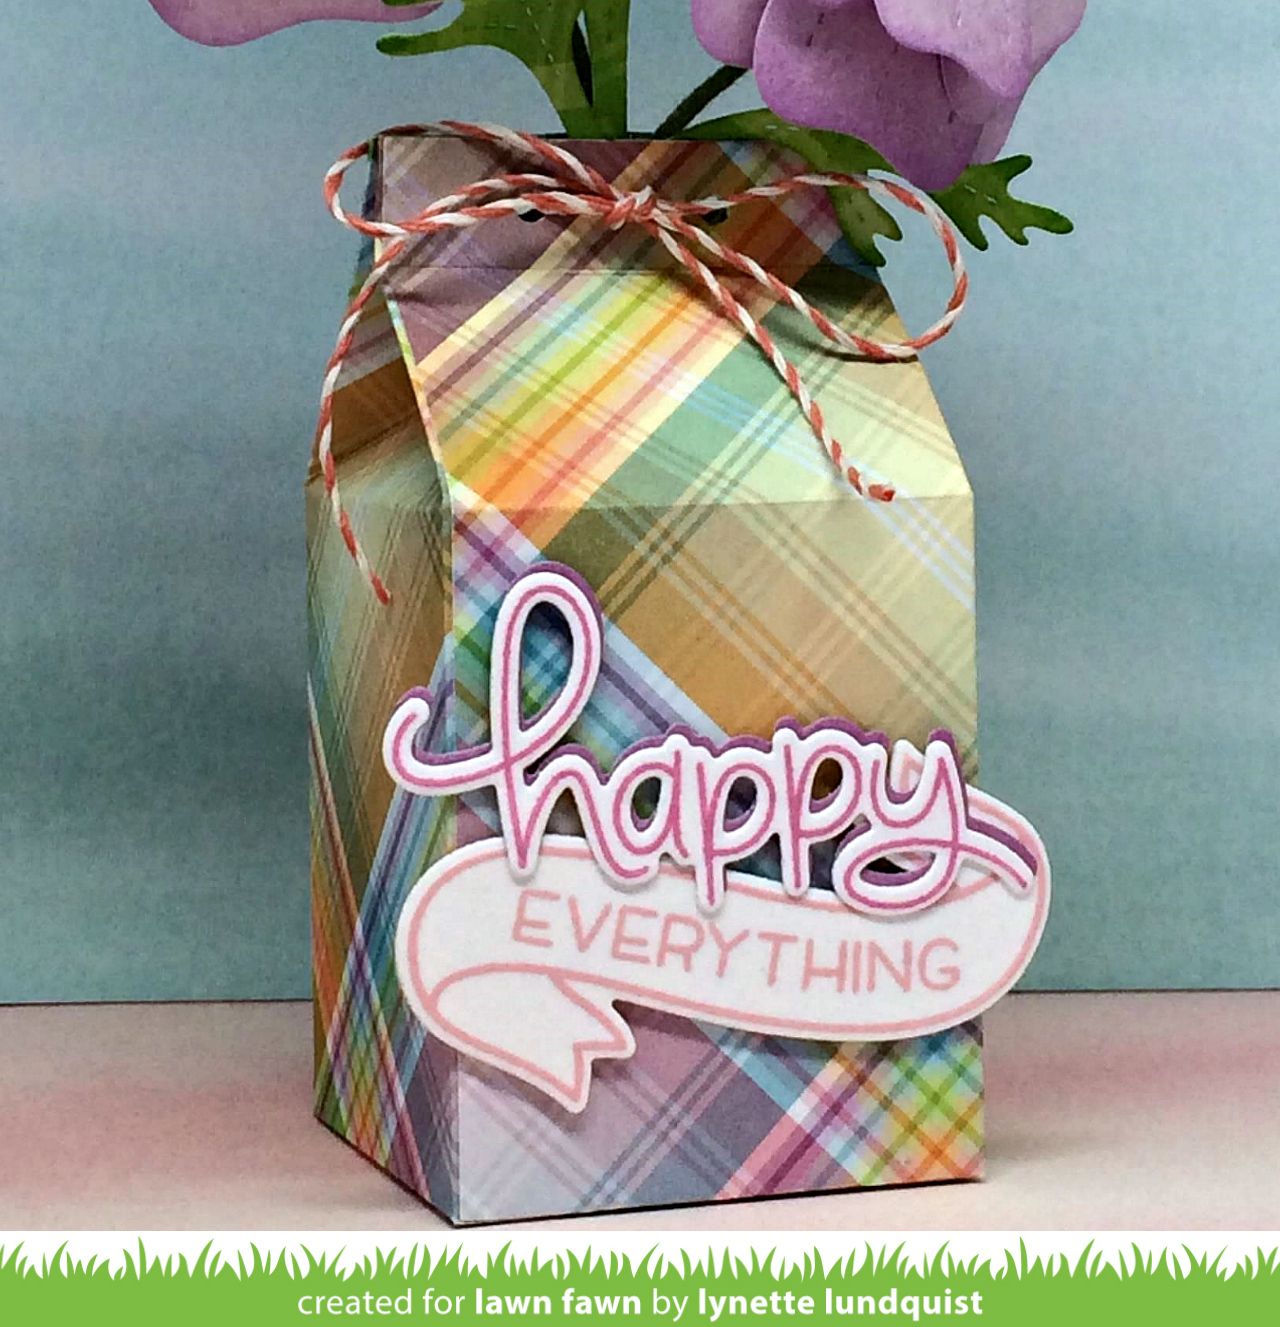
Our friend Lynette has a beautiful card on the Simon Says Stamp blog today!
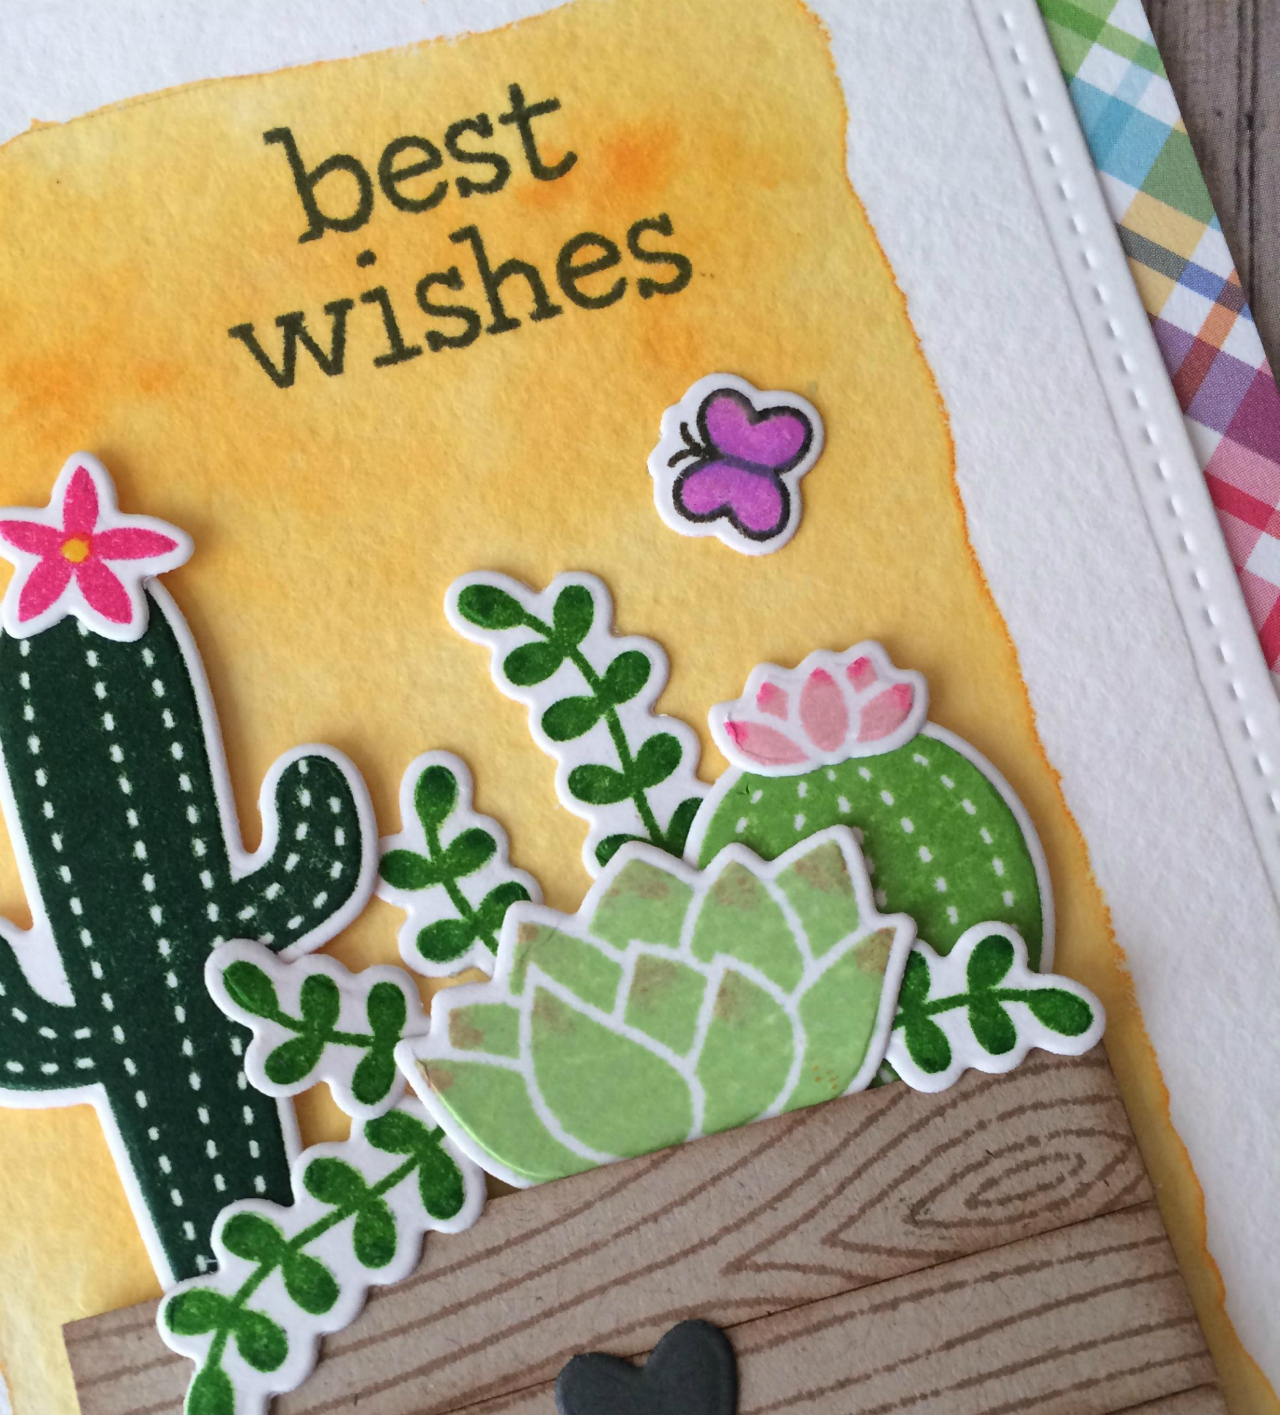
Here’s a little sneak peek!

Thank you so much for visiting!
Have an amazing day,

A Sunny Birthday Shaker Card by Jessica!

Jessica joins us today to share a sunny Aloha and Happy Happy Happy birthday shaker card!

Jessica used Outside In Stitched Rectangle Stackables to create the wide frame for the shaker window. I love how she stamped the sunglasses from our mini Aloha set around the frame, it adds lots of fun pattern! The ink blended and water splashed background looks amazing!
Thanks for sharing your happy card design with us today, Jessica!

Thank you so much for visiting!
Have an amazing day,

Lynette’s Pretty Poppies!

Lynette used Pretty Poppies to create a lovely 3D project! This beautiful arrangement of flowers in our Milk Carton would make wonderful bridal shower favors, party décor or a thoughtful gift!
 With a quick change of greeting on the Bannertastic banner this pretty design becomes a versatile project for many occasions!
Here are Lynette’s instructions for creating the layered Pretty Poppies flowers:

For each flower I die cut 2 small and 2 large petals and used a small foam adhesive between layers to give the flower dimension. The pink flower is cut from Watercolor Wishes Lucky Penny and edges are inked with Ballet Slippers. Purple flower is cut from Watercolor Wishes Horseshoe with edges inked using Fresh Lavender. All flower centers are die cut using Watercolor Wishes Shooting Star paper with a yellow pearl added for dimension. Leaves are cut from Perfectly Plaid Rainbow Sour Apple and edges are inked with Jalapeño. After assembling the flowers and leaves I glued them to green floral wire trimmed to desired height. Flowers are then taped together creating a bouquet and placed in Milk Carton tied with twine.

Thank you so much for sharing another gorgeous project with us today, Lynette!


Thank you so much for visiting!
Have an amazing day,