Happy Friday, friends! Tammy kicks off 2021 another 1 Stamp, 3 Ways feature! This month she features Special Delivery with 3 very special cards!
Hi friends! Happy 2021! I am so excited to kick off the new year with another 1 Stamp, 3 Ways feature. This month, we are showcasing the adorable set, Special Delivery!
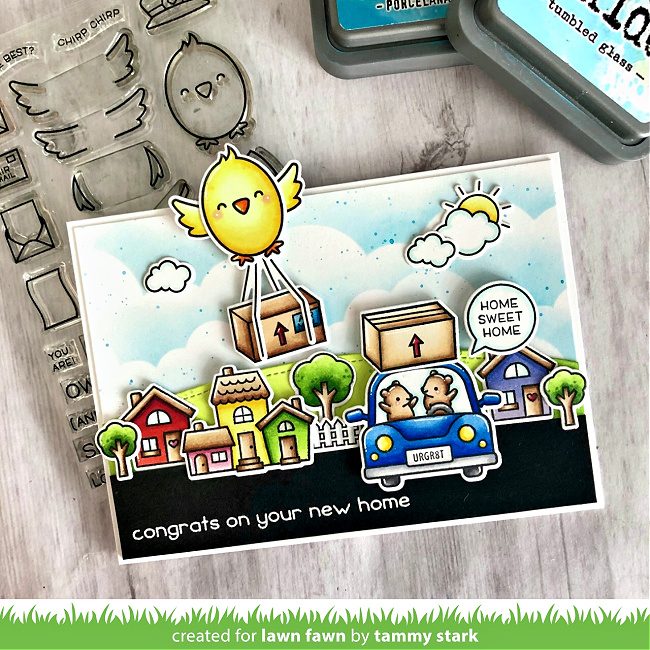
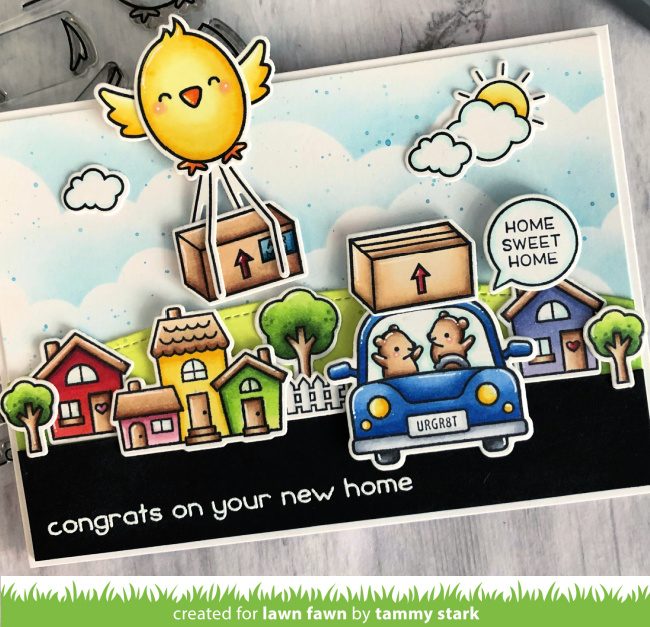
New Home Card
Moving is both exciting and exhausting, lol! The sweet bird from Special Delivery lends a helping hand in this fun A6 card, measuring 4 ½ X 6 ¼”.
To begin, I cut a piece of Bristol smooth cardstock to 4 ¼ X 6, and stenciled a cloudy background using the Cloudy Stencil, and lightly inking with Broken China Distress Oxide. Next, I created a grassy hill with the Simple Stitched Hillside Borders and ink blended with Twisted Citron and Mowed Lawn Distress oxide inks. I then cut a 1 X 6” strip of Black Licorice cardstock, attached to the bottom of the background and adhered it to a white A6 card base.
I stamped, colored with Copic markers, and die cut images from the following sets:
Special Delivery/ Coordinating Dies
Special Delivery Box Add-On/ Coordinating Dies
Car Critters/ Coordinating Dies
Happy Village/ Coordinating Dies
Next, I arranged all of the colored images onto my card, attaching some with foam tape for dimension. I white embossed the sentiment from Happy Village along the bottom to complete my card.
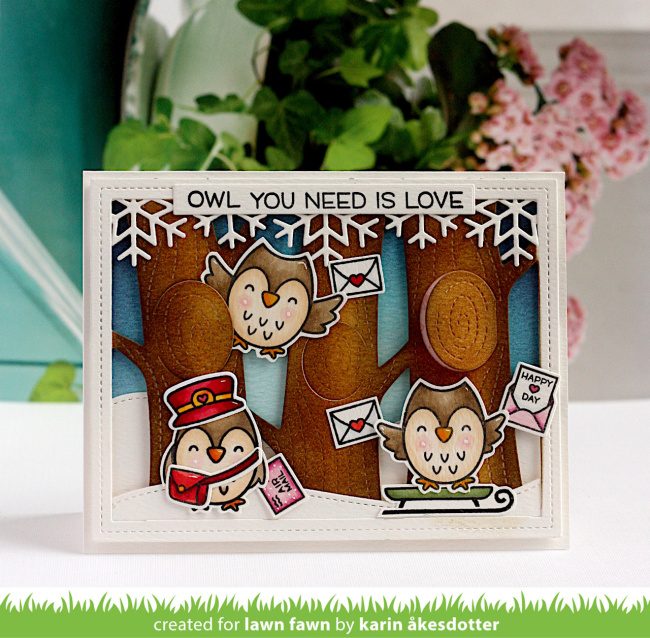
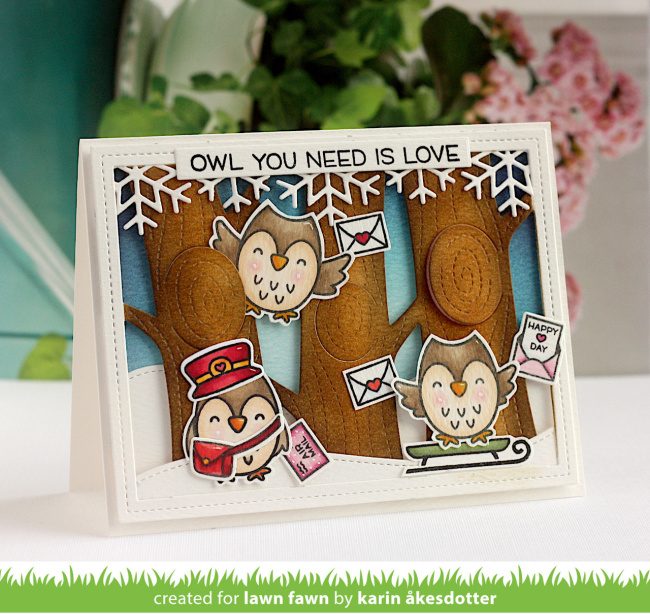
Magical Slimline Card
I had so much fun creating this magical card, featuring some cute wizards (and owl) from one of my favorite movie series!
To begin, I die cut the background (twice) using the Large Slimline with Sliders Die. I die cut the edge of one of the rectangles using the Puffy Cloud Borders to create a dream bubble. Next, I ink blended it with Black Soot, Chipped Sapphire, Blueprint Sketch, Dusty Concord, and Shaded Lilac Distress Oxide inks. I splattered some watered down white acrylic paint onto my background and gold embossed stars for interest.
I lightly inked the other Slimline rectangle with Milled Lavender before attaching the ink blended background on top. To create the little dream bubbles, I die cut the clouds from Village Heroes and Happy Village, and inked them with Shaded Lilac and Dusty Concord. Next, I cut a 1” piece of the woodgrain paper from the Into The Woods Remix – Sycamore, white heat embossed the sentiment from Unicorn Picnic, and attached to the bottom of my card.
I stamped, colored with Copic markers, and die cut images from the following sets:
Special Delivery/ Coordinating Dies
Den Sweet Den/ Coordinating Dies
Screen Time/ Coordinating Dies
Snow Much Fun (owl’s scarf)/ Coordinating Dies
Tiny Fairy Tale/ Coordinating Dies
Say What? Pets/ Coordinating Dies
All the Clouds/ Coordinating Dies
Next, I created the castle using the following products:
Build-a-Castle
Brick Stencil
Cardstock: Shimmer – Neutrals, Narwhal, Sticky Note, Woodgrain – Dark Brown
Bunting Borders
Vintage Photo Distress Oxide ink
Lastly, I attached the castle and the colored images to my card, using foam tape on some for dimension, and adhered it to a white Slimline card base to complete it.
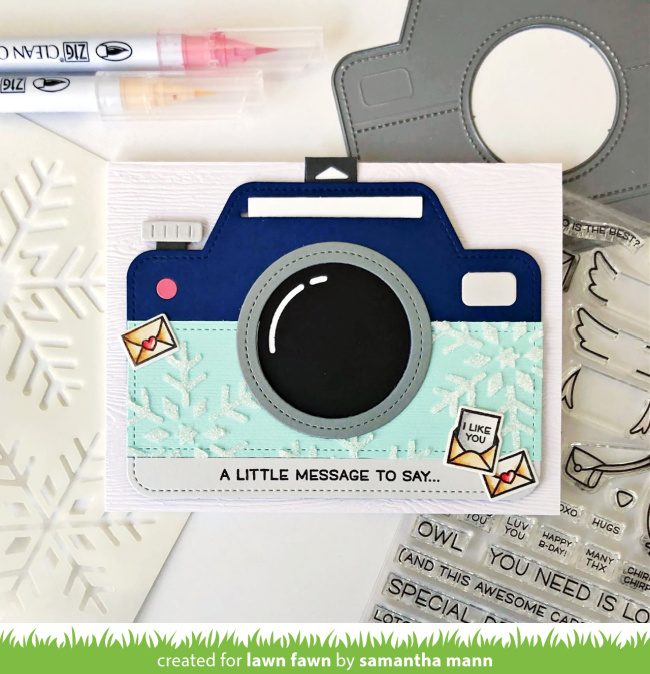
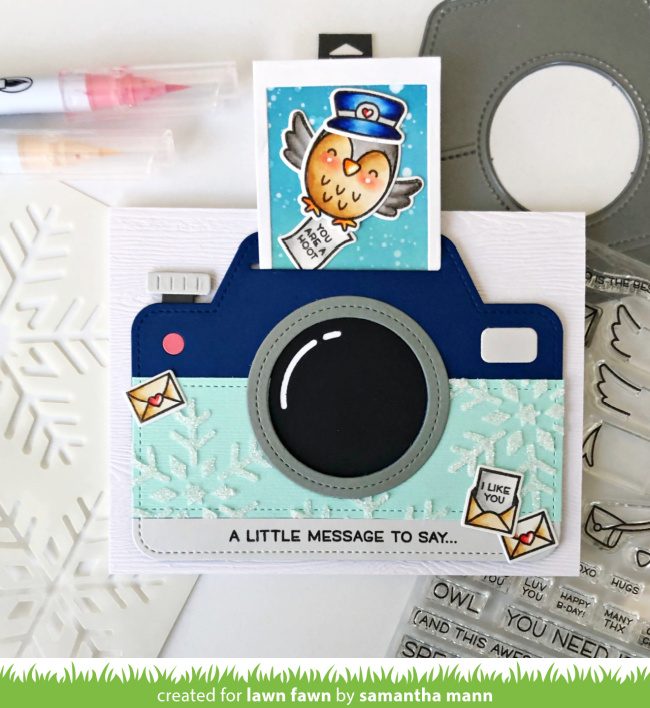
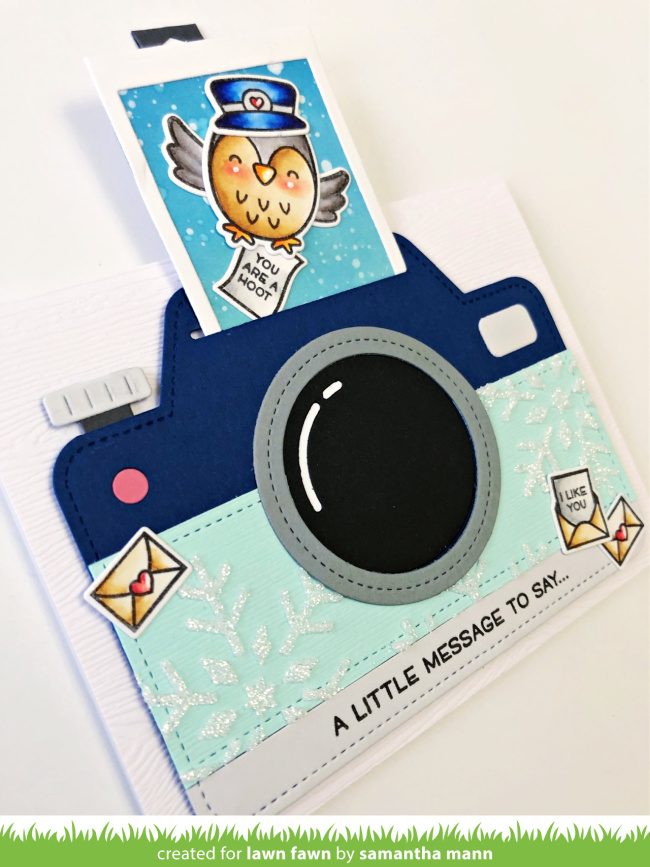
Mailbox Gift Card Holder
My last project is a fun, mailbox shaped gift card holder, created from Lawn Fawn dies. To begin, I stamped, colored with Copic markers, and die cut the images from Special Delivery and Special Delivery Box Add-On.
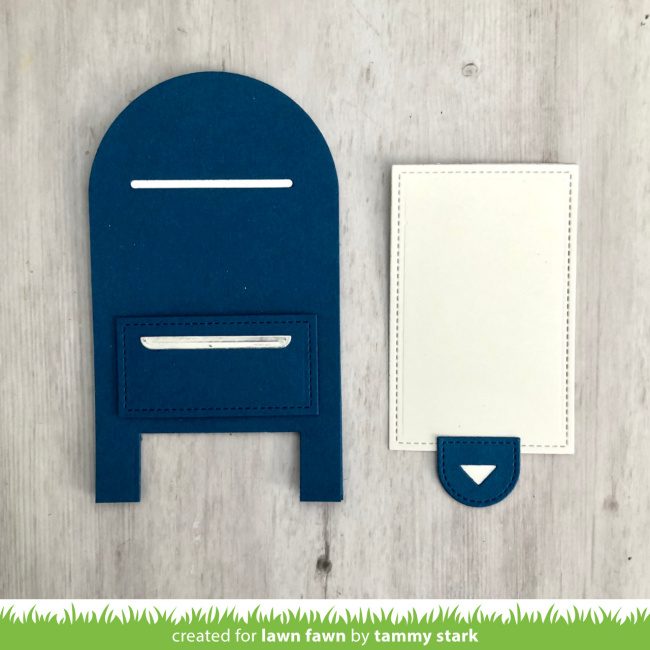
Now, let’s create the mailbox
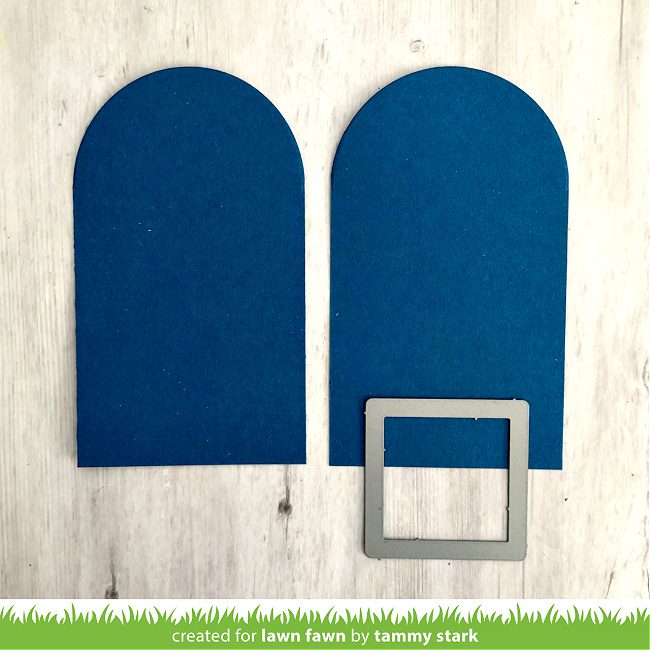
To begin, cut 2 pieces of Blue Jay cardstock a little wider than 3 X 5 1/2”. Place the largest arch from the Stitched Rainbow at the edge of both pieces and cut to create the curved top of the mailbox.
Place the second to smallest square from the Small Stitched Square Stackables at the edge of the mailbox as shown in picture and cut. This will create the “legs” of the mailbox.
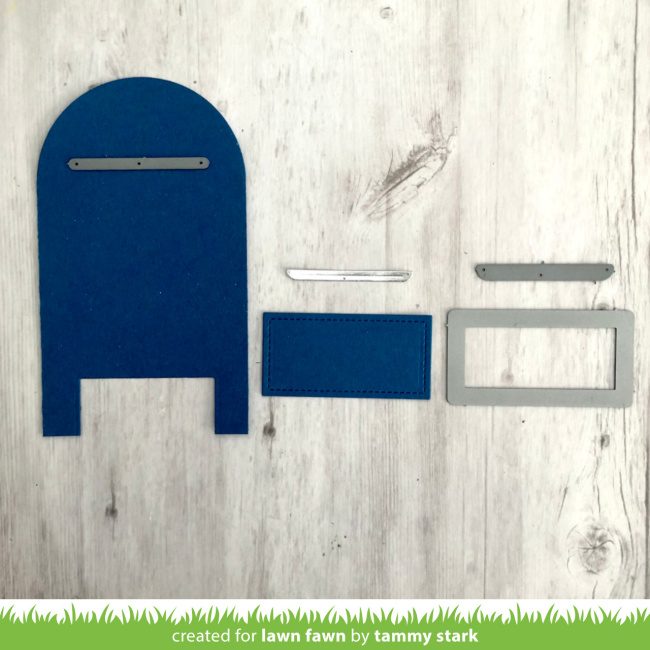
Place the long thin piece from the Magic Picture Changer Oven Add-On on one of the mailbox pieces to create a mail slot, then attach a thin piece of white cardstock behind it. Cut the handle using the Oven Add-On from Silver Metallic Cardstock and attach to the smallest rectangle from the Large Stitched Rectangle Stackables.
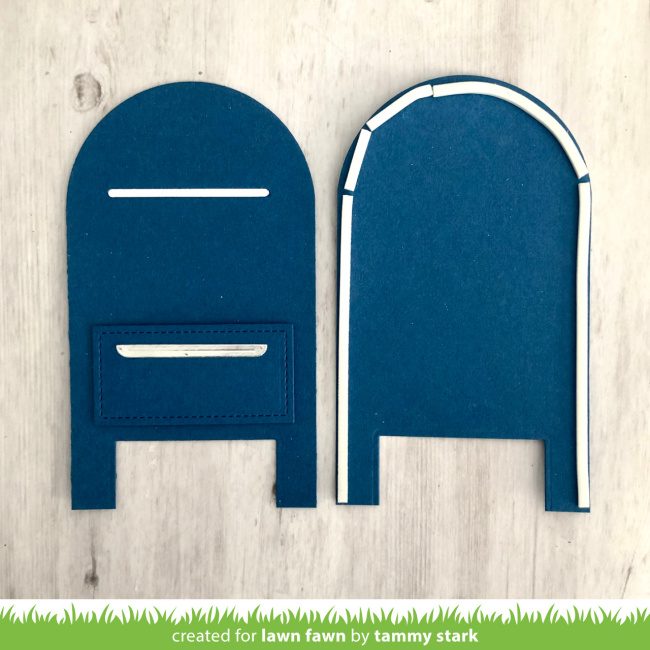
Attach the door to the mailbox using foam tape. Next, apply very thin foam tape along the outer edges of the other mailbox and attach together to create a little pocket.
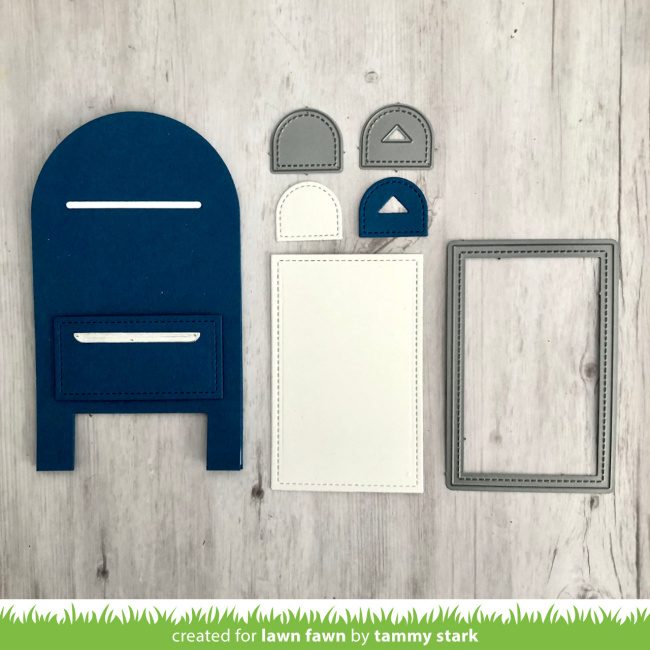
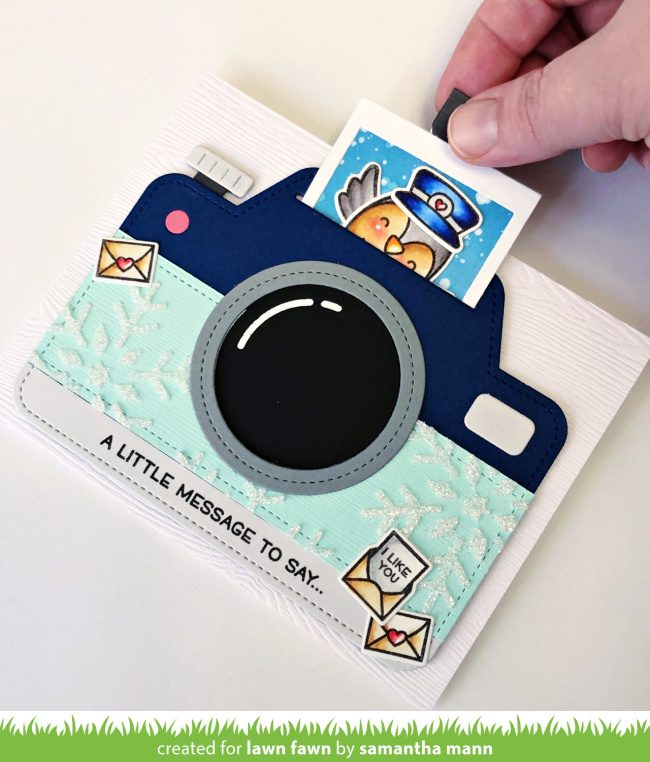
To create the insert that holds the gift card, cut the base using the second to smallest rectangle from the Large Stitched Rectangle Stackables. I used the Flippin’ Awesome Add-On for the pull tab, and attached it to the rectangle with strong adhesive.
Next, add a couple of glue dots to the rectangle to hold the gift card in place and slide into the mailbox!
**If you would like to make this into a card instead of a gift card holder; just cut and create one of the Blue Jay mailboxes. Create a card base that measures 5 ½” in height and a bit more than 6” in width; then score down the center.
Use the Stitched Rainbow and Small Stitched Square Stackables to cut the card base as you did the mailbox. And then attach the decorated mailbox to the shaped card base.
Now that we’ve created the mailbox, we can add all of the stamped images. I stamped the sentiment onto white cardstock with Blue Jay ink. Then die cut it with the Everyday Sentiment Banners to complete it!
Thanks so much for joining us today for our first 1 Stamp, 3 Ways of 2021! I really hope it inspires you to create something unique and fun!
See you next month with another 1 Stamp, 3 Ways. As always, we LOVE your suggestions and ideas for upcoming features! Are there any fun things you would like to see created with dies? Or any sets you would like to see featured? Please leave your suggestions in the comments below!
Big Hugs, Tammy
Thank you, Tammy for another brilliant feature today! I love that adorable mailbox!
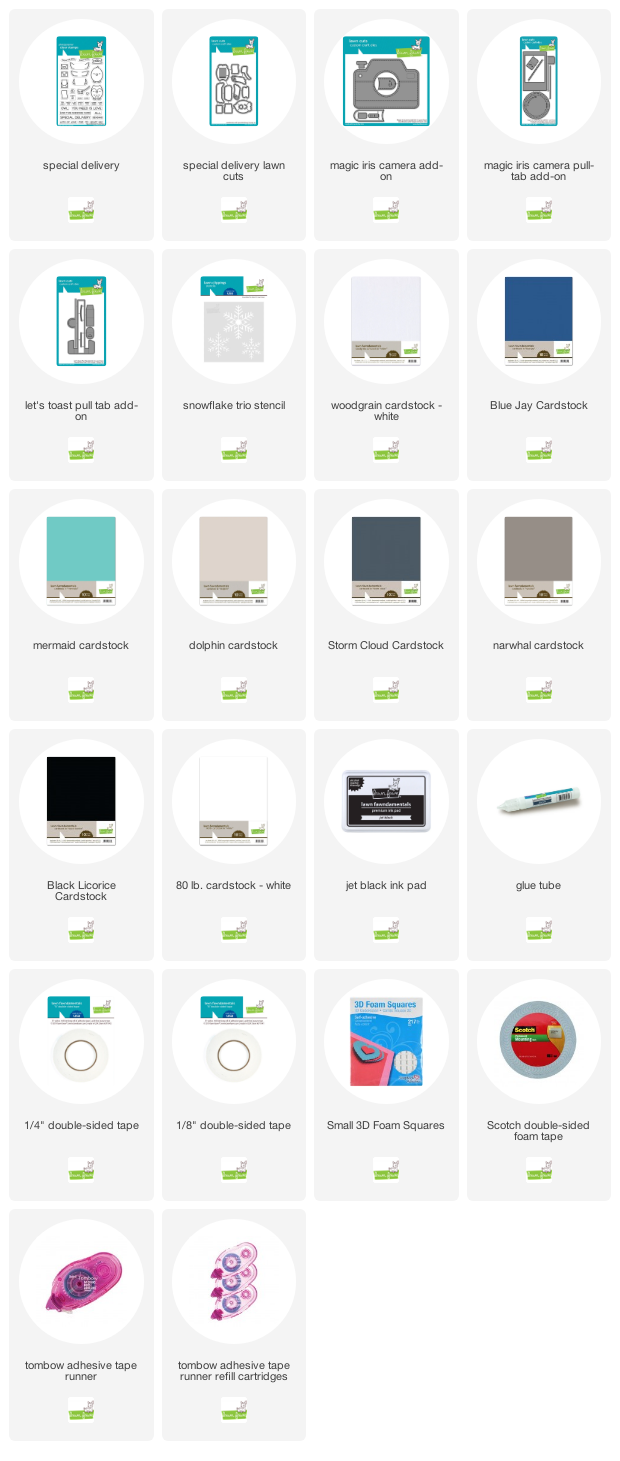
Supplies:

Thanks for visiting!
Have an amazing day!